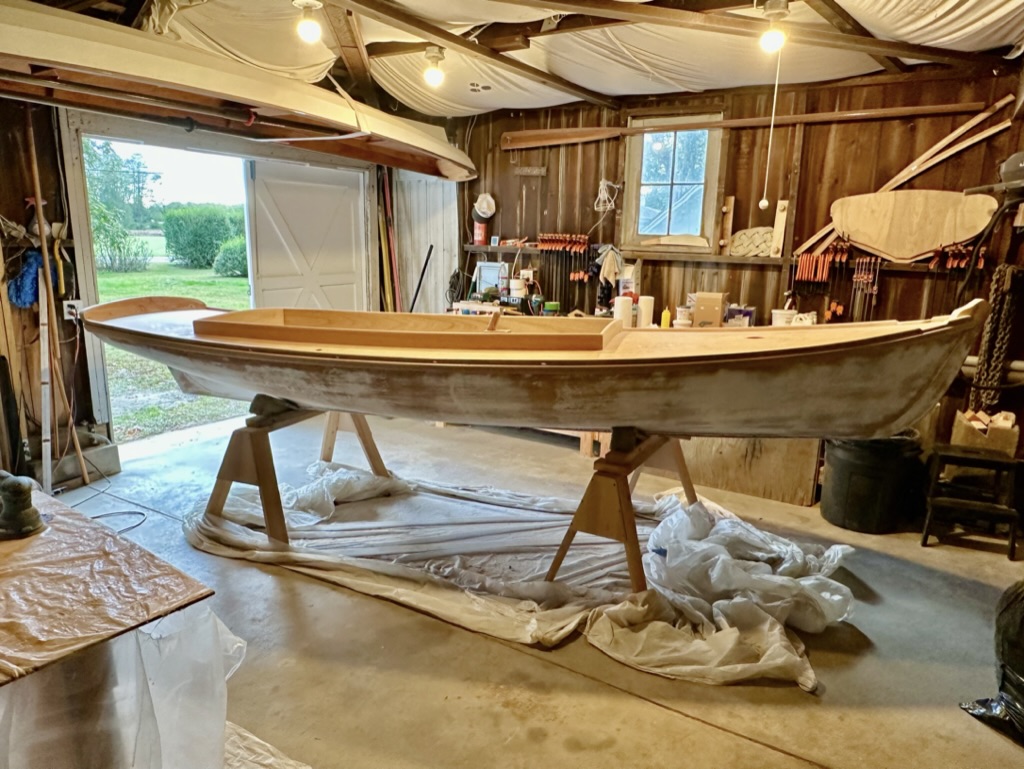
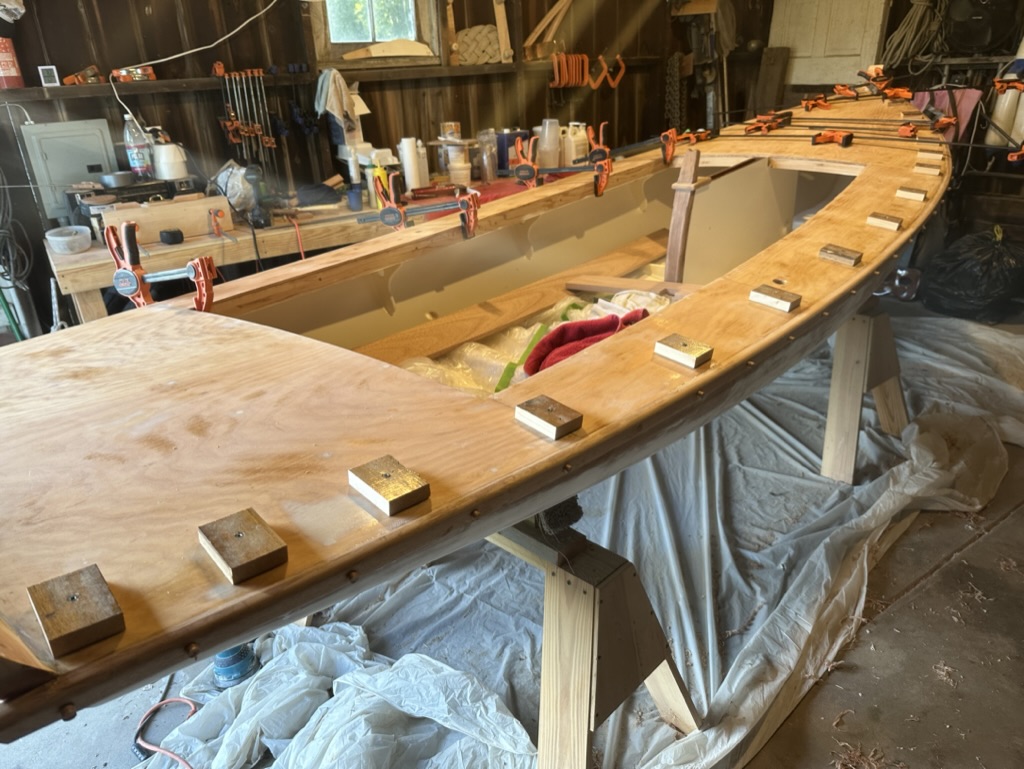
With the decks completed it was time to attach the rub rails. The 1870s originals had white oak rub rails, but I went with mahogany. While oak would better withstand the inevitable abuse, I didn’t have any on hand, and I was interested in having the rub rails match the toe rails. I planned to make some rope fenders anyway.
I needed to splice the rails as they were quite long. I ripped some mahogany to book match the grain, so the splice was not so apparent.
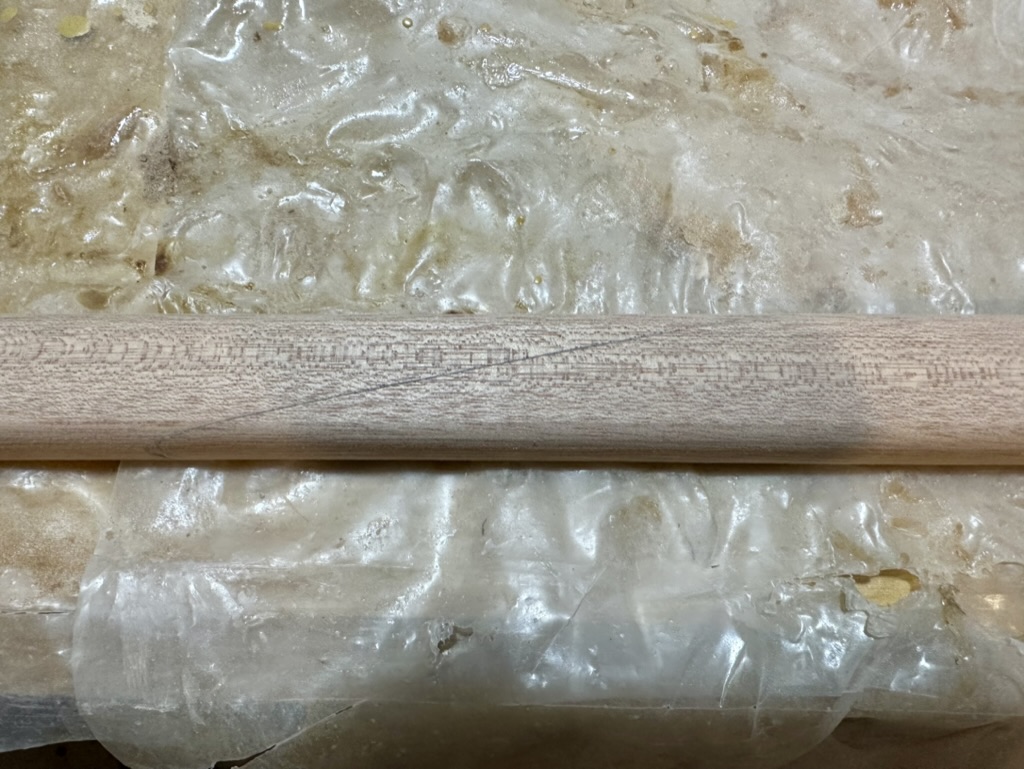
Following the specifications in the drawings, I made the rails 3/4″ x 1 1/2″ and rounded the edges. When test fitting the first rail on the boat, it was clear it would not bend at the bow section without breaking. Steaming was the only option. The rails were too long for a steam box, and I needed to steam only a four foot section, so I bought a small inexpensive wallpaper steamer and tubular bags.
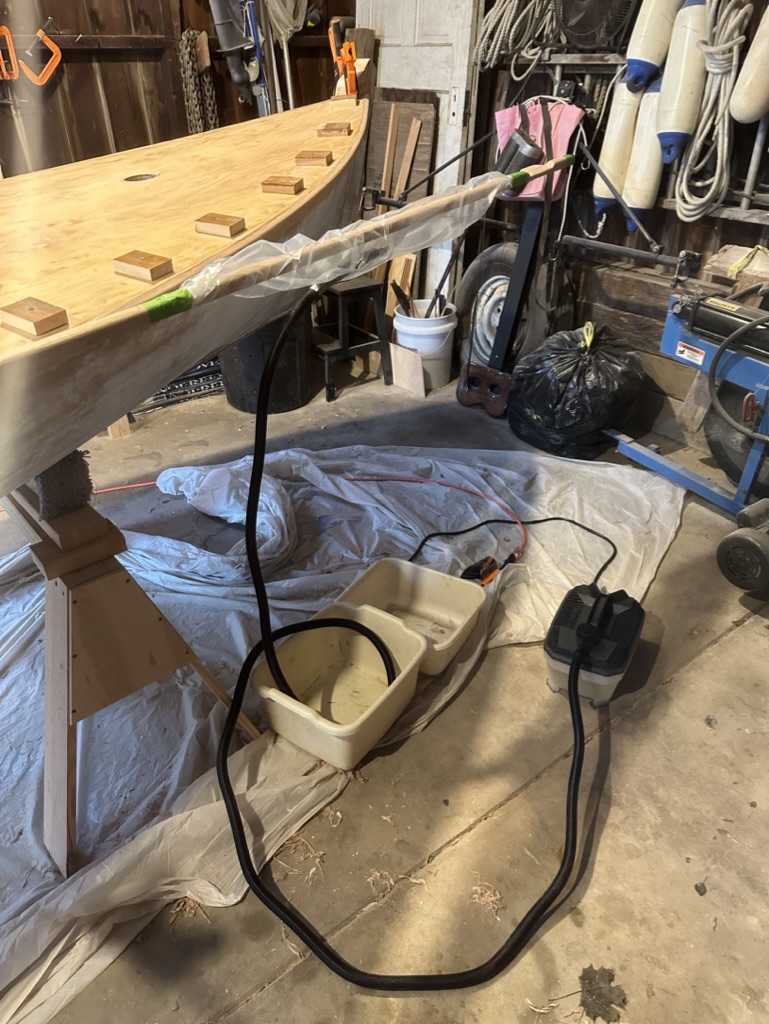
Steaming Mahogany Rails
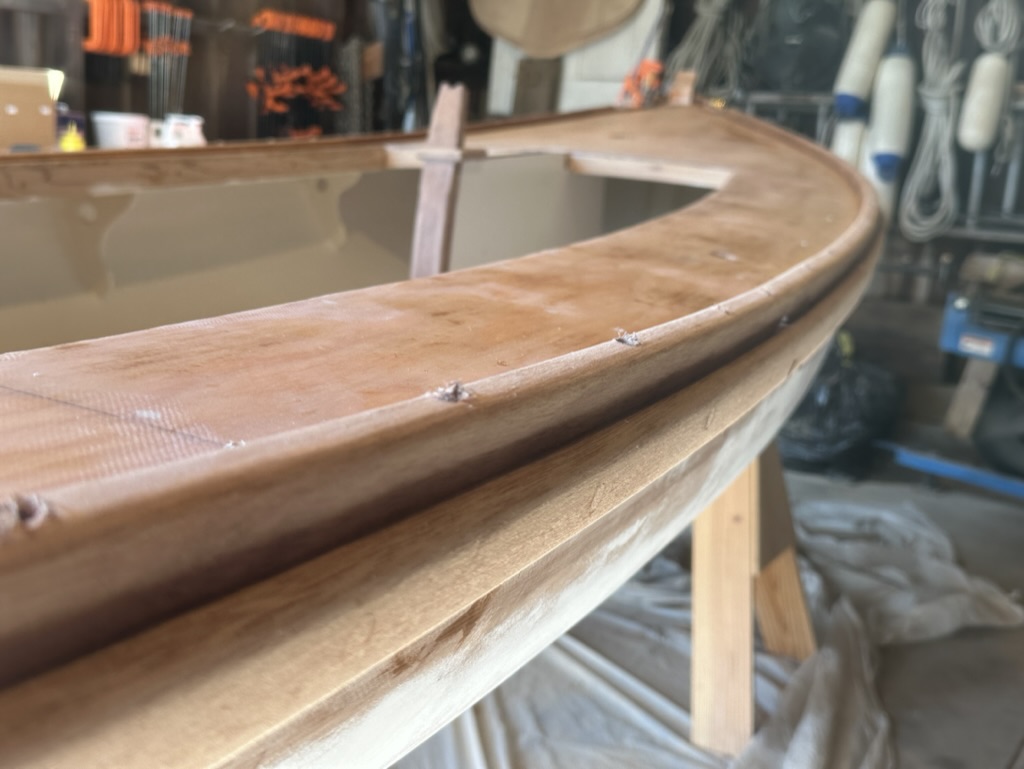
To achieve a proper bend the steaming took much longer than expected – almost 2 hours. I attributed this to the small steamer and the fact that they were mahogany. I removed the bag, clamped the rail to the shear, and let it cool in place for a half day. After releasing the clamps, there was considerable spring back, but the rail was easily bent to shape. I then re-clamped and drilled the holes for bronze screws.
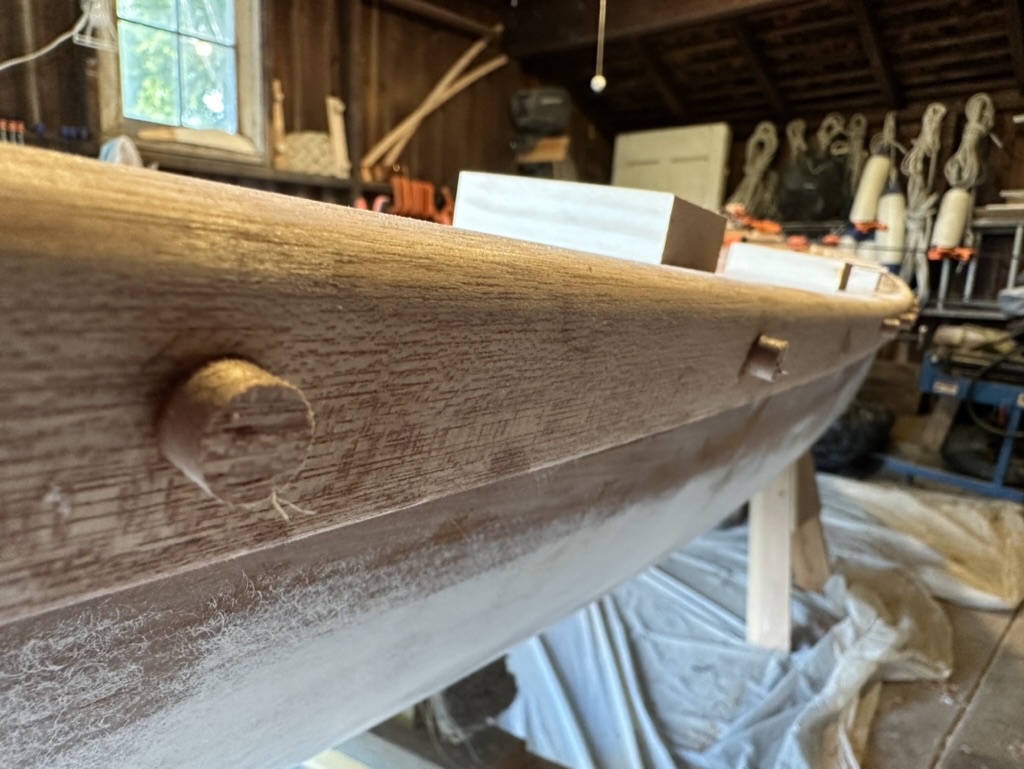
I had planned to just screw the rails to the hull so, if damaged, they could be removed easily. However, after I test screwed some sections, the fit proved very wavy and would not set fairly or tightly against the hull so I decided to use epoxy. I knew removing the rails would be a big chore in the future, but it was the only way to set them. I screwed them into a bed of epoxy and bunged the holes.
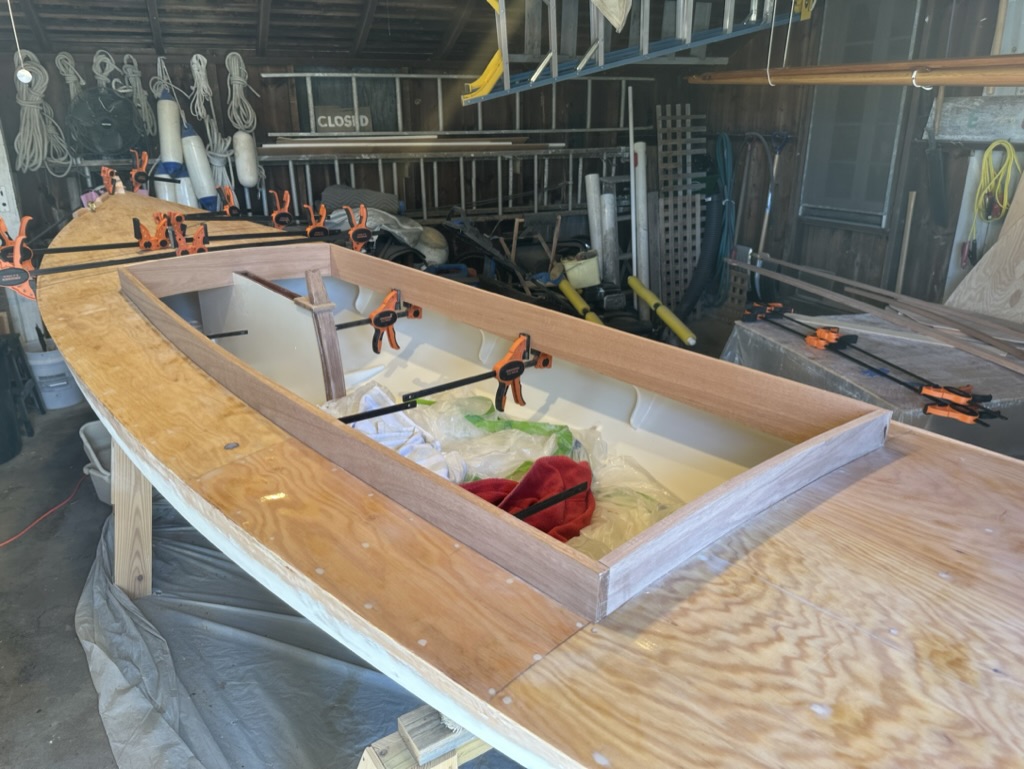
I proceeded to do the same with the other rub rail and toe rails. I srewed temporary blocking to the deck to clamp the toe rails into position. So much for filling all the deck holes!

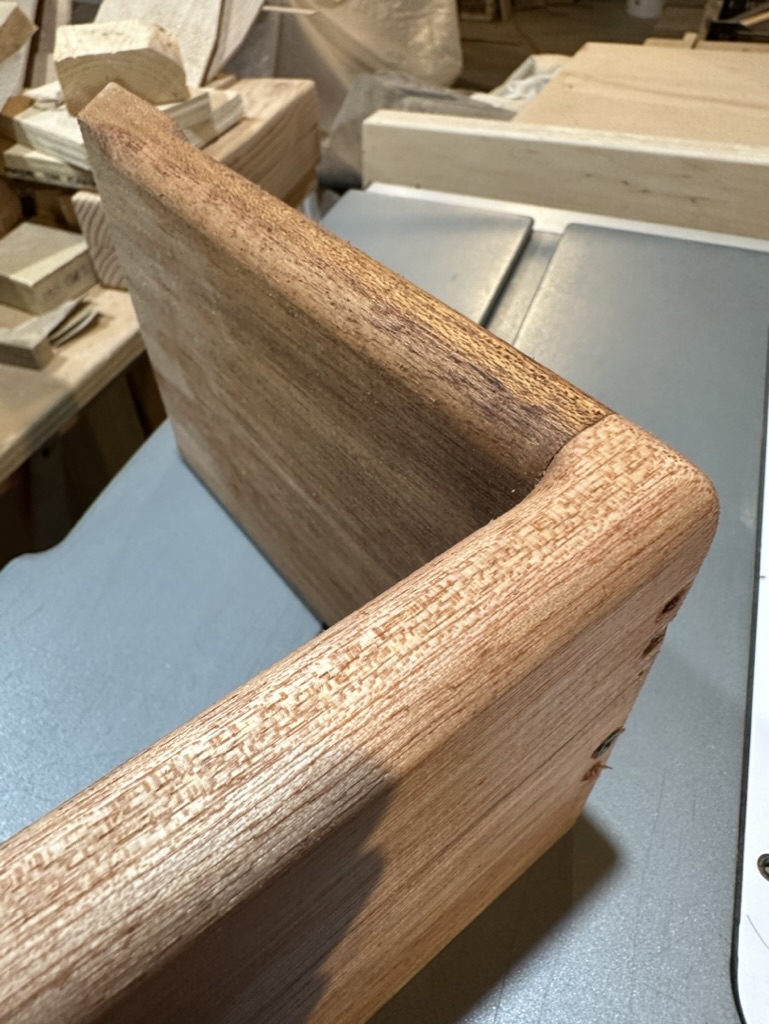
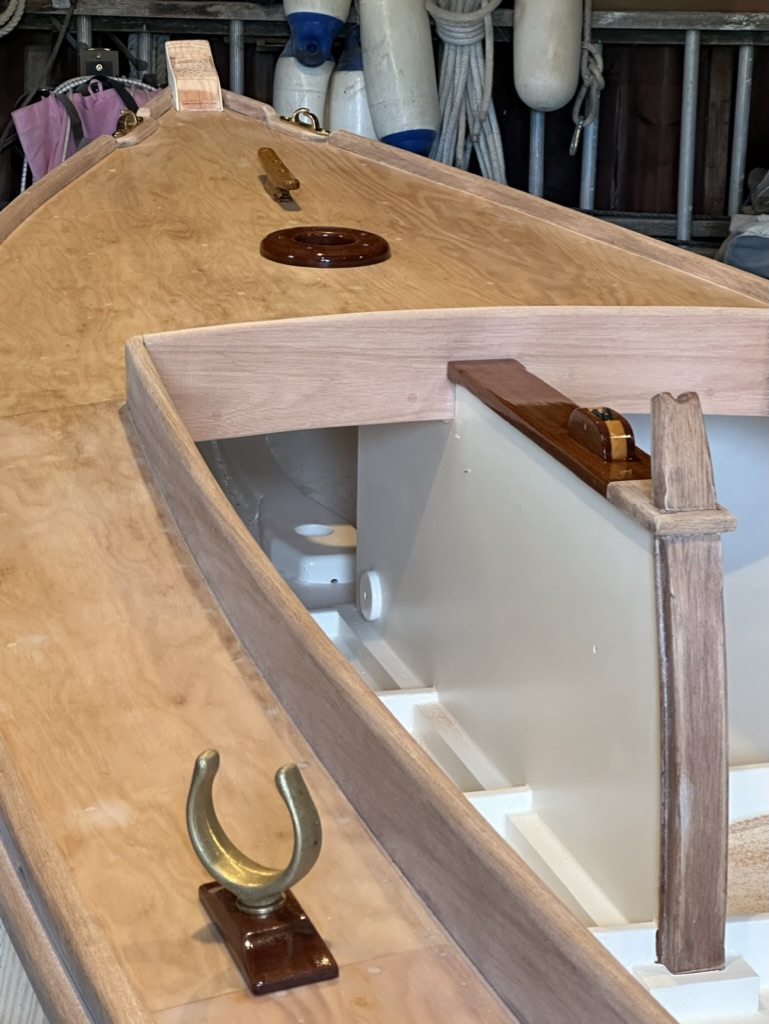
The mahogany coaming would come next. I made some crude templates to ensure that the curves right so they would follow the deck, then transferred them to 3/4″ mahogany, cut them out, and test fitted them. This took some time, working back and forth, as the end bevels were very shallow, and the coamings flared slightly outboard.
A quick mockup to make sure the simple end grain butt joint would look good and my routing abilities would suit.
And on they went. Glued, screwed, clamped, and sanded.
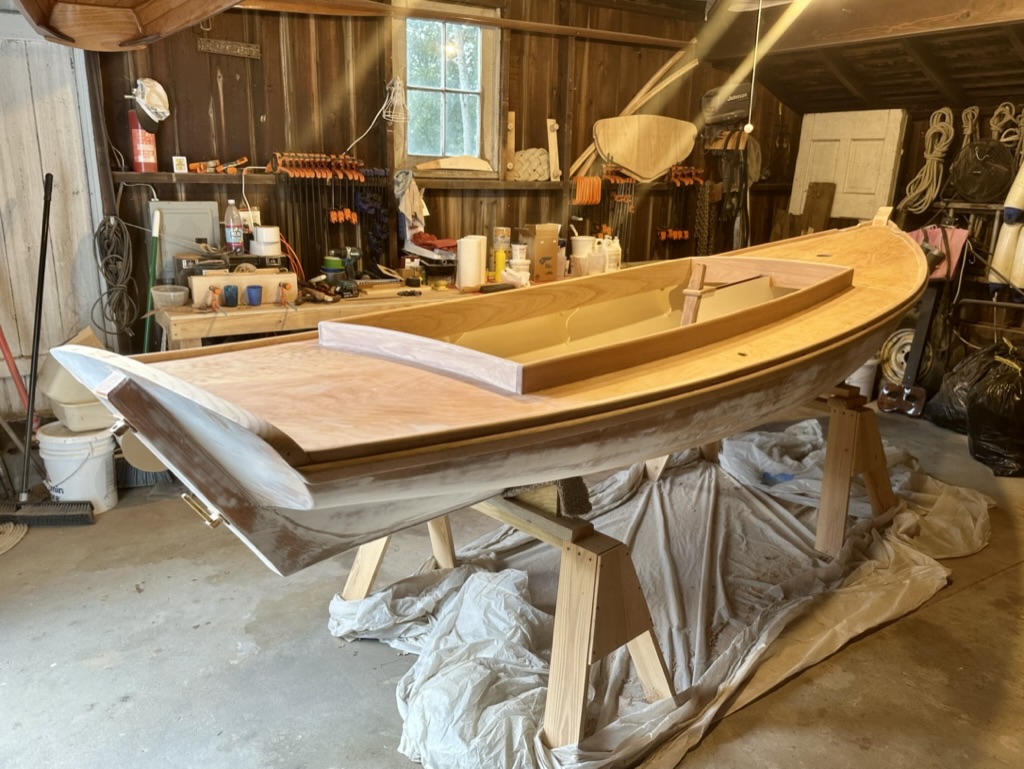
I was finished with the rub rails, toe rails, and coaming. After a quick look at temporarily placed details, it was time for some paint and varnish.

Leave a comment