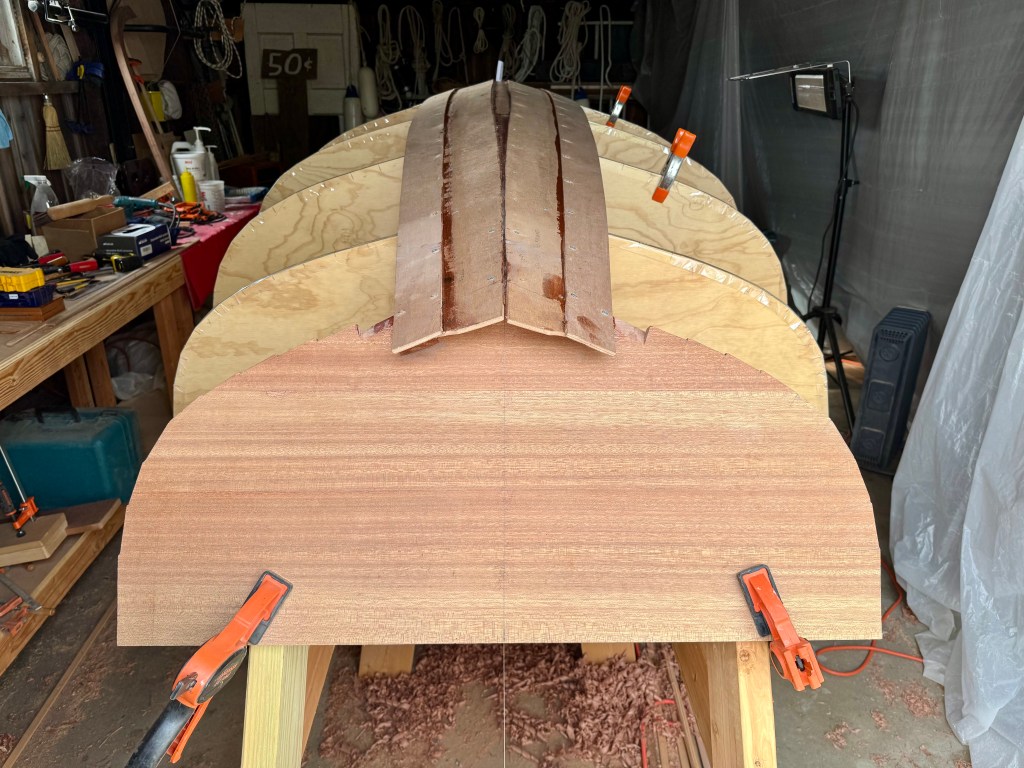
With the molds and transom set up, faired and leveled it was time to put the planks on. All 24 planks had been rough cut according to the drawings. The finished cuts to the exact profiles were done with a router along a batten to the fairing lines. As I was planking I would fair 4 or 6 planks at a time. The Coquina has quite a few planks, 12 a side. That is A LOT of planks.

The garboard planks were the first to go on and went fairly smoothly. There is not that much twist in the lay, maybe just a bit at the bow. The first four planks gave me an idea of how long it would take to get all 24 on. In the end, working off and on, it took about a month to get to the shear strake.
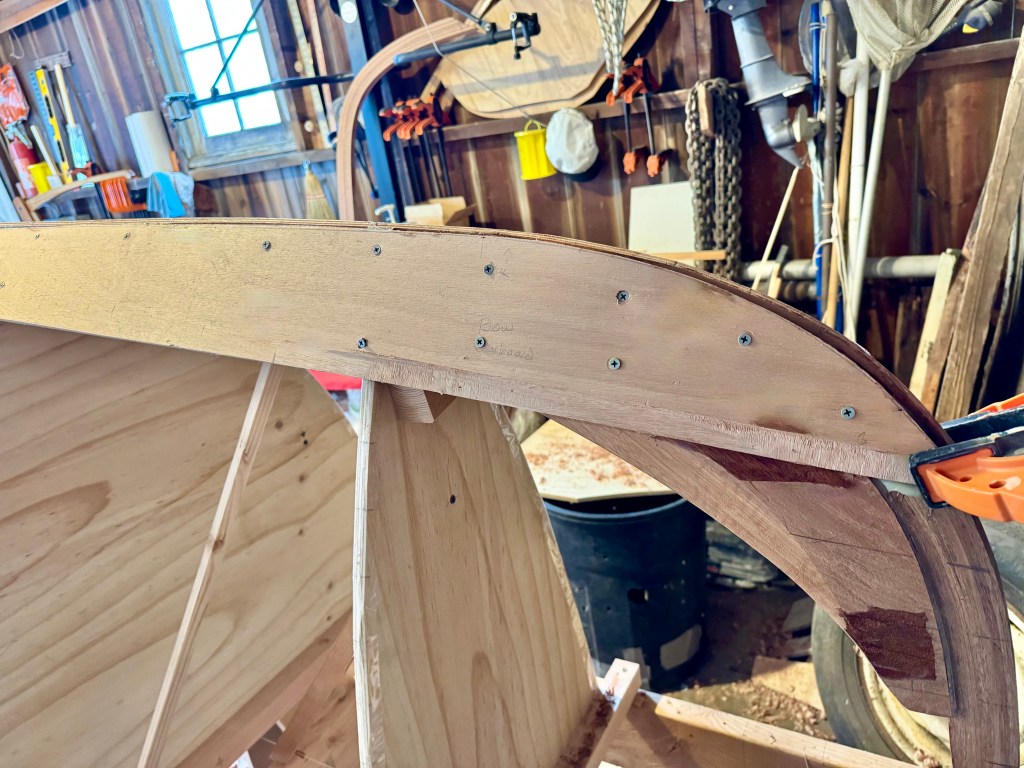
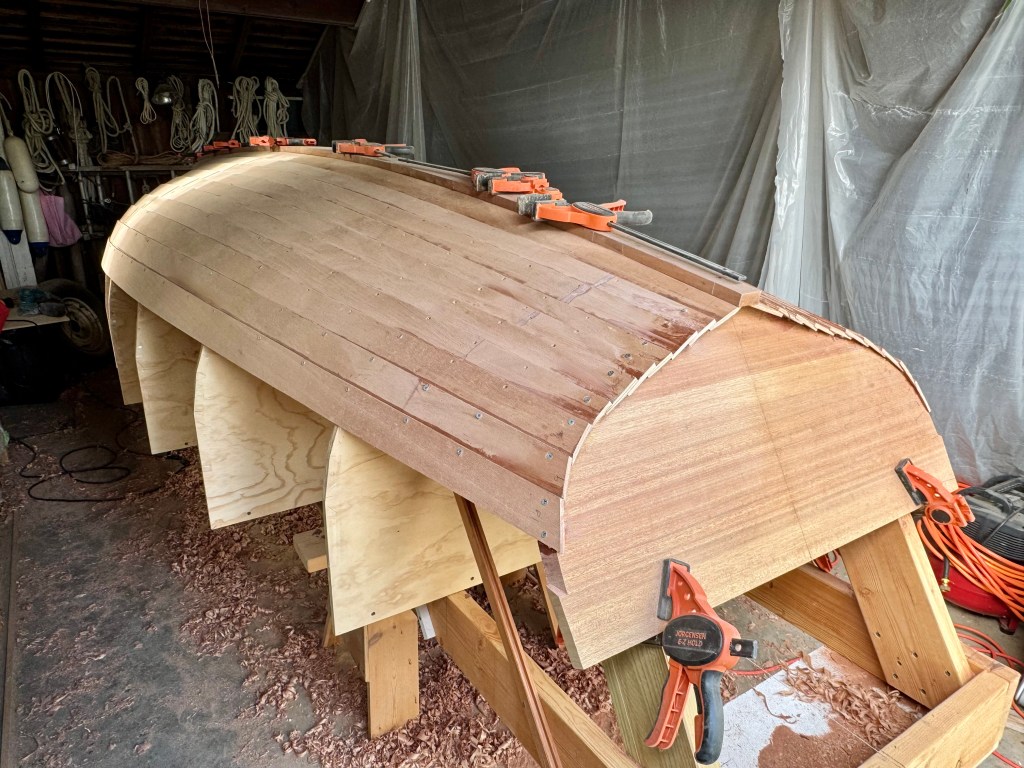
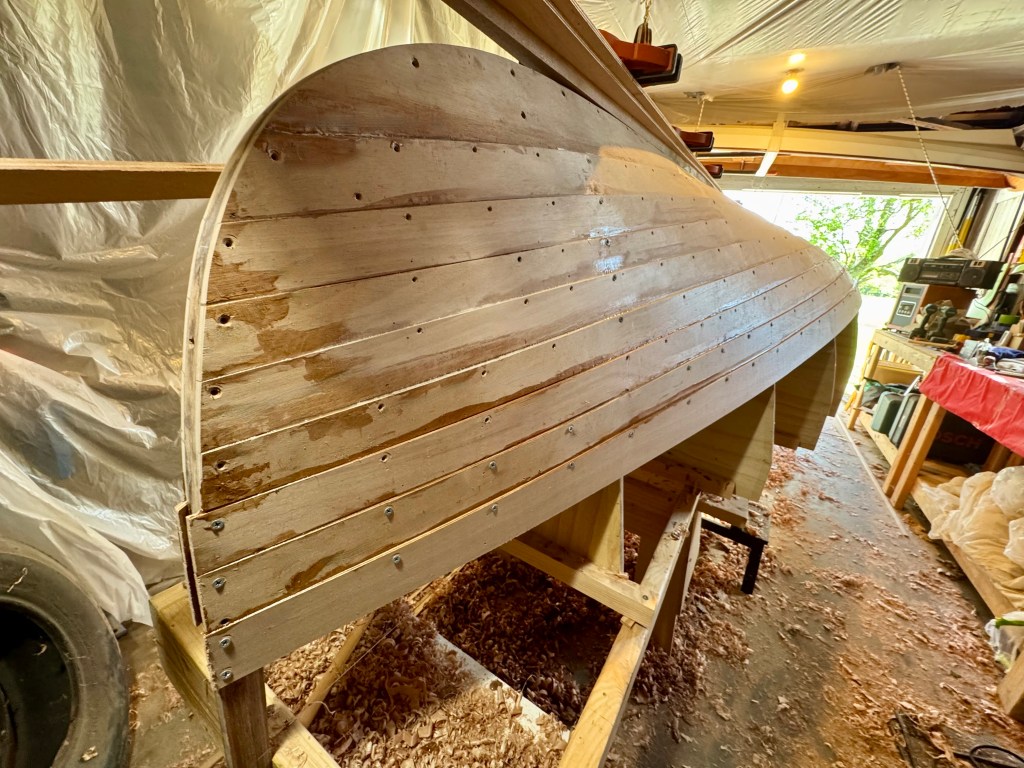
Bevels were cut along the mating sides of each receiving plank. Planks were clamped to the molds aligning with the tick marks on the molds that were laid out from the drawings. A line was drawn on the proceeding plank to establish the overlap and beveled from edge to line. Then thickened epoxy was squeezed along the bevel, the new plank was clamped in place, and 1″ drywall screws were used to secure the new plank to the molds along the overlap. Occasionally a few extra screws were needed to pull the planks together at the mid point between molds. The screws were lightly tightened to just pull the planks together enough to get consistent squeeze out from the seam. To much torque and they would easily strip. It was also important to drill pilot holes before inserting the screws.
After securing the plank the clean up of stray epoxy began. The outside was an easy task to scrap off with a scraper. The inside squeeze out was not so easy. As the planks went on down each side getting underneath to scrape away the squeeze out became a contortionist performance. The molds and their supports left little room to get under easily and as the planks closed off access as they filled in toward the floor it got harder. It looks like I will have a job when I turn the boat over to get all that epoxy squeeze out off with a heat gun and scraper. Not looking forward to that.
In any case the planks went on and generally lay along the mold tick marks. I had to shim a few toward the bow at station line 2 to get a fair lay.
I faired the transom using a rasp to receive each plank as I went.
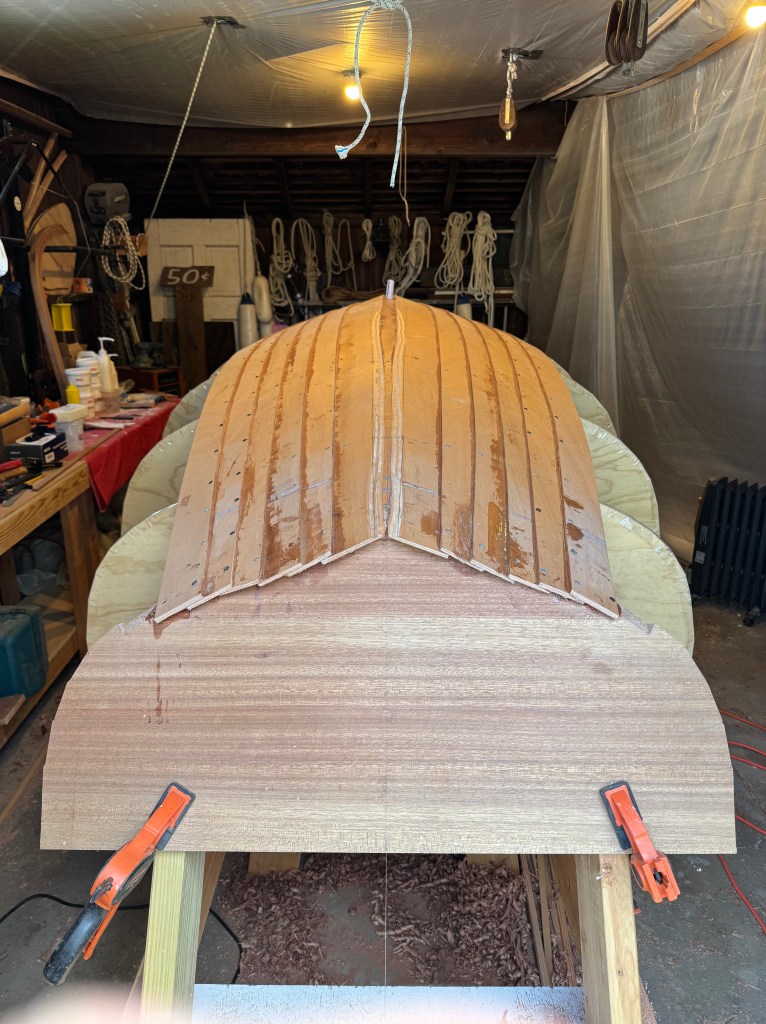
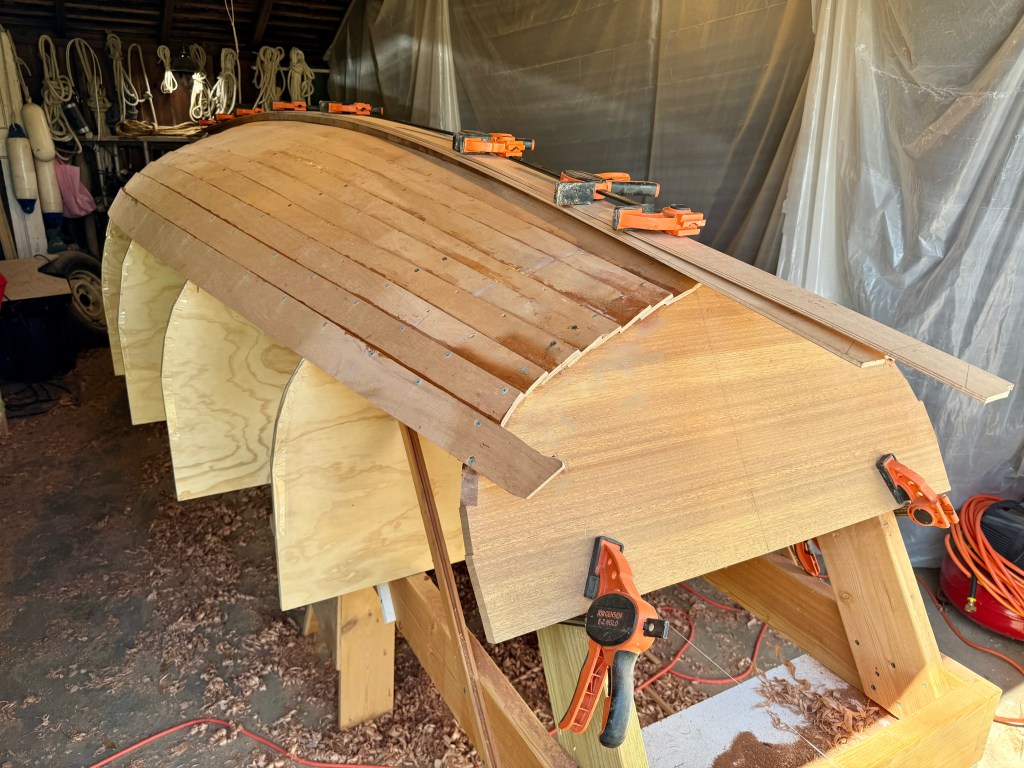

I would roughly trim back the overhangs as I went.

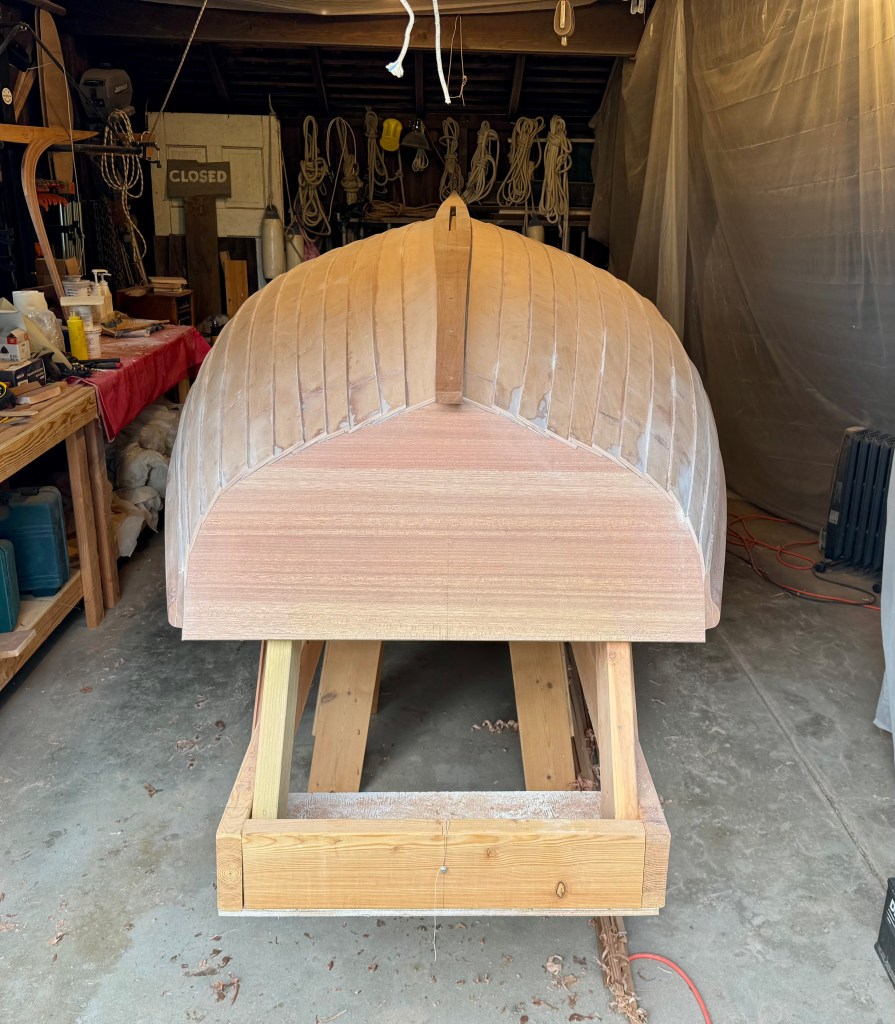
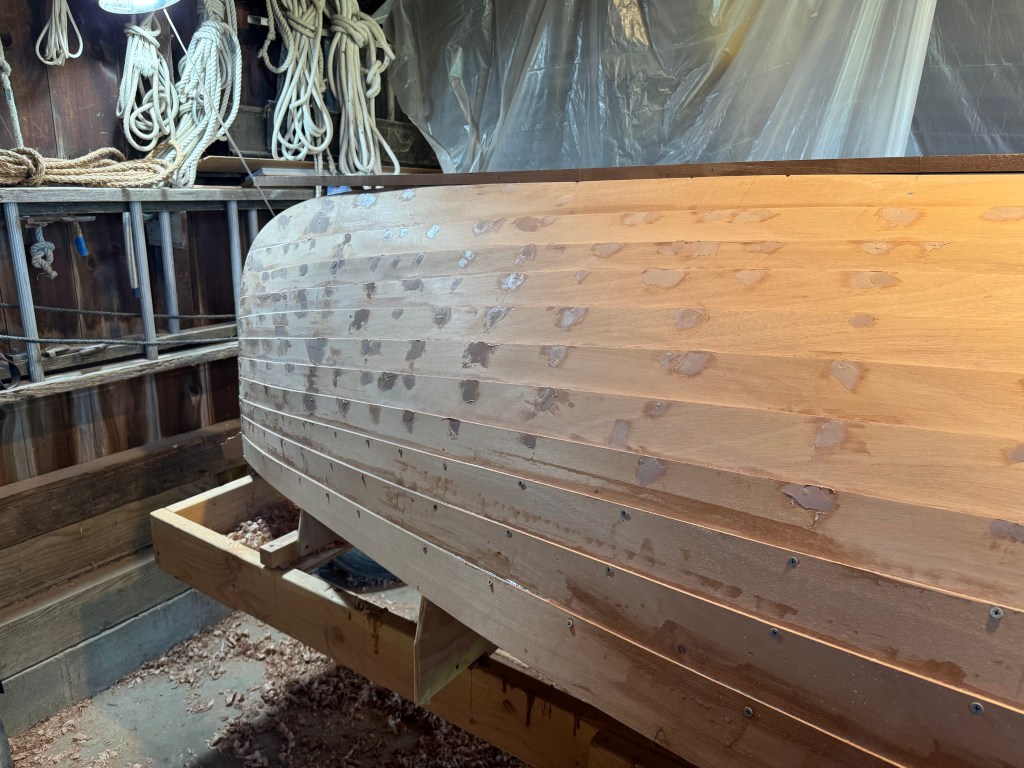
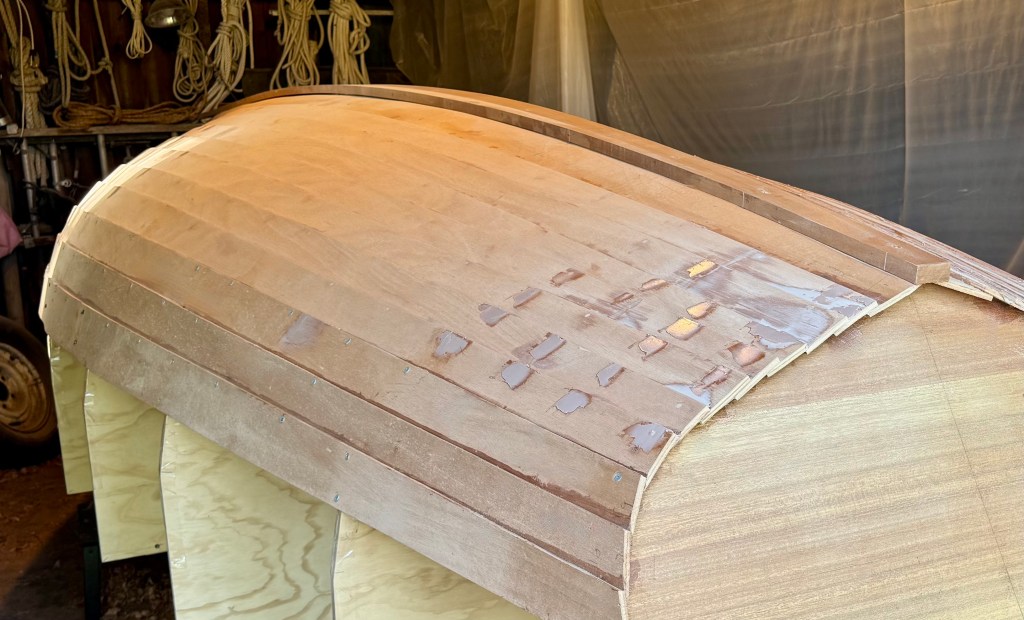
After removing the drywall screws as I went (letting the epoxy cure for at least three days) it was time to fill all the holes (and there were a lot of them). Using QuikFair, my go-to filler of choice, I loaded a syringe and made sure to fill all the holes completely, looking for good squeeze out on the inside of the hull. Then I did an initial sanding with 120 grit.
And now it was on to the Herreshoff signature shear strake. A small construction project in itself.

Leave a comment