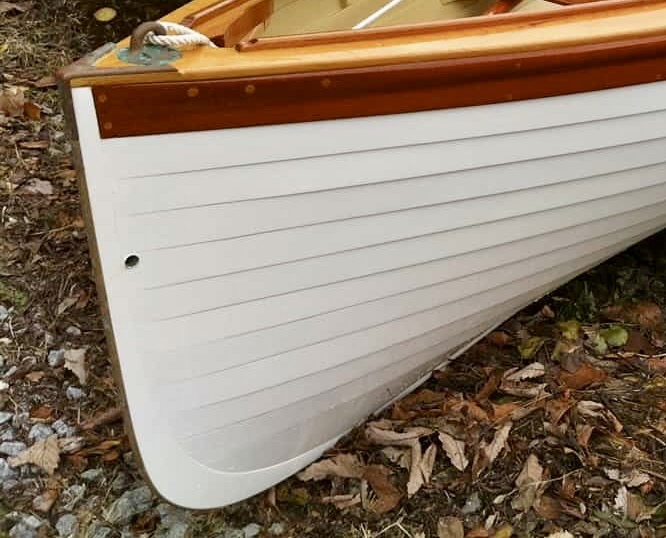
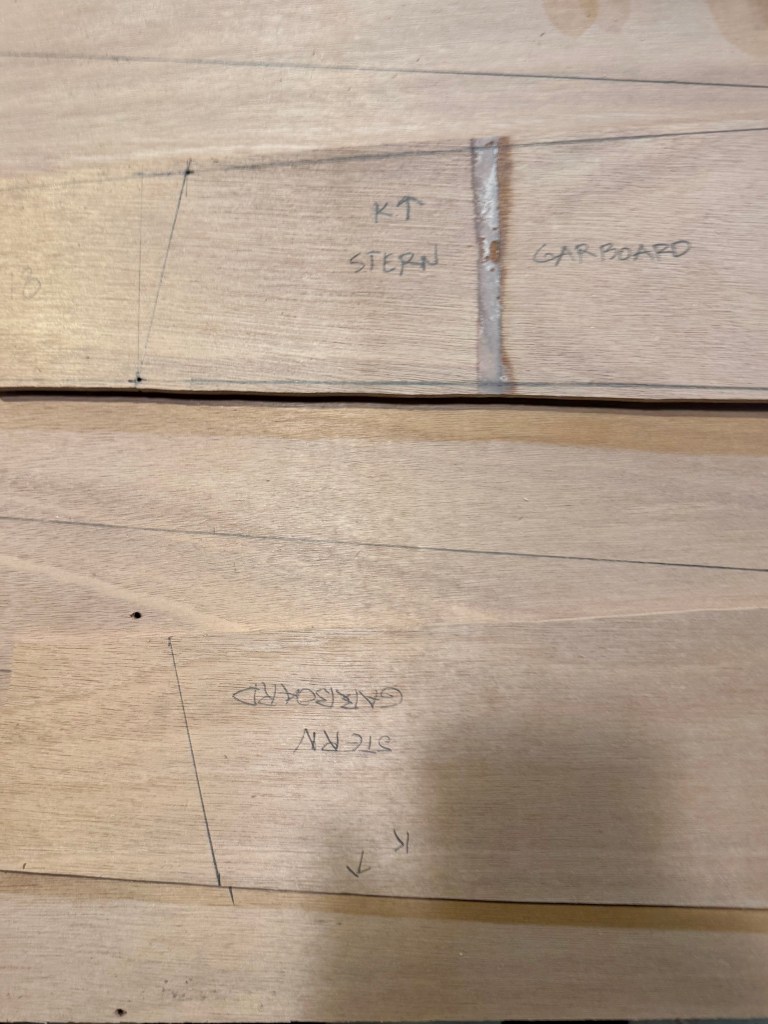
Coquina’s hull is lapstrake and has quite a few planks – 12 per side to be exact. They are narrow. The quantity is what gives her that distinctive shapely form. The shear strake is a Herreshoff trademark. It incorporates a curved rub rail into the plank as one varnished mahogany piece.
The first order of business was to scarf the 1/4″ okoume marine plywood to get the full length for the planks. I chose okoume ply over mahogany for its lightness. Doug Hylan provided a separate sheet for the plank layouts and skillfully drew them so they could be gotten out of 4′ wide sheets of ply scarfed together. For the length, I needed to scarf two full-size 8′ pieces and then add on a 4′ piece of ply.
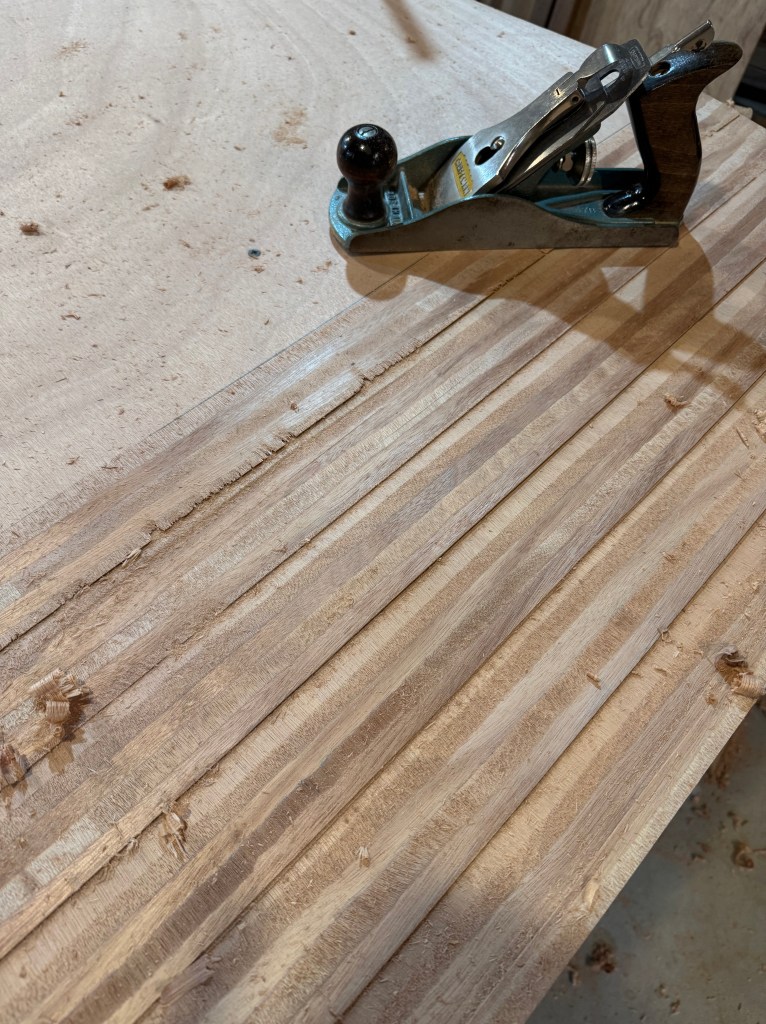
To create the scarfs, the ply was laid one atop the other with a 2″ offset to give a good scarf angle. Then the stepped profile was planed down all together, checking for flatness with a straight edge. I prefer to use a hand plane exclusively (forgoing a power planer) as it gives more control. It really does not take much more time.
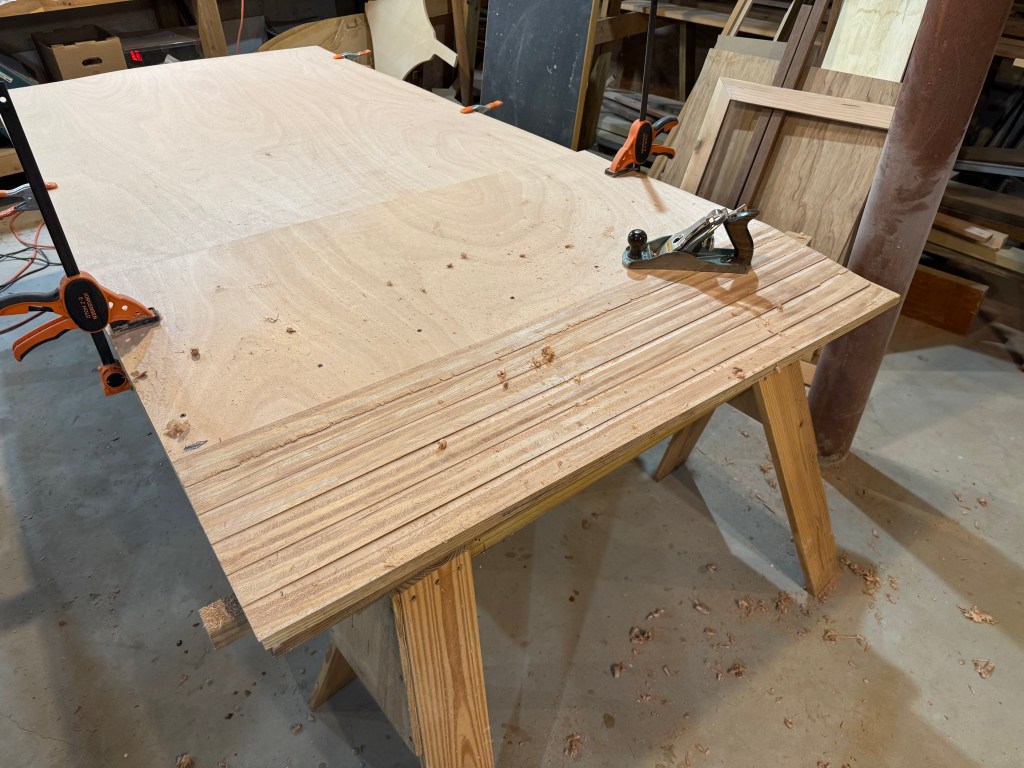
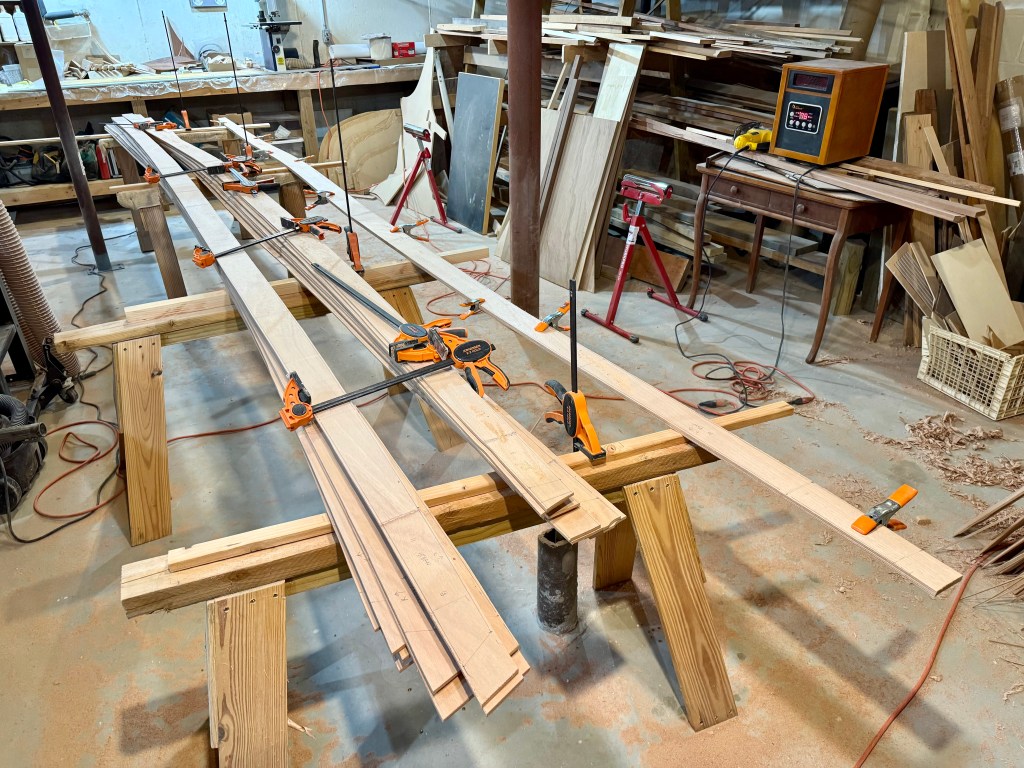
Then the scarfed ply was aligned and epoxied together. I wet each surface with liquid epoxy first for good penetration and then used a liberal amount of epoxy with filler. The seams were clamped down with screws and scrap planks lined with wax paper. The holes are easily filled later. Then it was a simple matter of cleaning each seam with a heat gun, scraper and sanding.

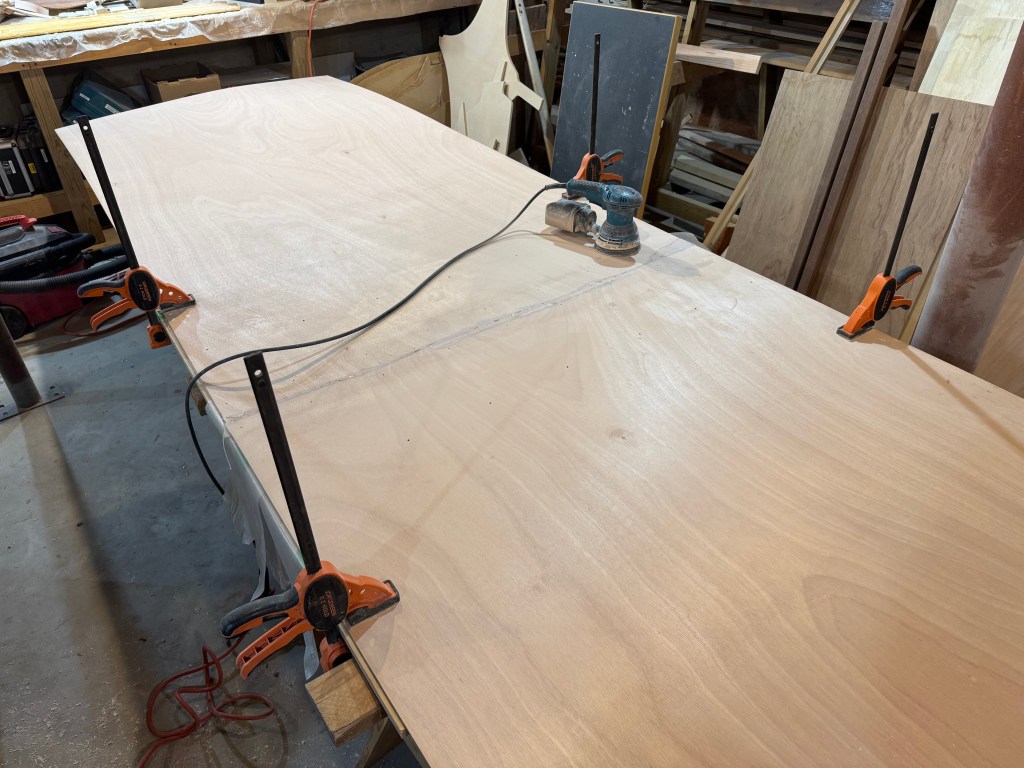
Following Doug’s layout, the offsets for all the plank lines were transferred to the scarfed ply. A long batten was used to get the lines faired. Doug’s layout was tight, the distance between top and bottom of some planks was as little as 1/4″, so precision was critical.
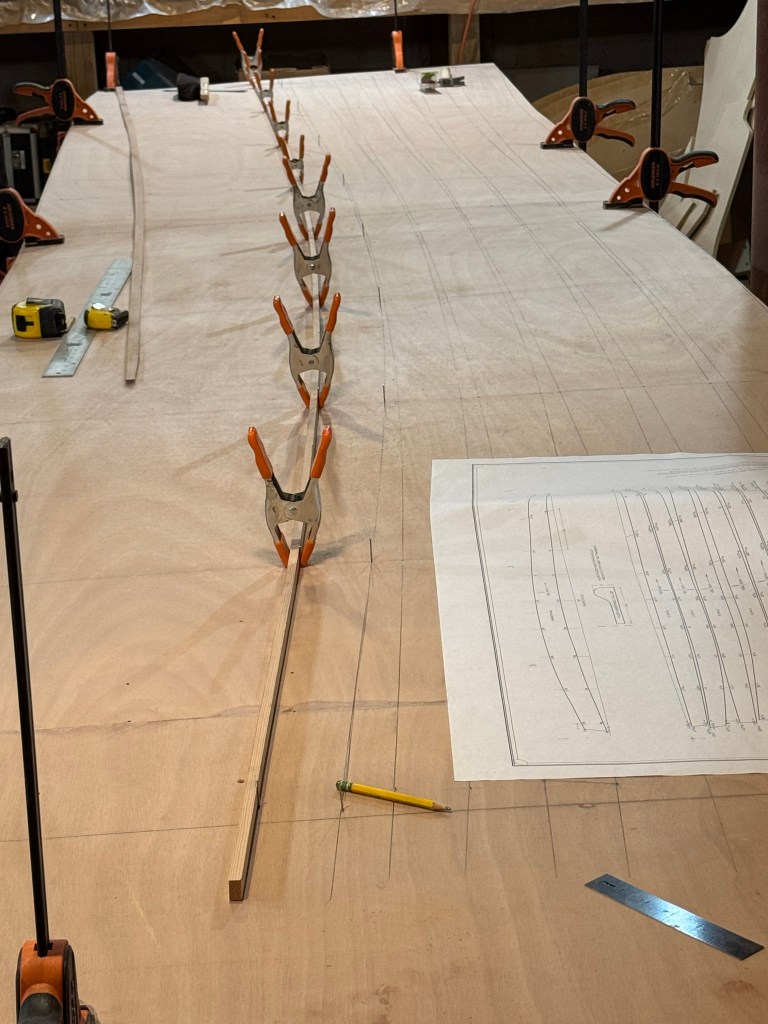
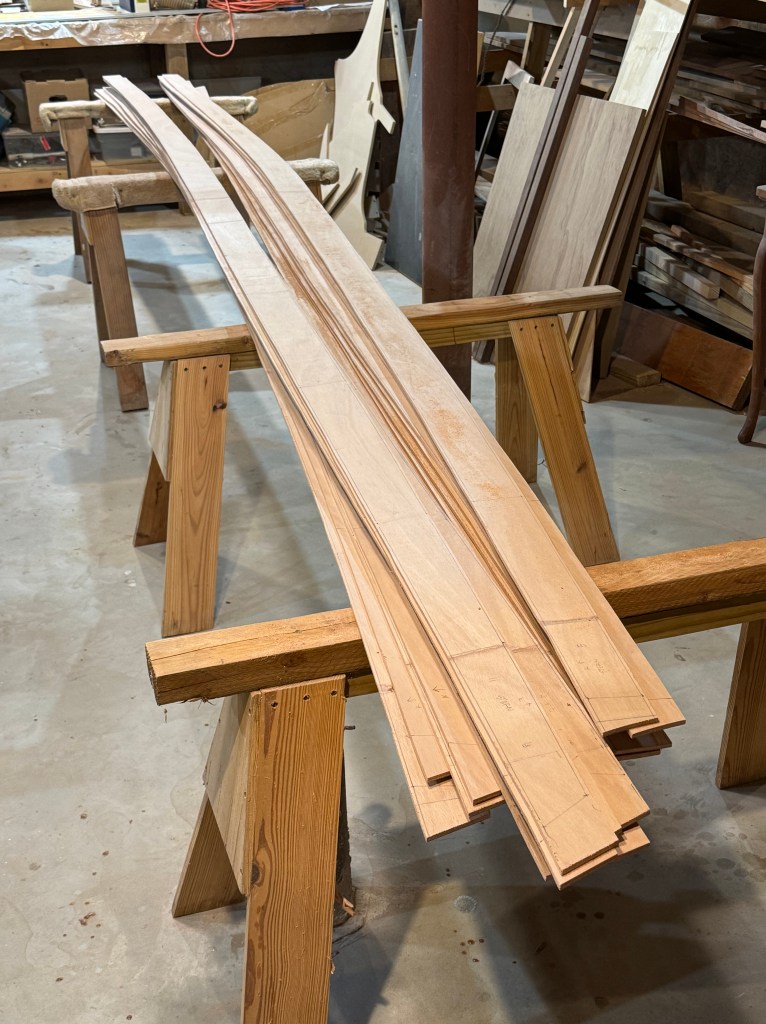
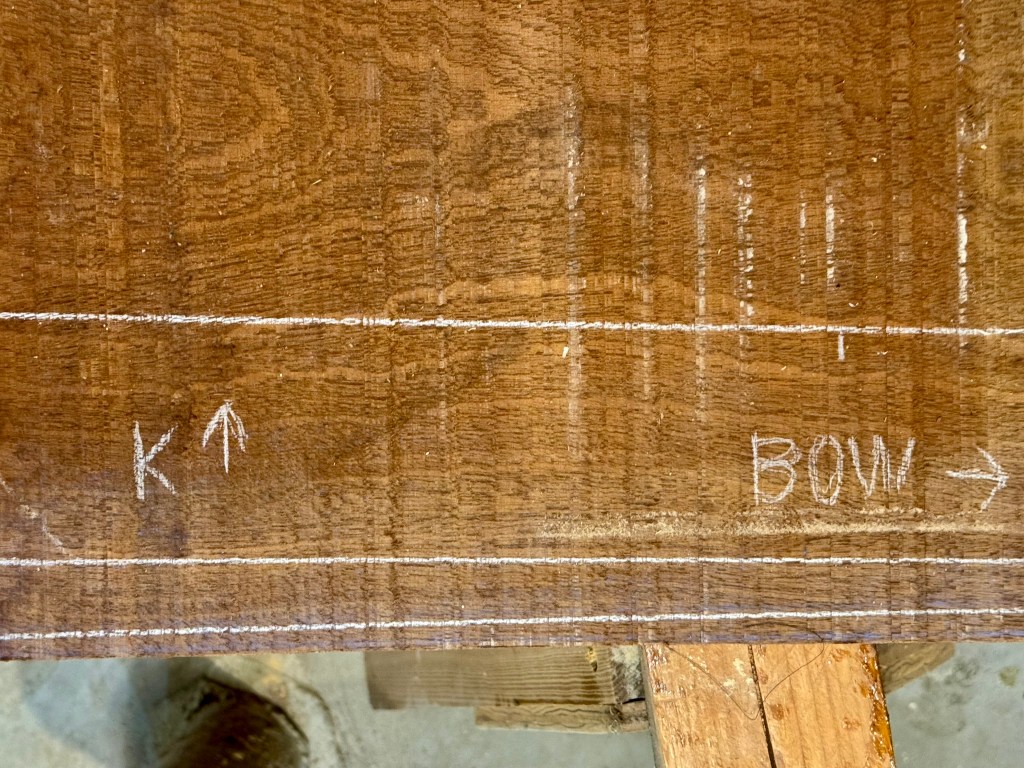
The two fully scarfed ply sheets were placed on top of one another. The planks were symmetrical port and starboard, allowing one cut for two matching planks. After carefully labeling the station lines and orientation (keel, bow/stern, etc.) and plank number, I cut the planks two at a time.

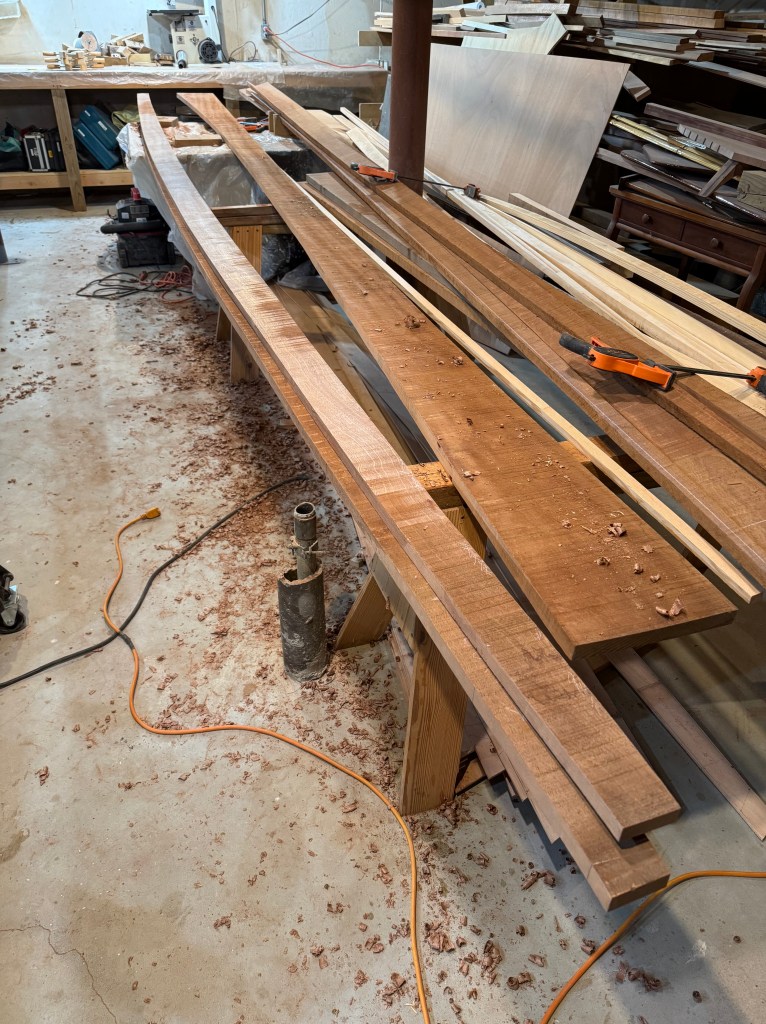
The final stack of planks ready for storage until the weather warms and I can plank up the hull.
Making the signature Herreshoff shear strake will be a complex affair. It is unusual in that it incorporates a curved rub rail into the shear strake – all one piece, 18′ long. I did some test samples to see how best to achieve the profile. Not an easy task.
Two different curved router bits, dado cuts on the table saw to get rid of most of the bulk mahogany, hand planing and sanding. Also, the cuts needed to be sequenced so the strake would lie flat for routing. To top it off the strake is curved so some special blocking was needed to assure clean cuts on the curved mahogany. Herreshoff certainly made it difficult. I suspect he had a special shaper blade made to cut this profile all at once given how often he made them for various boats. Wish I had one.
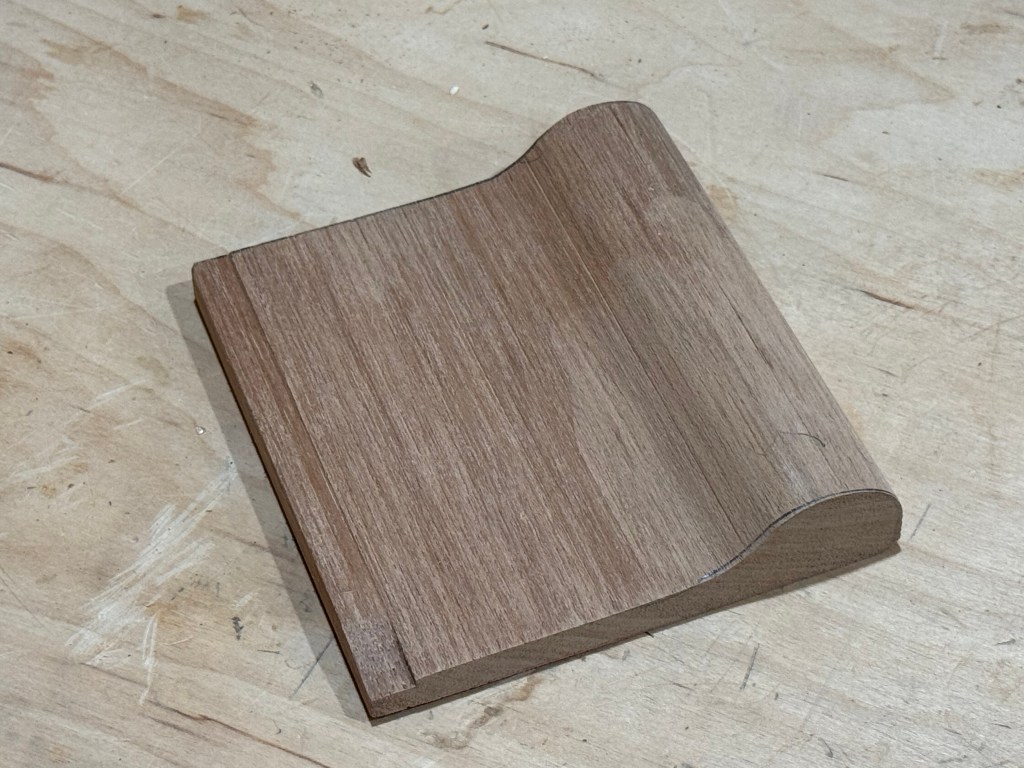
Straight sample

Slightly curved sample
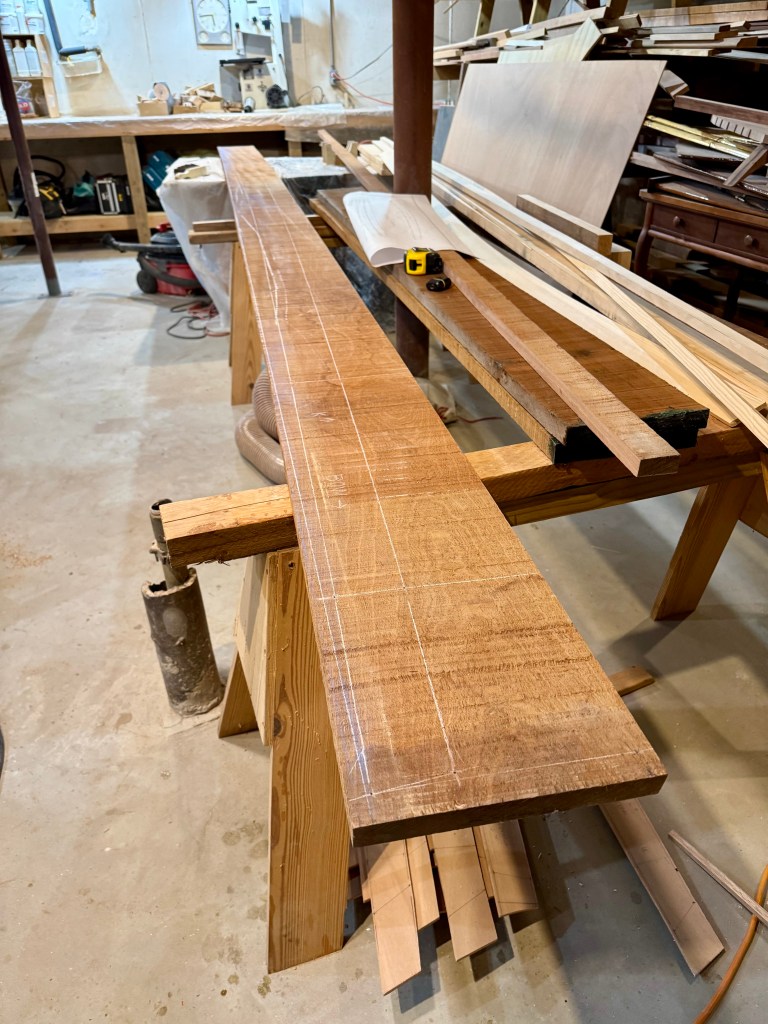
I got two nice 1″ thick rough cut mahogany planks. I had to buy it oversize, 12″ wide, to get it in two 18′ lengths. As it will be varnished scarfing would not be acceptable. I needed it to be only 8″ wide, but at that length the left over will come in handy for some of the long trim.

Laying out the shear strake profile on the 12″ x 18′ plank.
It is important to label all the planks for orientation. Each plank is somewhat symmetrical so it would be hard to distinguish bow from stern. The shear strake also needs to be carefully labeled for port and starboard and keel side as they are opposites in profile.

Leave a comment