The hull was in bad shape. It had a number of gouges and scratches, and the corners were dented and ragged. The transom had a number of holes from an outboard bracket. The gel coat had worn off much of it, and the hole patch was crudely done and lumpy. The weave of the fiberglass was showing through in many areas, and the sheer had numerous holes of various sizes from previous work.
Clearly it needed some extensive prep work. I began by a heavy 40-grit sanding to to be able to see the variations in the surface. I used an epoxy filler to start filling the gouges, dents, exposed weave, and holes. This took quite a while, working back and forth with filler, sanding, fill some more, and sand. As the hull became more fair I changed grits accordingly. Finally, I was able to get it quite smooth, sanding with a final 120-grit paper.
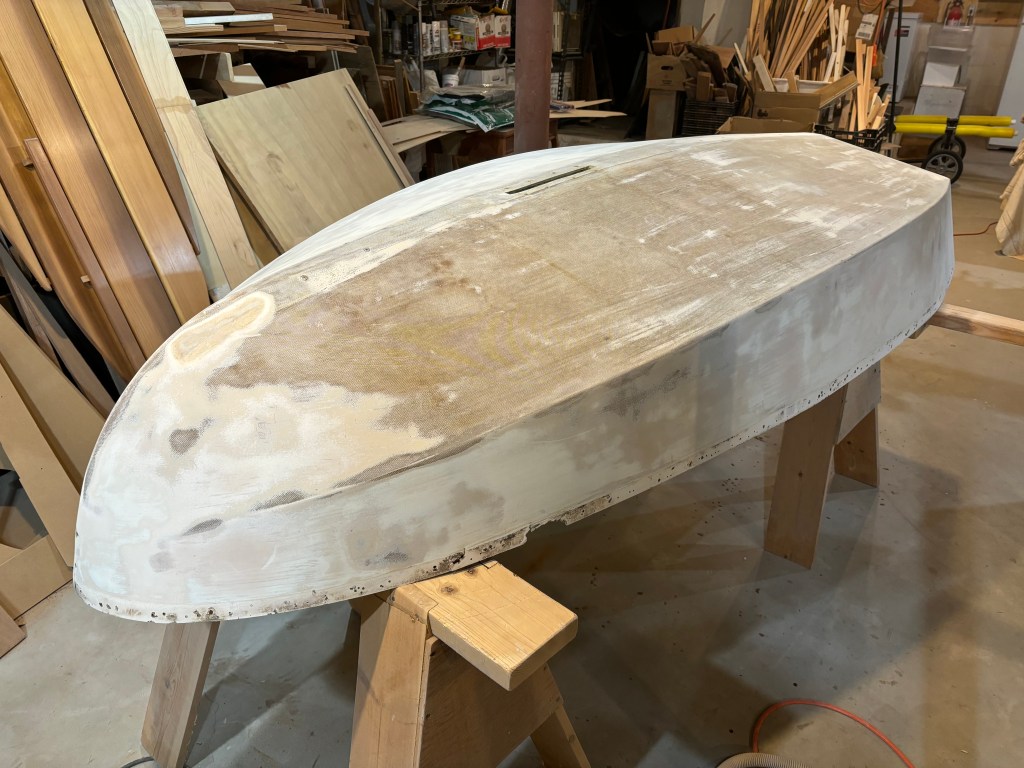
Hull After Filling and Heavy Sanding
The next step was to prime it with Interlux Pre-Kote. After a first coat I sanded it well, almost removing the coat. The Pre-Kote works well to fill all the small indentations missed in the filler process. It just means that after sanding most of the first coat off, it is necessary to add more coats, sanding in between, to get all the imperfections filled completely. I ended up doing three coats.
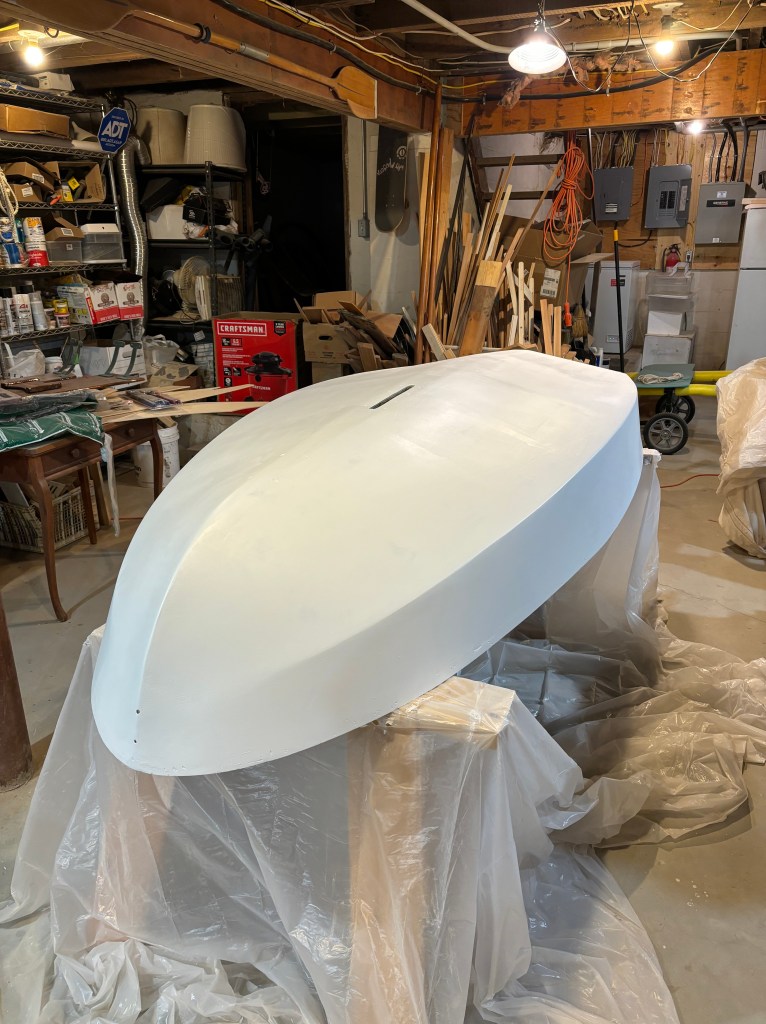
After Three Coats of Primer
Then, rolling and tipping, I painted it with gloss white Interlux Brightside. It would take three coats to cover all the dark spots, sanding with 220-grit in between. As dinghies get a lot of abuse, three coats would also add some protection. Brightside levels very well. When dry there were no visible brush marks. It was remarkably smooth and very glossy. After the final coat it was a far cry from what it looked like when I used it so many years ago! Not perfect, but almost like new!
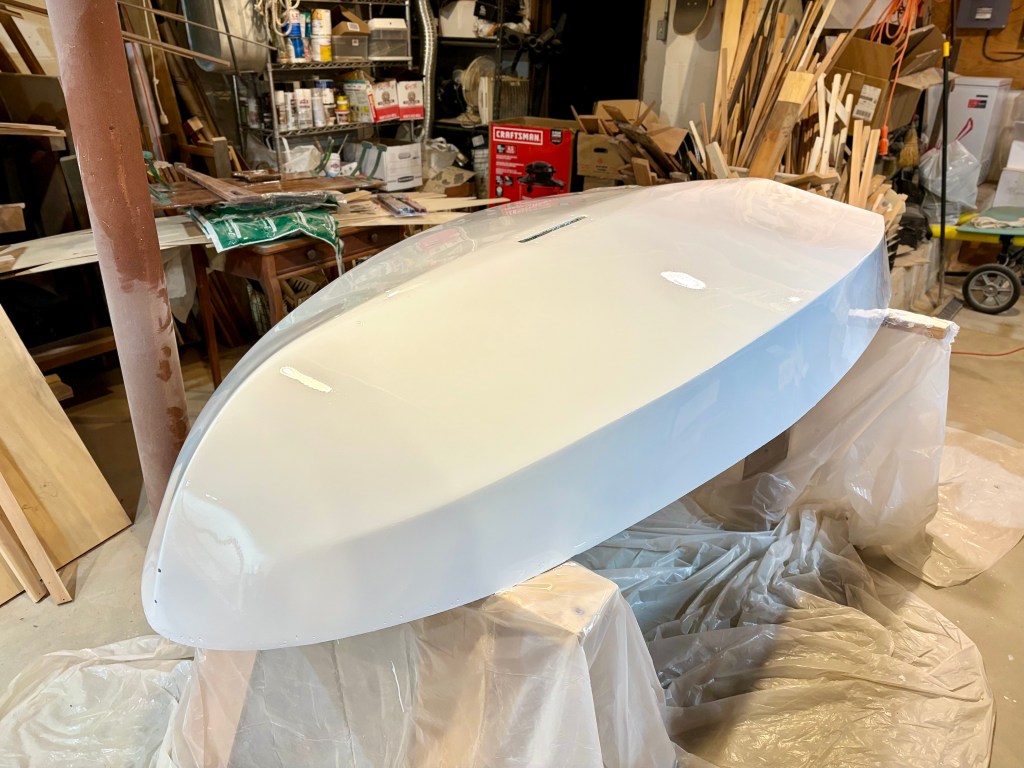
Last Coat of Brightside
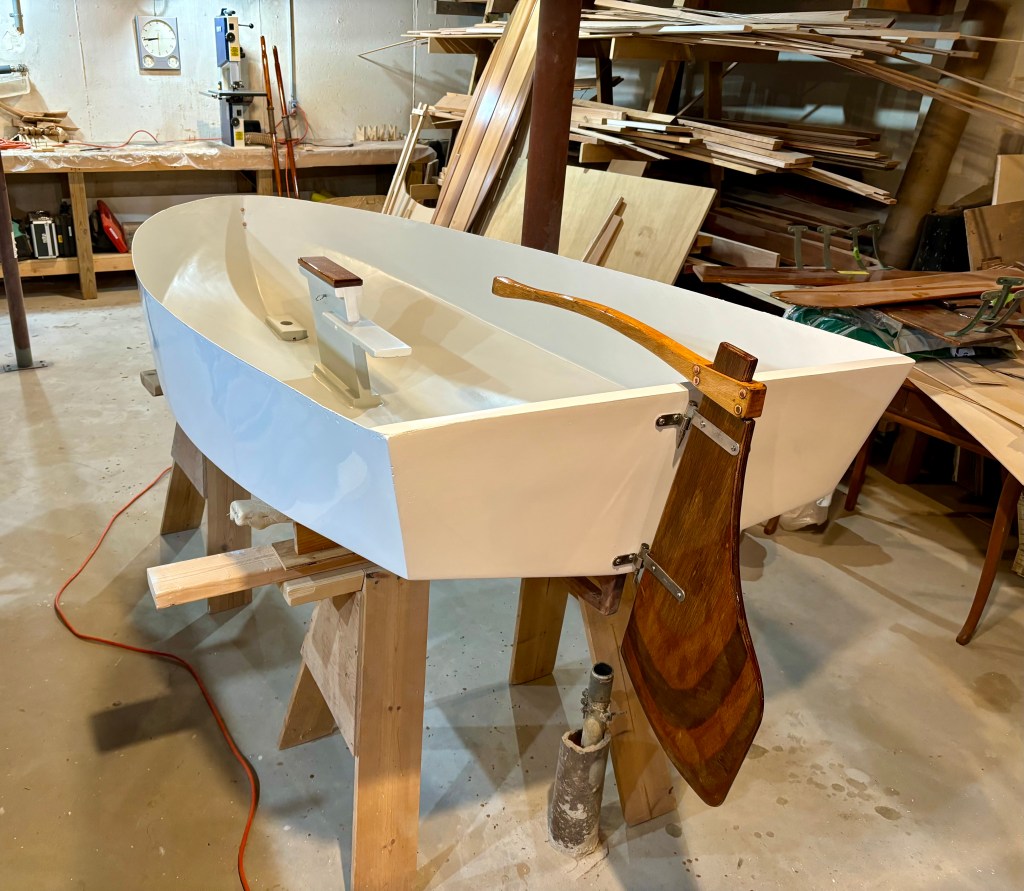
Now it was time to turn it over and paint the inside of the hull.
I decided to paint the interior with Brightside. It would ensure durability. The original color for this vintage Dyer was a dark blue. I wanted something much lighter so I opted for a Seattle Gray. However, Brightside comes in high gloss. Not a good idea for an interior that will get a lot of abuse, not to mention create glare. So I needed to put a flattening agent in it to knock back the gloss. I never used a flattening agent before so it would be a trial and error thing.
After a heavy sanding I applied the first coat straight – high gloss.
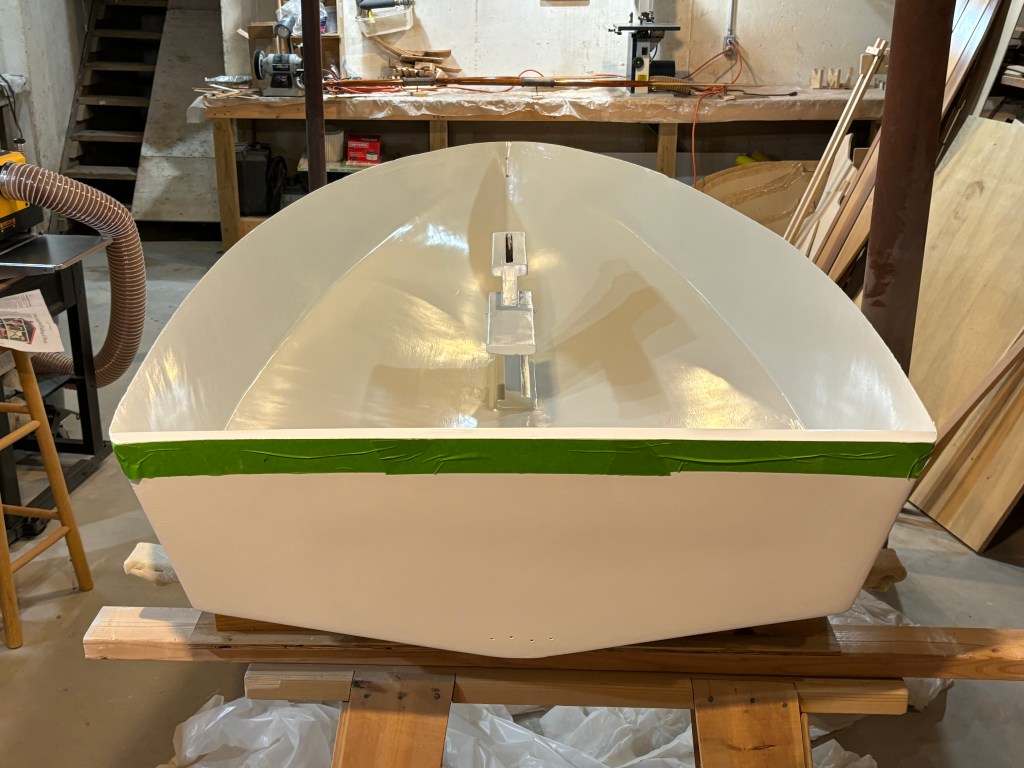
Then I added 1 part flattening agent to 1 part paint and put on another coat. This knocked it back to a semi-gloss. It was still too glossy. So I did 2 parts flattening agent to 1 part paint and did a final coat. This knocked it back to a low luster. Still somewhat glossy, but not bad. So be it.
Now I had to wait for delivery of the gunnel kit to finish.

Leave a comment