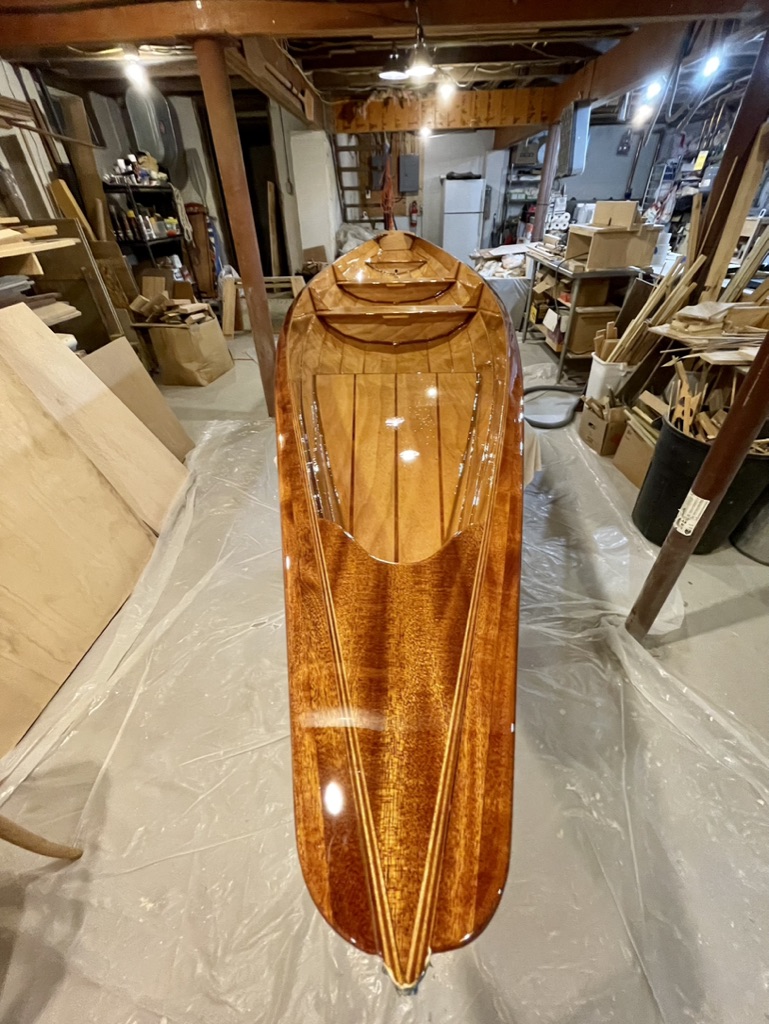
With the epoxy-coated bottom filled, faired, and sanded, it was time for paint. Because the boat would be dry sailed I chose white gloss Interlux Brightside for the hull paint, and no antifouling bottom paint. I have used Brightside before. It proved to have a hard finish, it flowed nicely, and holds it’s gloss well.
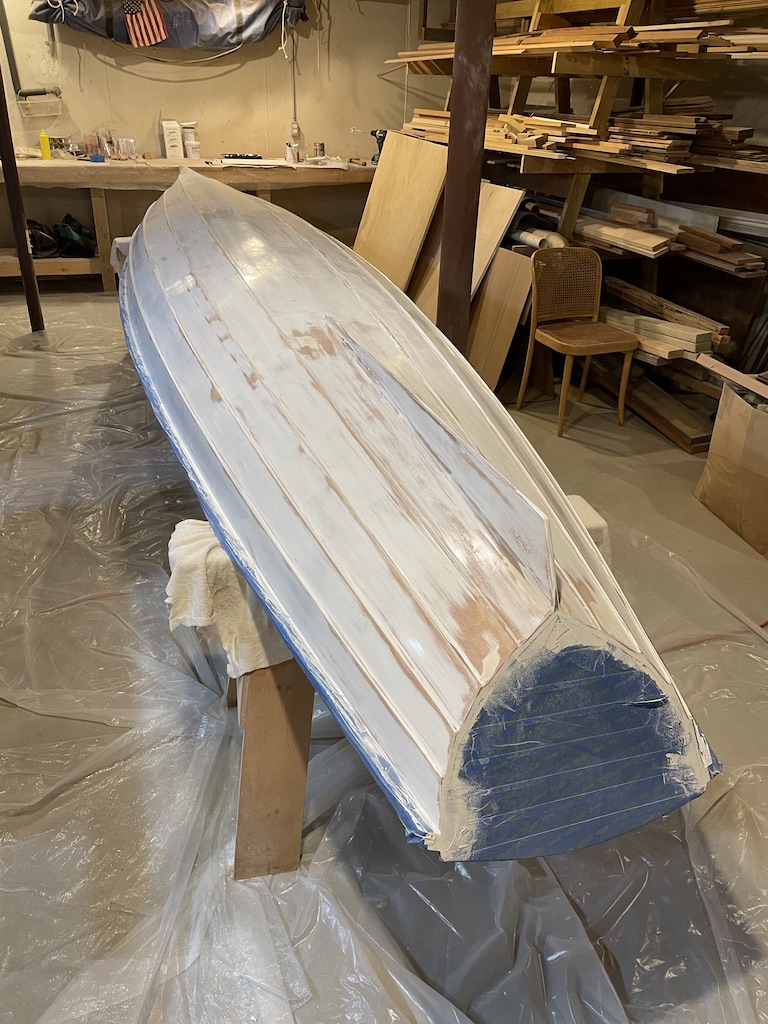
I taped off the transom and rub rails which would eventually be varnished. The first coat of paint acted like a primer. After applying it, I sanded most of it off. This helped fill the small valleys and pin holes.
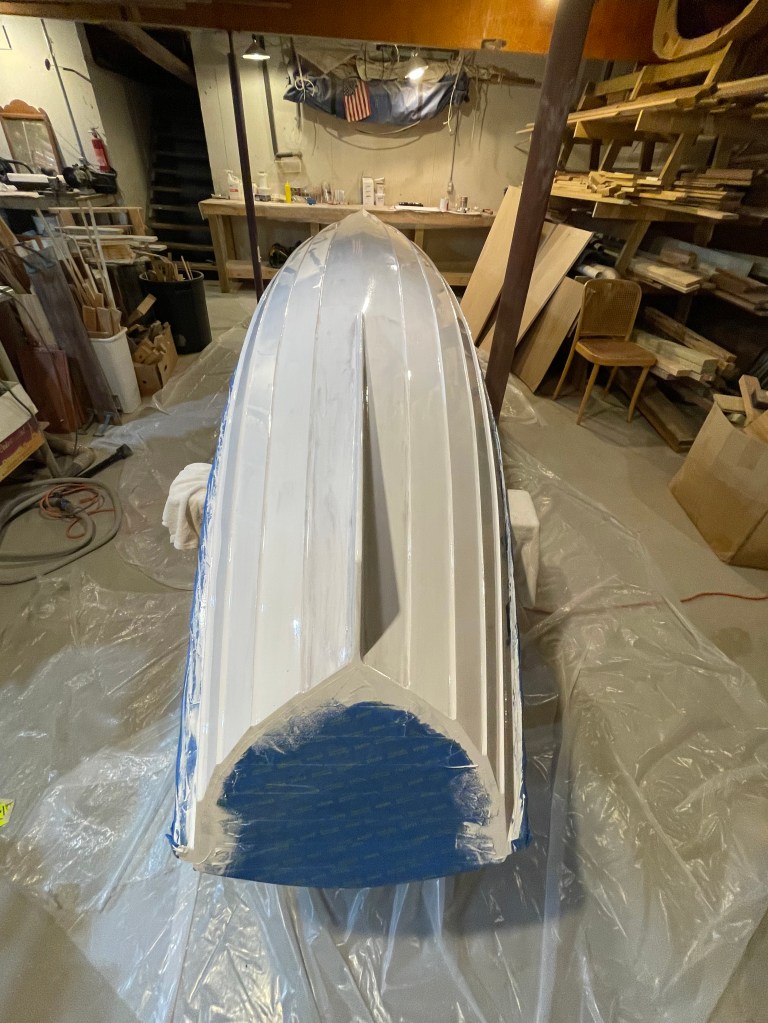
First Coat
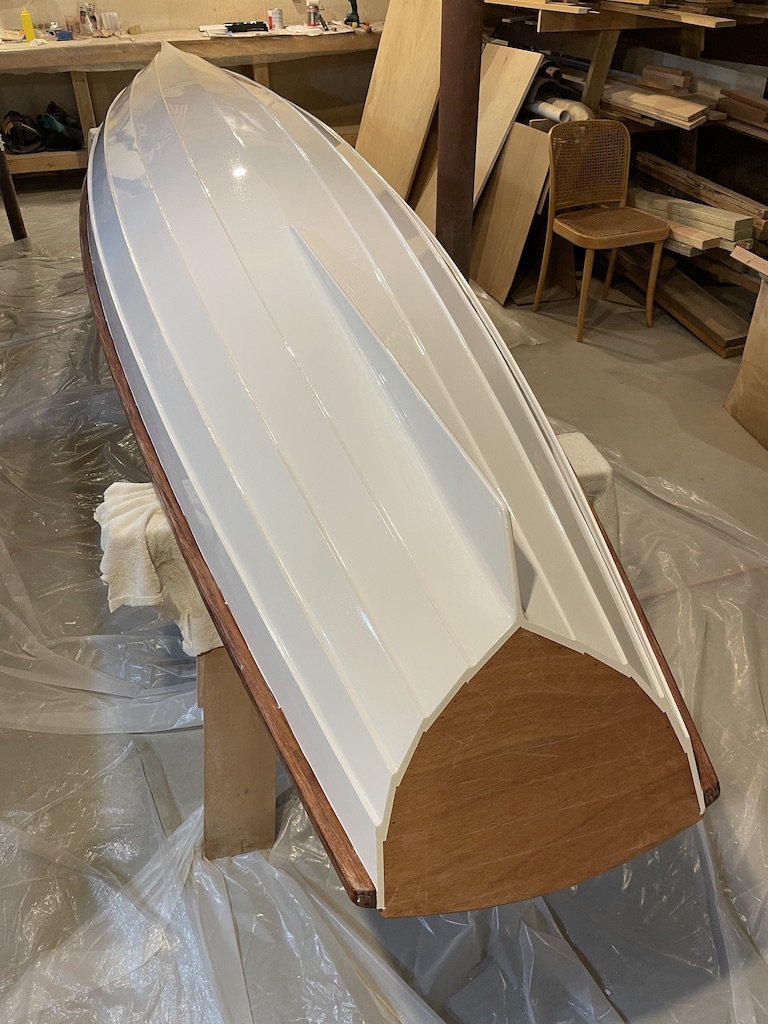
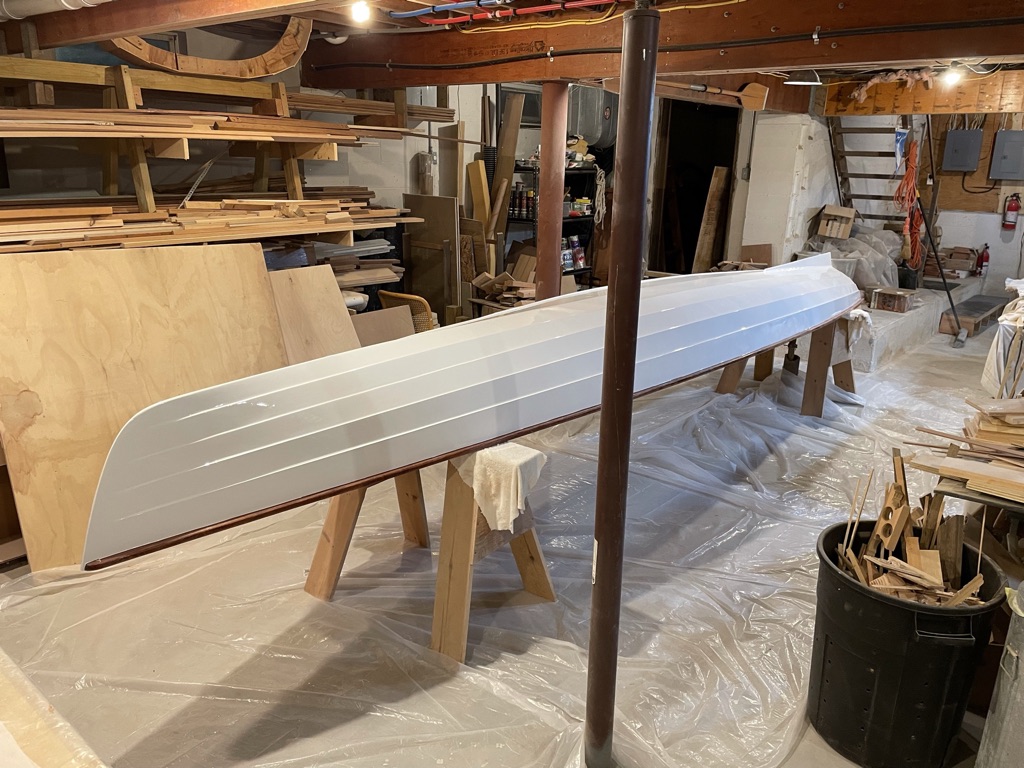
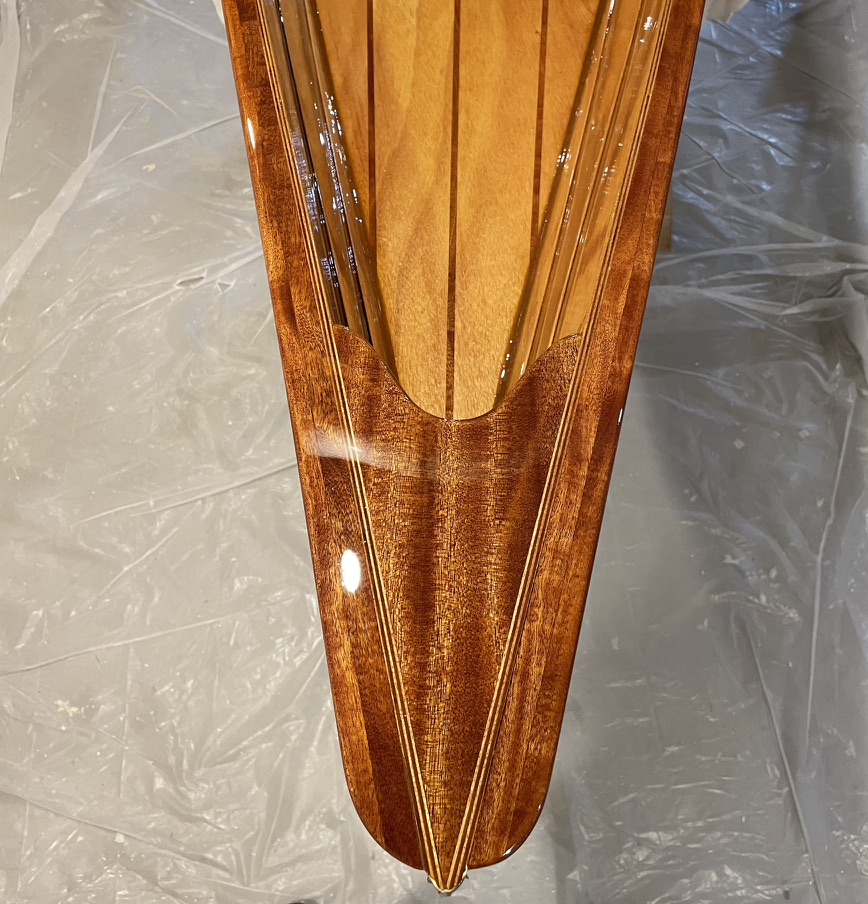
I rolled and tipped two more coats, sanding lightly in between with 220 grit. True to my past experience it flowed extremely well and showed no brush marks. After the last coat, removing the tape while the paint was still wet left neat clean lines with minimal bleed-through under the tape. I cleaned that up with an exacto blade.
I left the bioat for two days to make sure the paint was well-cured before turning it over.
With the boat turned, I masked the adjacent paint and did a final sanding of the interior. Then I began the long process of applying eight coats of varnish. While I usually use Epifanes clear varnish, this time I tried TotalBoat Lust Marine Varnish. Its relatively quick drying time allowed several coats per day, Epifanes needs a full 24 hours to dry before the next coat. As the entire interior needed eight coats of varnish, that time savings was welcome.

Sanded Interior and Transom
The temperature in my basement was only about 60 degrees and the humidity was relatively high. For whatever reason, I could apply only two coats of varnish per day.
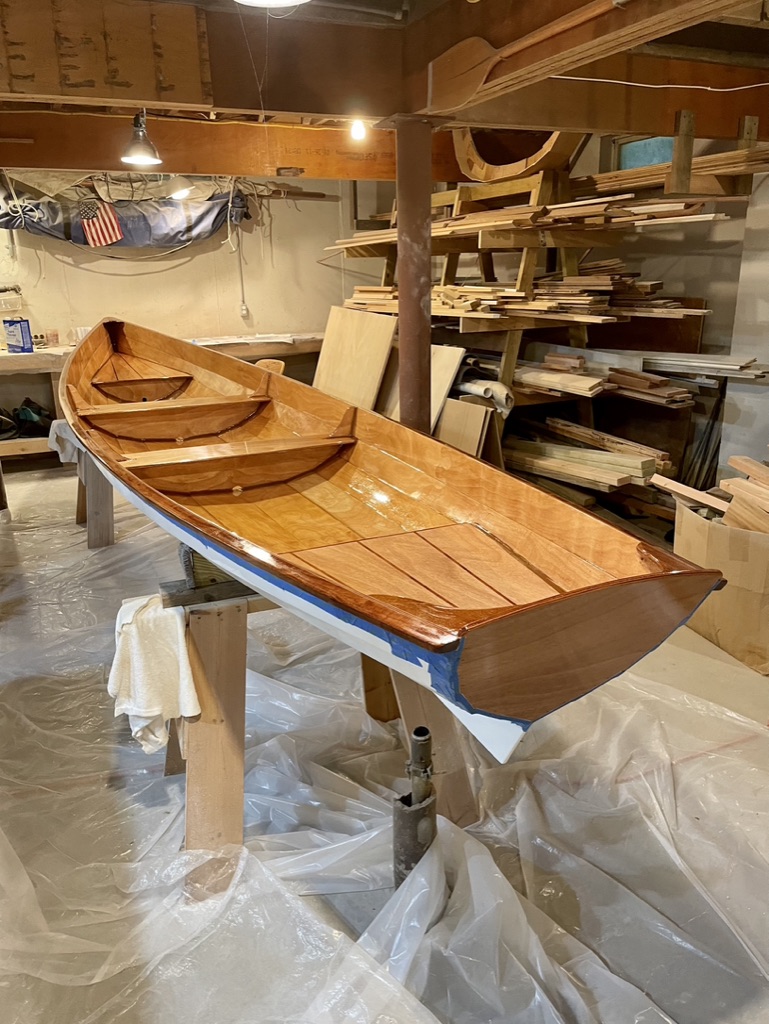
First Coat of Varnish
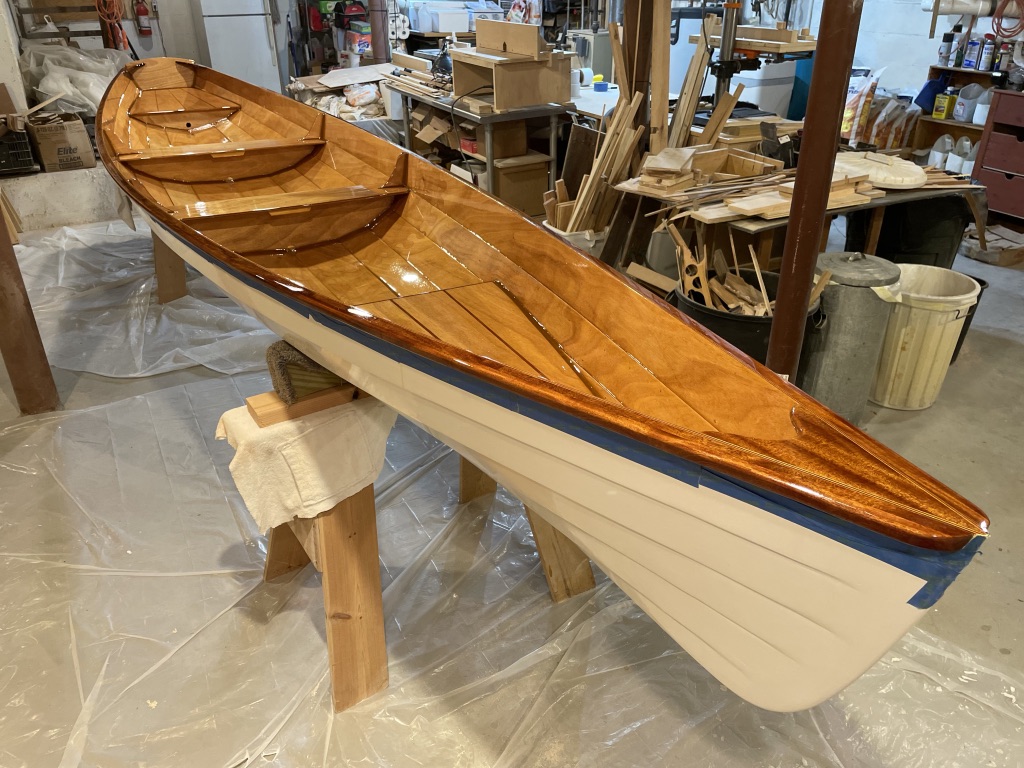
… and More Varnish …
… and Done.

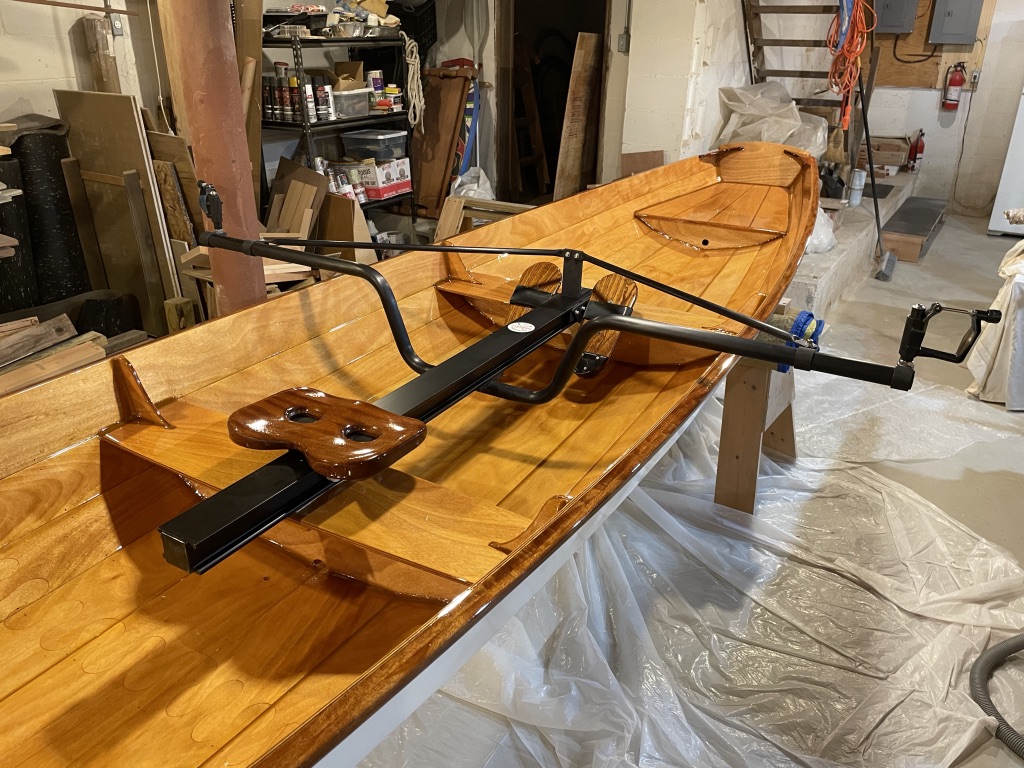
I temporarily put in the rowing rig, a Piantedosi Row Wing, to see how things looked. Of course I had to varnish the seats and foot stretchers on the Row Wing with eight coats! Looking good.

Now I needed to get it out through the basement scuttle and launch it. It weighed about 65 lbs. so I wasn’t worried. With two people it would be easy.

Leave a comment