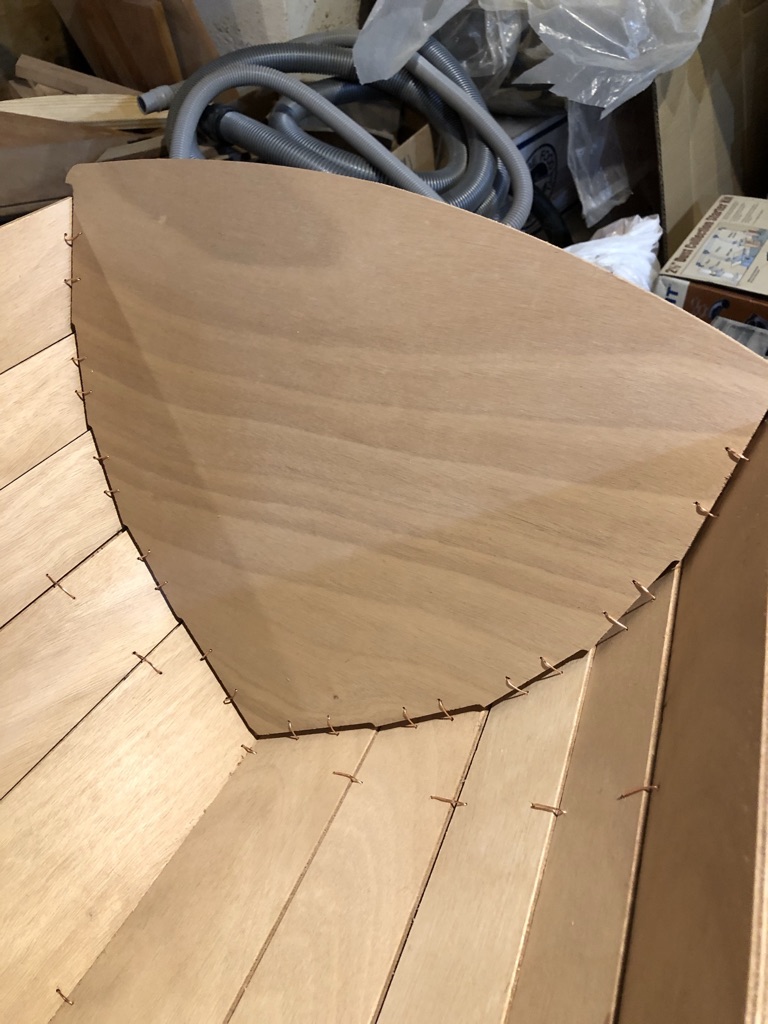
The hull planking went together quickly, taking It only a day to assemble loosely together. The planks are stitched together with copper wire provided in the kit. Holes for the wires are pre-cut in each plank. The alignment of all the holes is remarkably accurate. Frames have tabs that engage slots pre-cut into the planks and holes to accept wiring to the planks. In a day you have a boat.

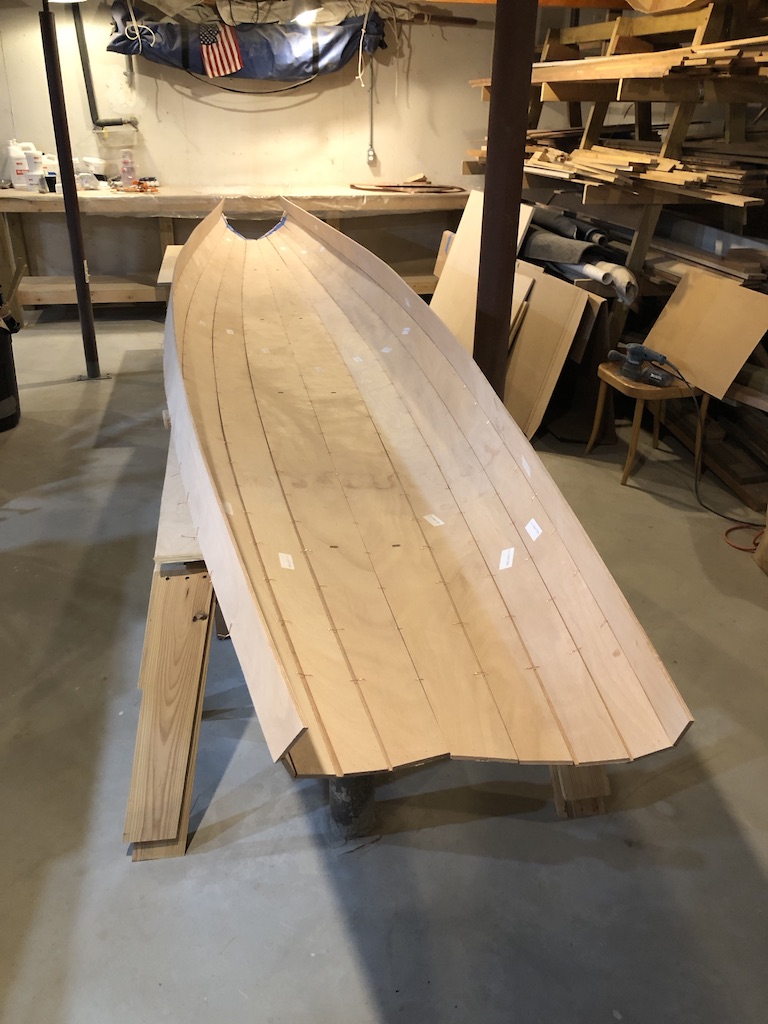


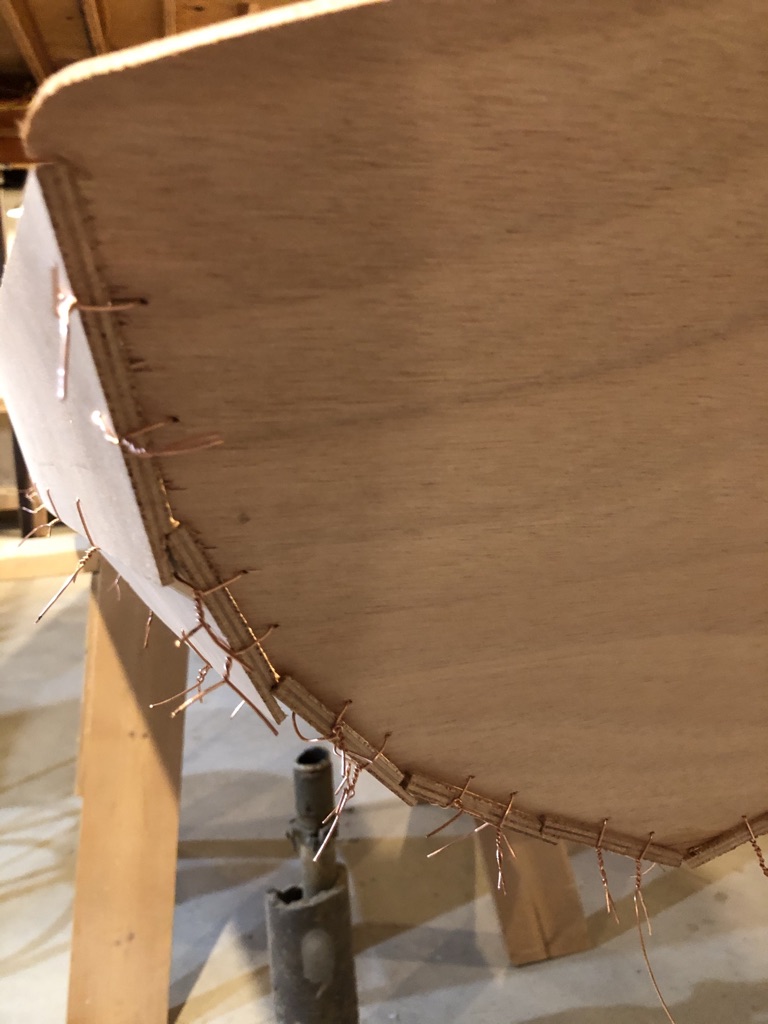
Copper wires are loosely passed through the holes to connect planks and then twisted to tighten. Occasionally they pull out of the edges of the holes and no longer hold. This doesn’t seem to be a problem as there are a lot of closely spaced holes.


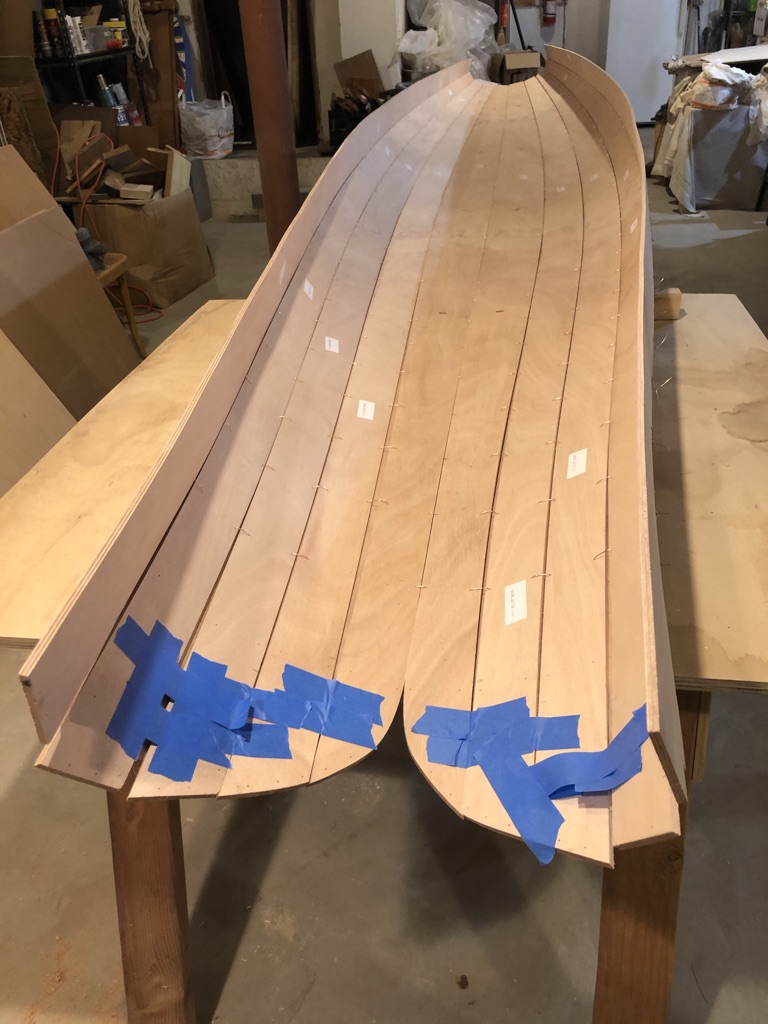
Aligning the bow properly was a chore. It needed to be leveled and clamped to get a fair set. There seemed to be plenty of room to align the gains. I used the breast hook to help level and set the bow shear. As is often the case, throughout the entire hull build, the eventual reliance on epoxy to fill open joints, holes, and glue edges made perfect accuracy at these locations moot.
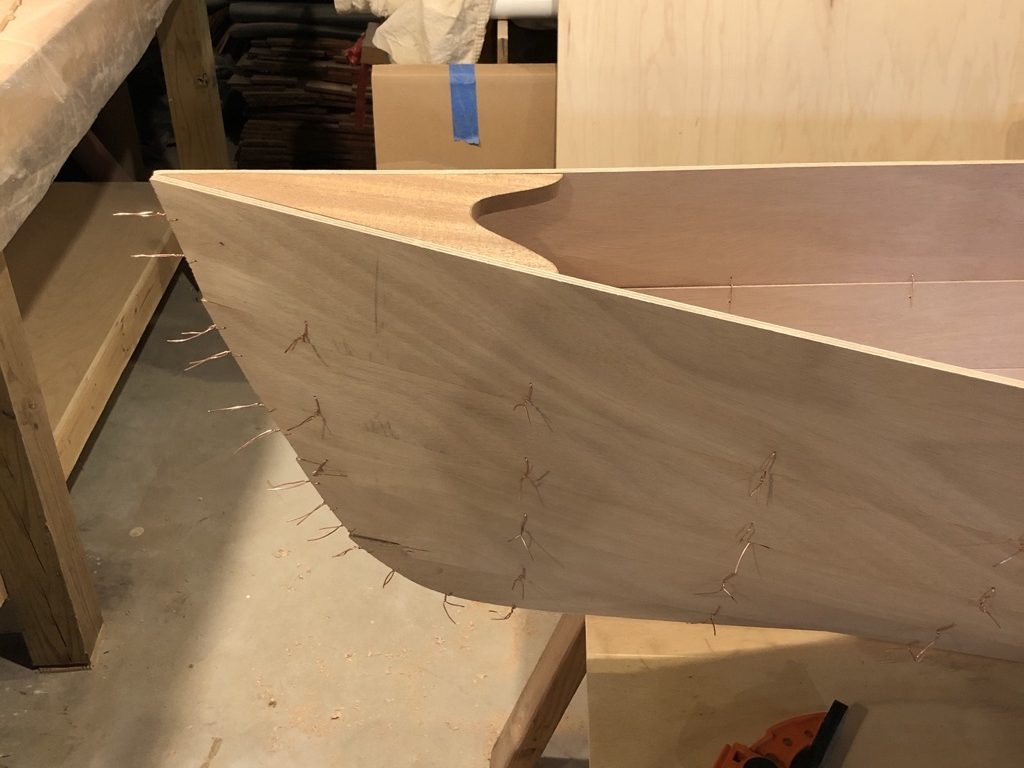
The transom was difficult to squeeze into place. Because of the curvature of the planking, gaps were inevitable at the hard turns.
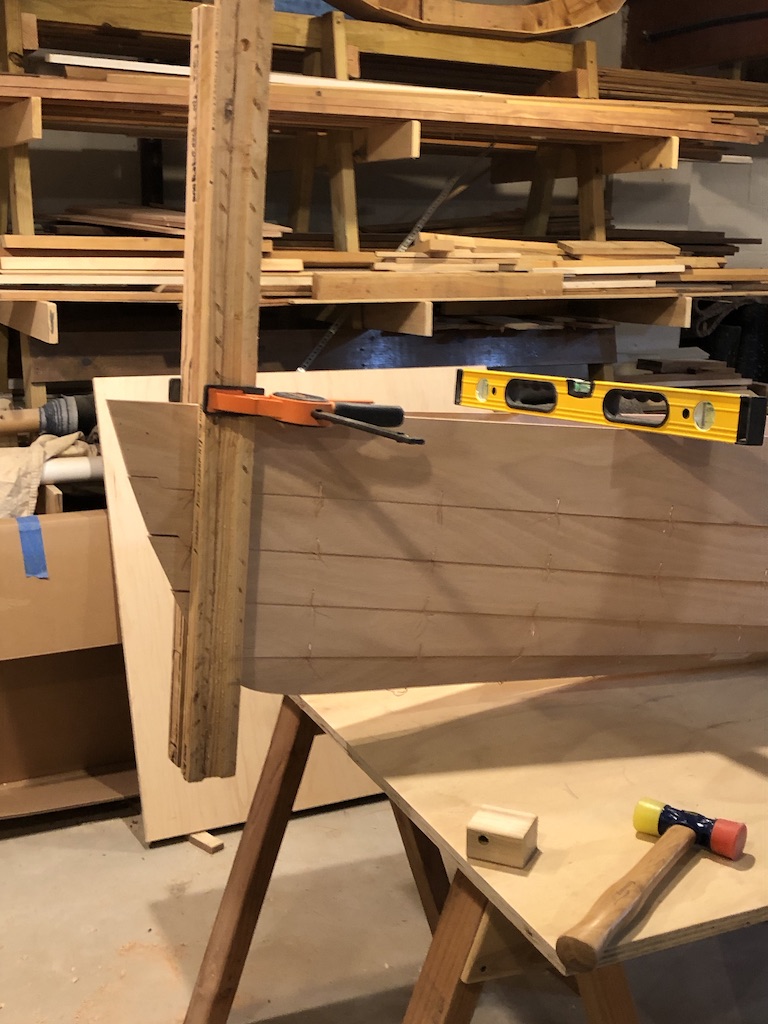
I needed to improvise a strap clamp system to get the planks to come together properly at midship. You can see the gap at the shear plank before I tensioned the strap. It worked quite well.

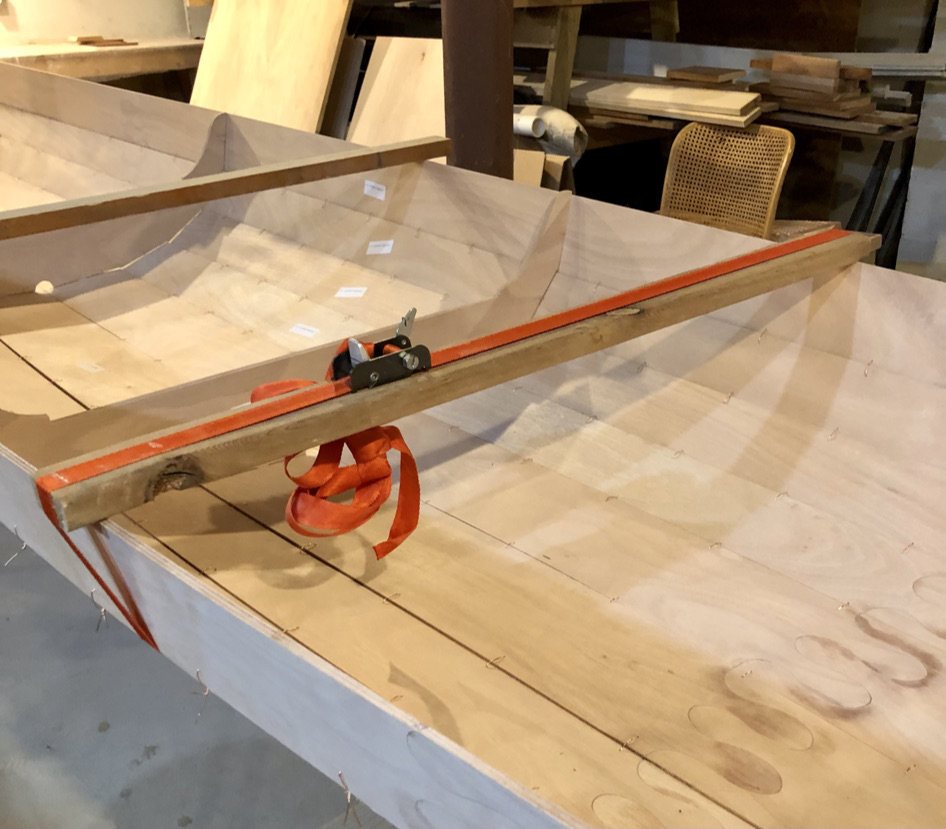
With the planks tightly wired together and the transom and frames in place, and to be certain there was no twist in the hull, I did a final check to ensure the shear was level along the entire length.


Leave a comment