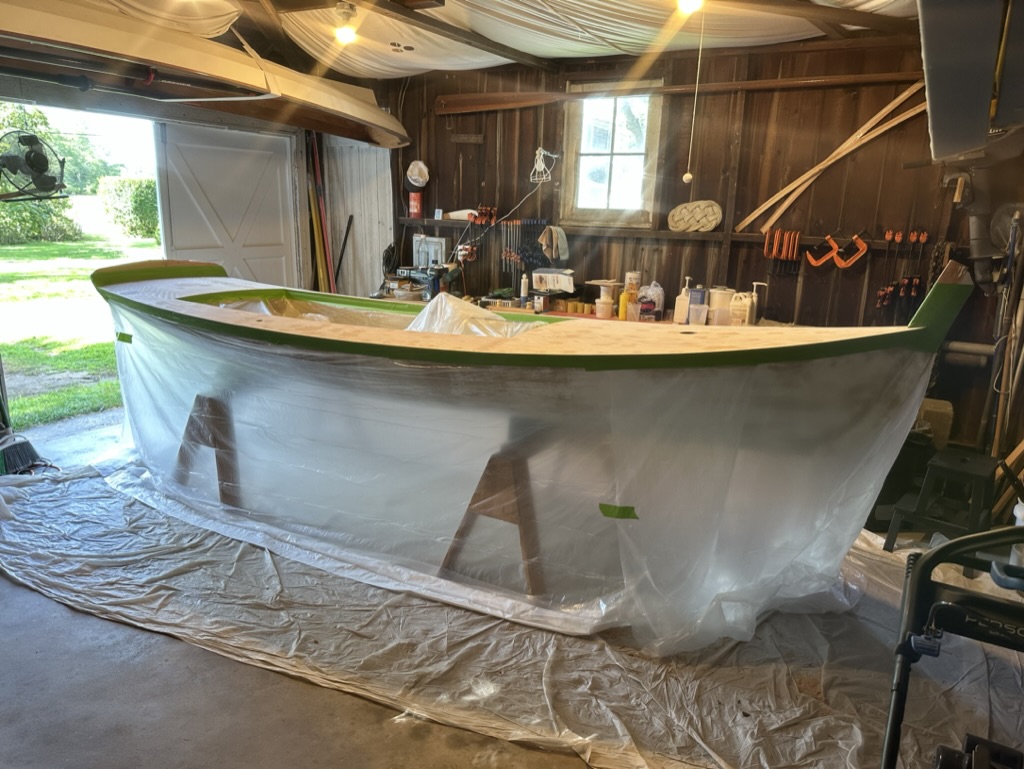
To rough out the final deck profiles I used the templates I had built when I was testing the deck structure’s fairness. The final decks would be 1/4″ marine plywood, epoxied to the structure. Finding a way to clamp them well presented a challenge. Straps and clamps would not hold the decks firmly enough across the entire structure. So, I used an array of pocket screws placed every ten inches or so. I tried some screws with small wood blocks, but they were clumsy. Pocket screws have a The lip at the head of the pocket screws provided a small clamp so the screws would pull the plywood down tightly. The resulting indentations would be resolved with fairing putty.
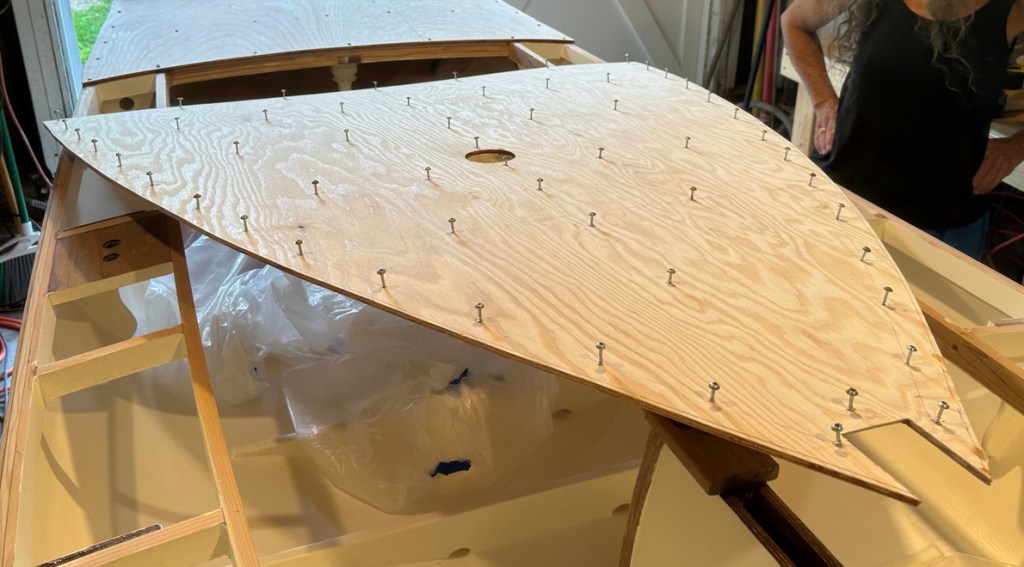
Throughout the build, when I needed a controlled line of epoxy, I would mix my own with filler, and dispense it from a plastic baggie used like a pastry bag. This worked well, but was a bit messy, as controlling the line of epoxy was difficult. I decided to try some West System Six10, which pre-mixes the resin and hardener in a nozzle and dispenses it in a consistent line. It also clings well to wood and limits drips. The stuff is ludicrously expensive and each tube doesn’t hold much, but I wouldn’t need a lot. And, rather than have squeeze-out fall onto my newly painted interior, it would stay put exactly where needed.
Working in sections, I pre-drilled the holes, set the screws in the ply, applied the glue, screwed in the decks, waited two hours or so for the epoxy to set, and removed the screws. It went quickly.
I did the fore and aft decks first.

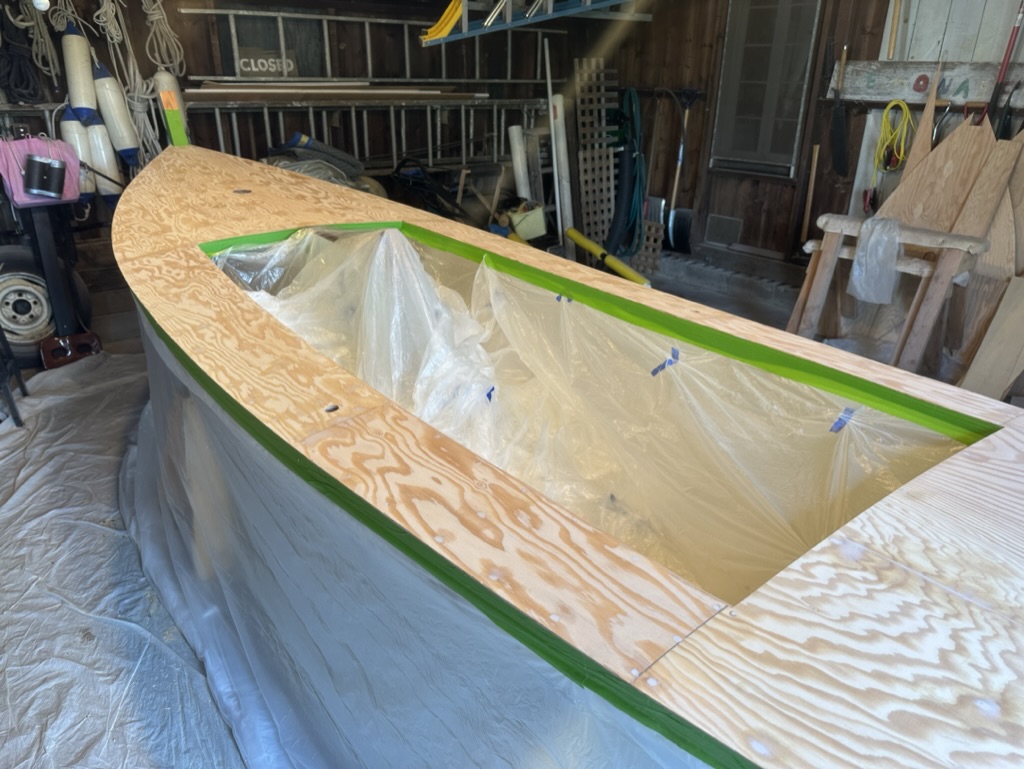
I trimmed the side deck panels carefully to fit tightly against the fore and aft decks.
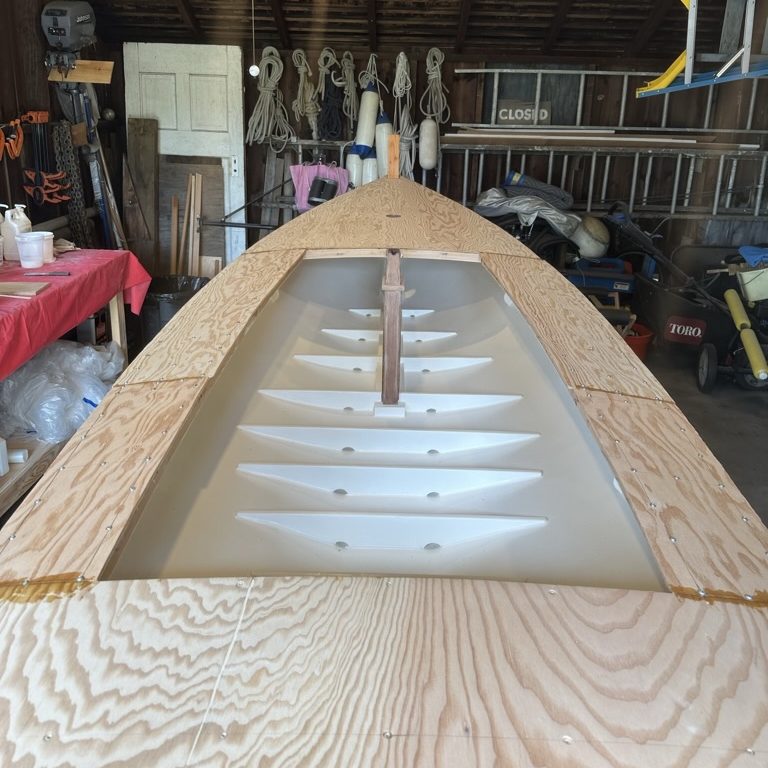
Then I trimmed the shear and cockpit edges and filled the holes and seams.

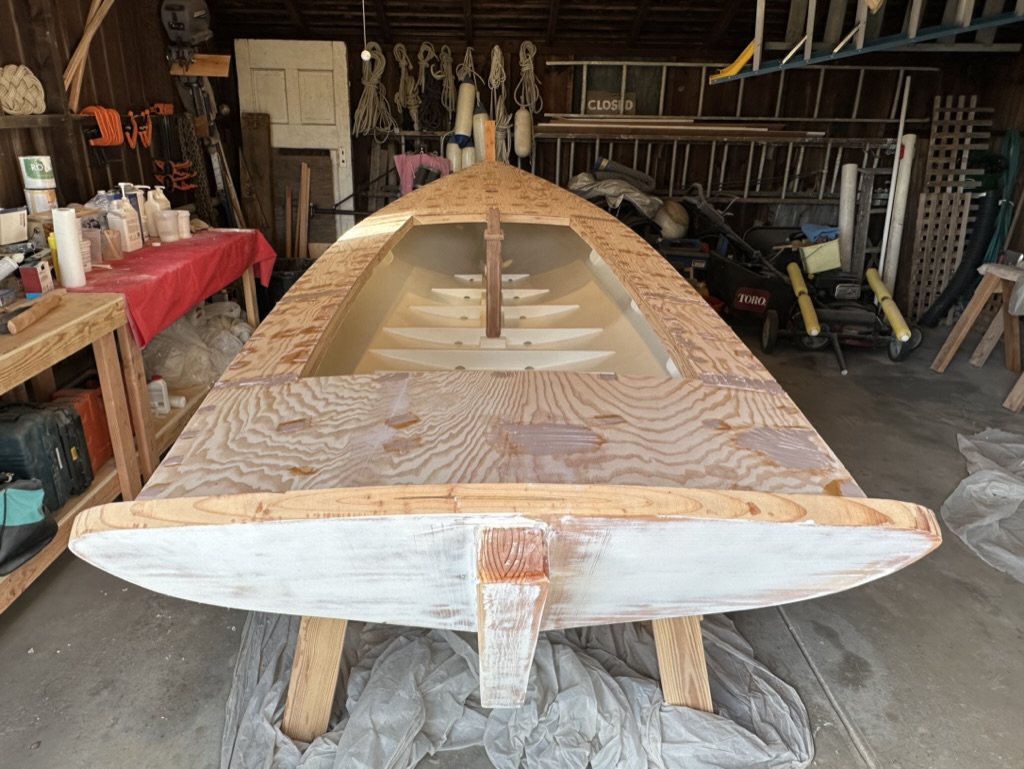
I sanded the decks smooth and laid on one layer of fiberglass cloth with three coats of unthickened epoxy.
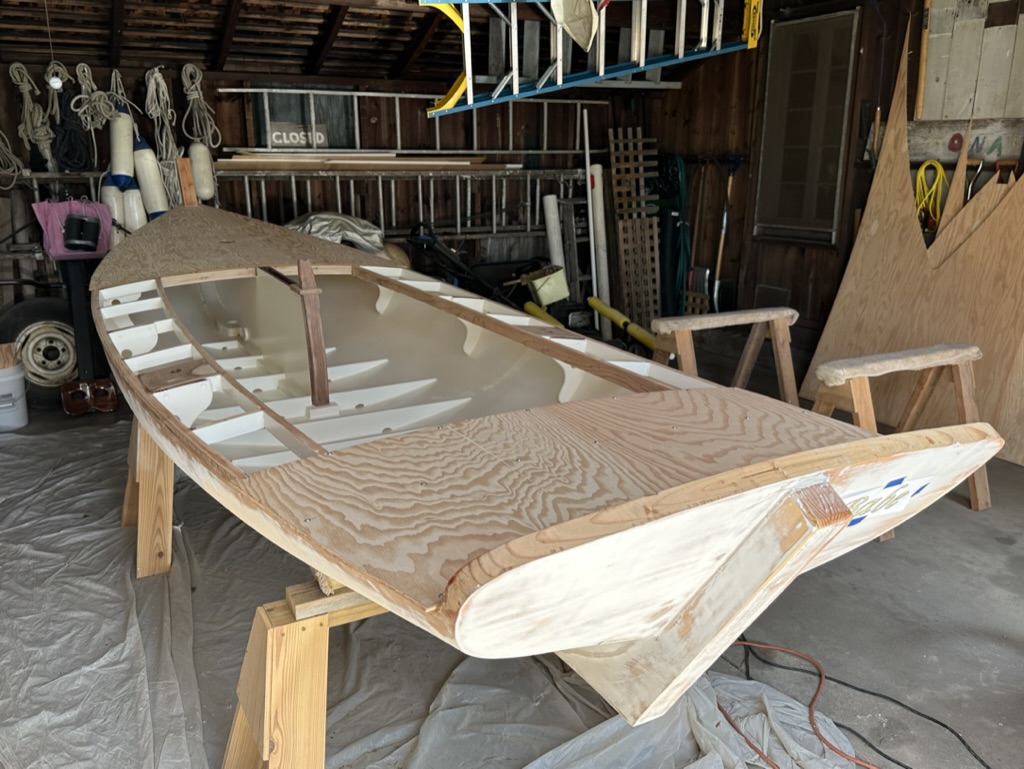
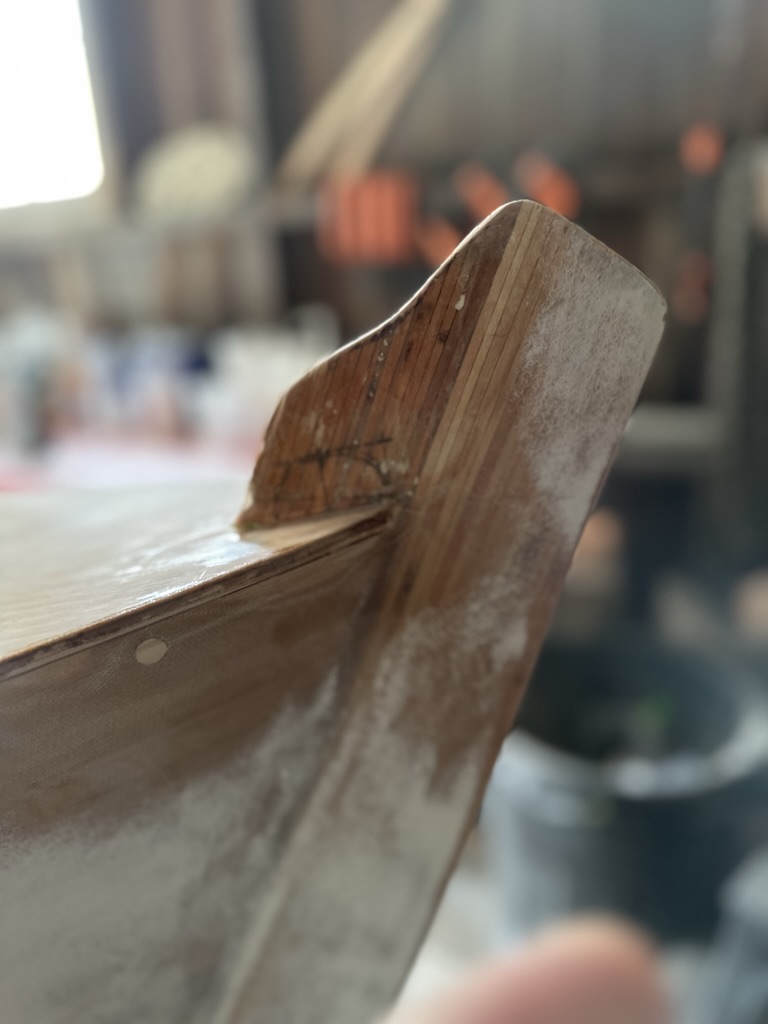
Next I decided to rough cut the stem head. I laid out a traditional shape and used a sawzall to cut through the laminated stem. I would file and sand to it’s final shape later.


Leave a comment