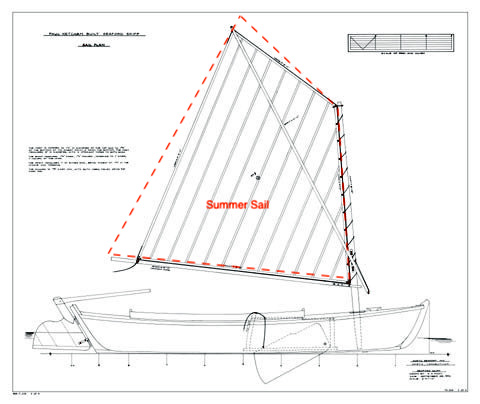
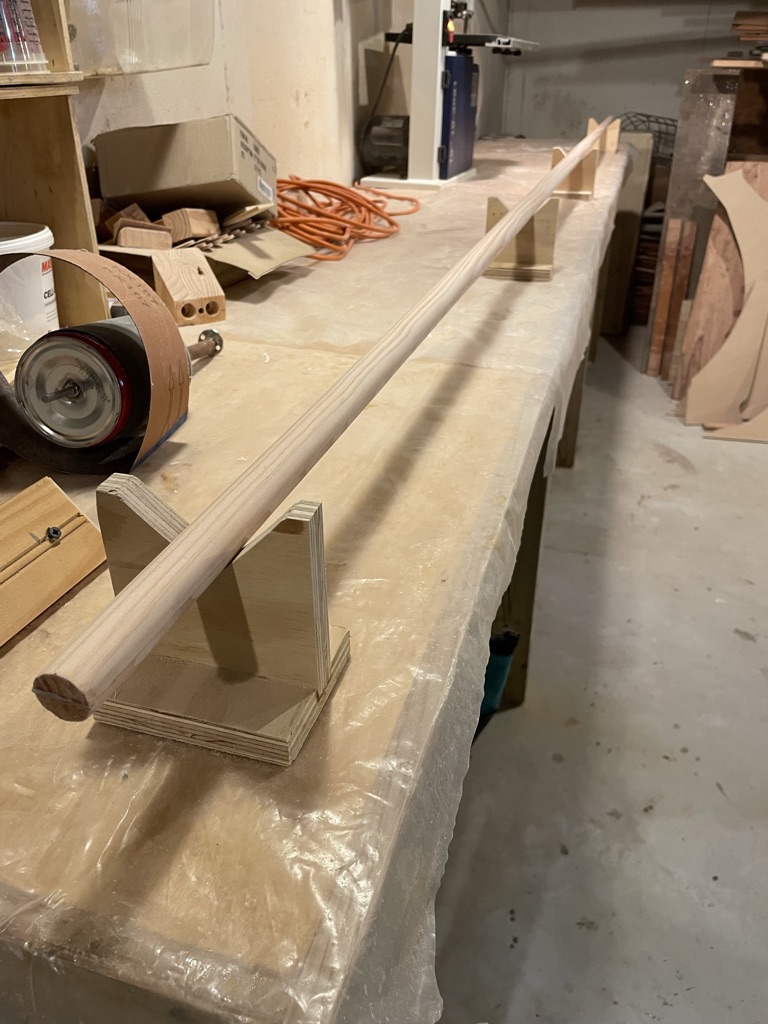
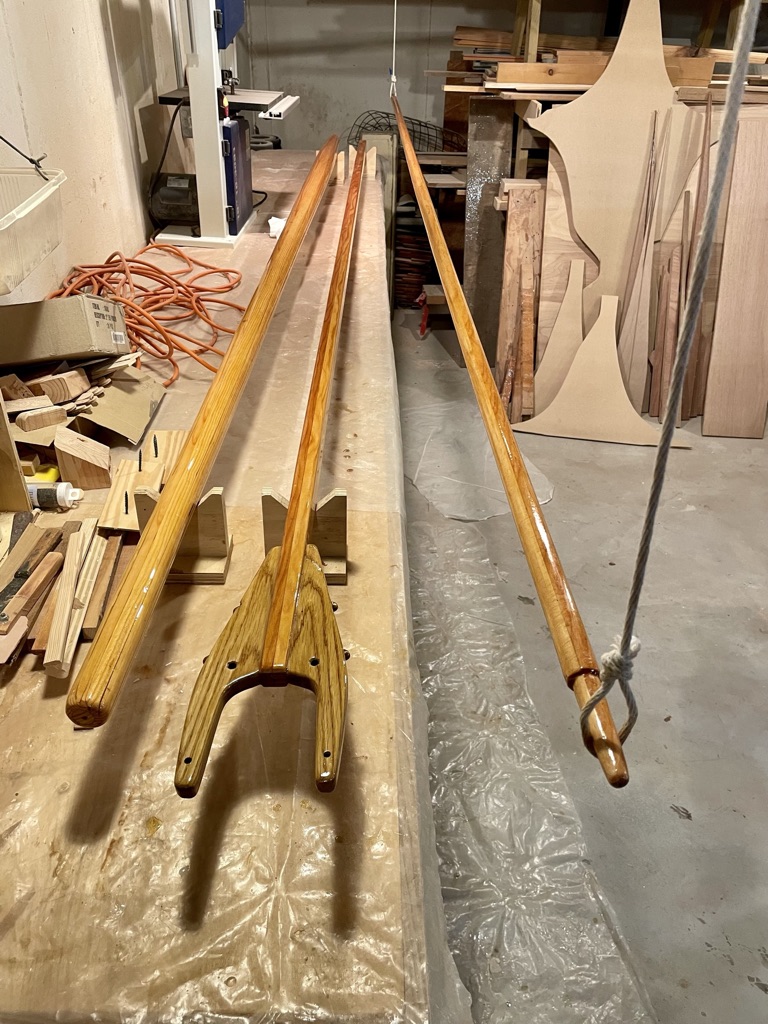
Dimensions for the spars were well documented in the plans. The boat has a sprit rig with an unstayed mast so there were three spars to build – mast, boom, and sprit. I used Doug fir for all spars. The boom’s length was dimensioned for the larger summer sail, but the sail plan showed the smaller winter sail.
I added an extra 6″ to the mast so that I had plenty of room to rig fittings. The 1870s originals had rudimentary sail attachment points at the top of the mast. They kept it very simpIe. I planned to use some small blocks for the main halyard, brailling line, and maybe a flag halyard (the tops’l is another story!), so I needed more space. Also, I was not sure about the final dimension of the height of the mast from the deck. The plans did not specify a dimension for the mast step so I estimated it’s thickness. The extra mast length would assure I had some room for error. For the boom and sprit I stuck with the plans.
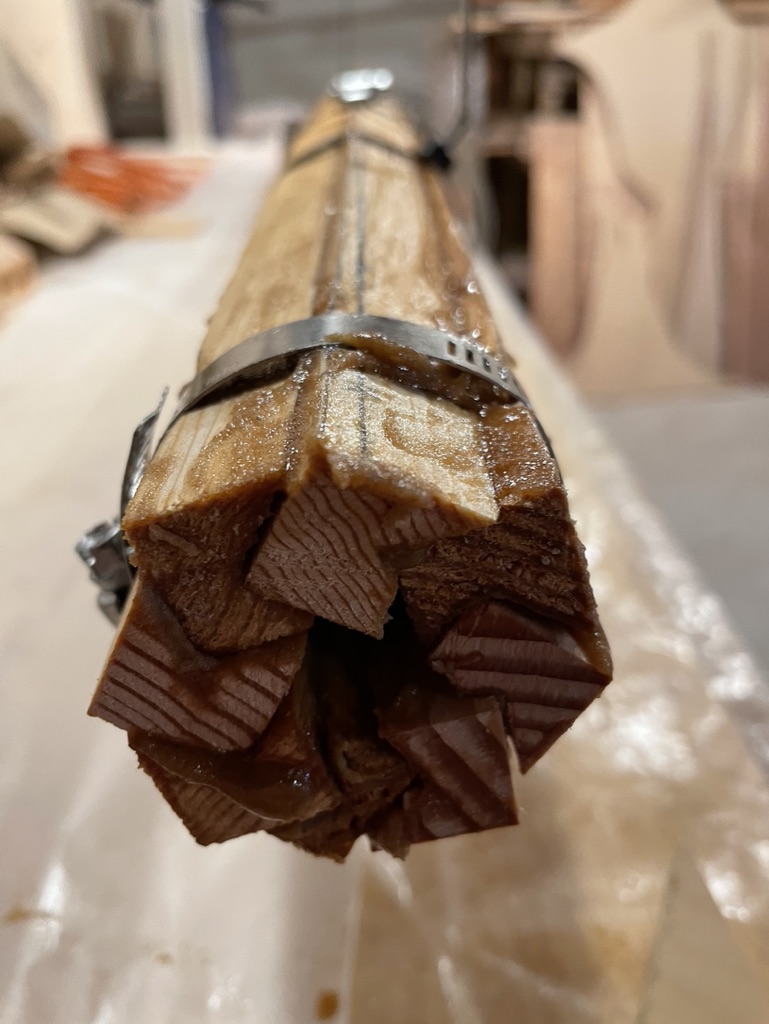
The mast would be of bird’s mouth construction made with 3/4″ thick Doug fir and tapered at both ends. I did some tests of the bird’s mouth assembly to get the diameter just right. It took a couple of attempts. Then I did a test of the tapers, both top and bottom.
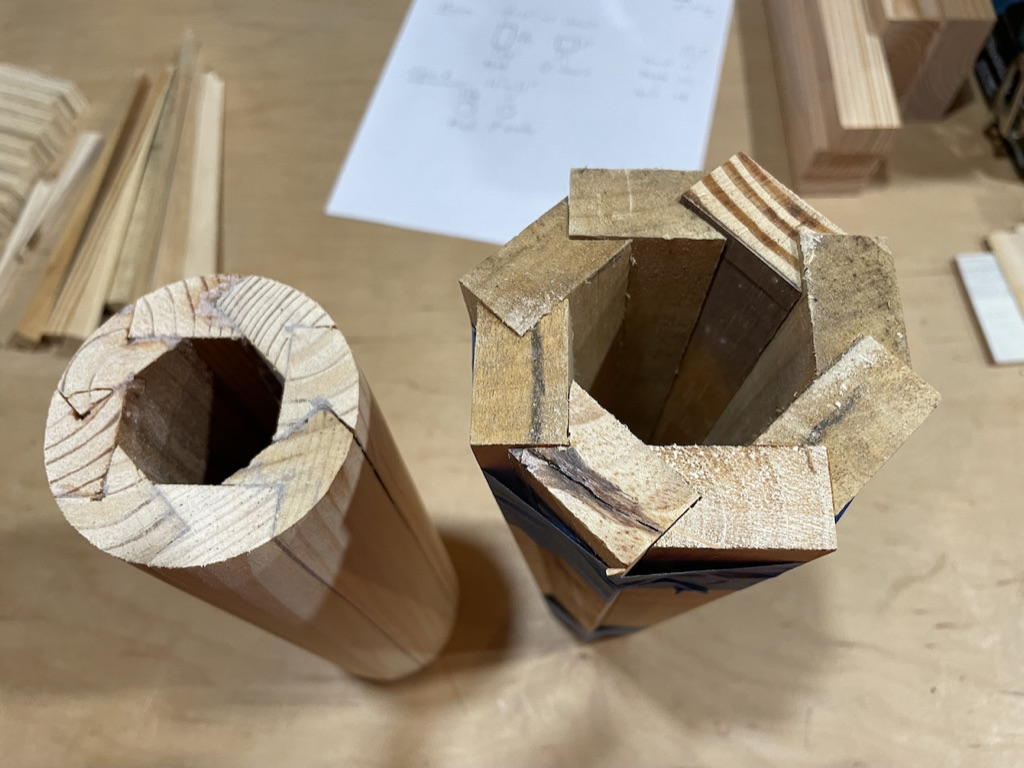
Bird’s Mouth Mast Tests
Tapered Bird’s Mouth Test
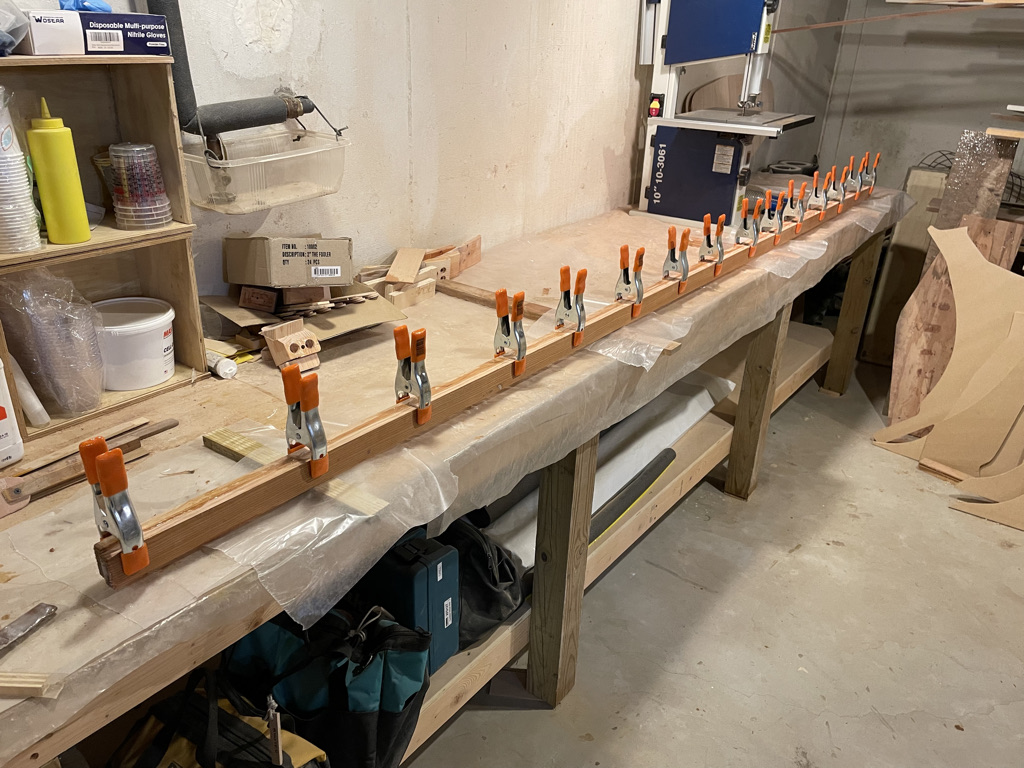
Then I cut full size staves and epoxied them together. Hose clamps seemed to work best to get the right squeeze out of epoxy. I tried cable ties first, but they were difficult to adjust. Inside the mast hollow, at the height of the partners, I added a round filler section to reinforce the mast. I ran it up to include the zone of the cleats. After the glue up, I drilled and filled the ends with internal round sections.
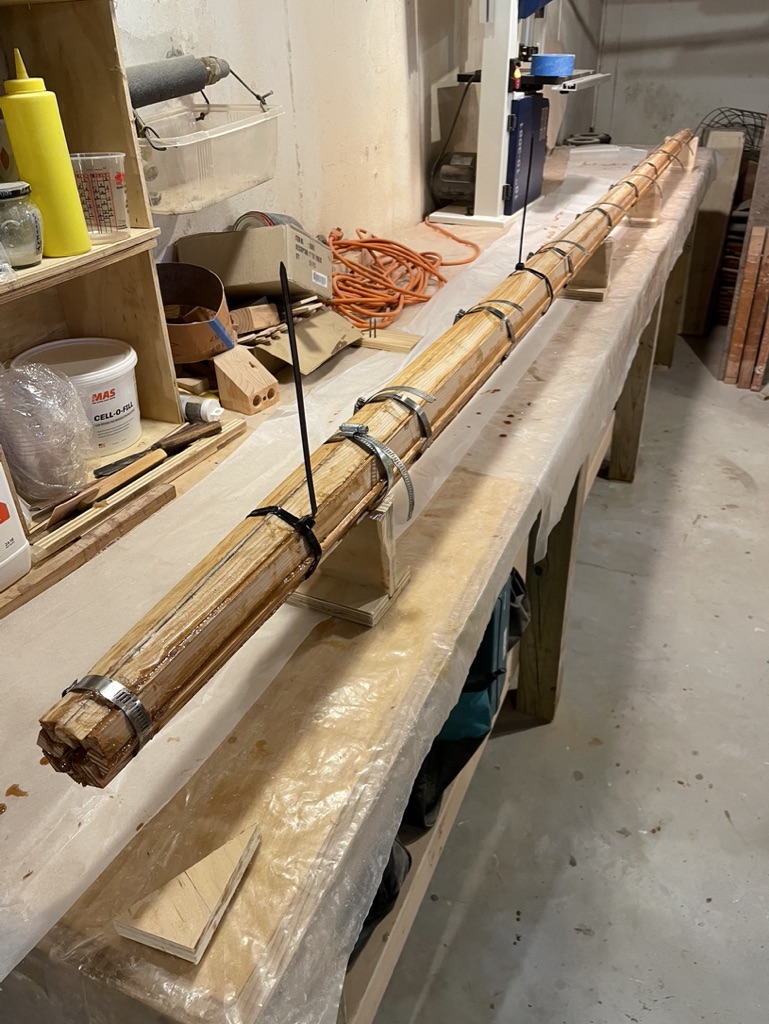
Mast Glue Up
A note on epoxy:
I used MAS two part epoxy throughout the build. I had some MAS resin and slow hardener left over from the Annapolis Wherry build and, as epoxy is ludicrously expensive, I chose to continue using it to avoid the waste. It is non-blushing which is a great convenience. It is relatively clear and works well for adhering and saturation coating the glass cloth. I used Cello-Fill for laminations and Wood Flour for the glue ups requiring more filler. Occasionally, I would use fine Doug fir dust for patching larger holes (I had a lot of it!). After a while, I got good at estimating quantities to minimize the waste. And, as I have said, there is always something else to do while you wait, and wait, and wait, for it to dry!
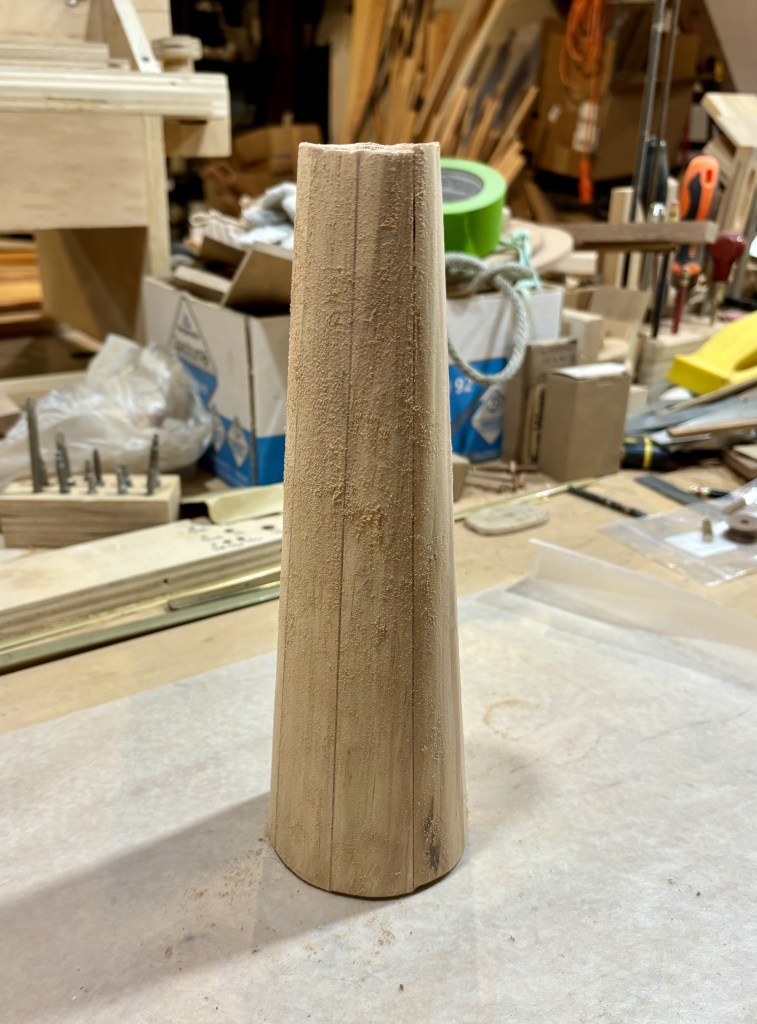
Tapered Spar End – MAS Two Part Epoxy with Wood Flour Filler
The boom was rectangular so I just laminated two 3/4″ x 1 1/2″ pieces of Doug fir.
Boom Lamination
The sprit was quite thin and tapered. The main body was 1 1/4″ and the ends tapered to 1″.
Sprit – Before Tapering
Sprit – Tapered
Then I made the boom jaws from White oak and bolted them onto the boom end with bronze bolts and cap nuts. I tapered the sprit ends further to accept the snotter line and the sail head ring. Ten coats of varnish later they were ready for more details.
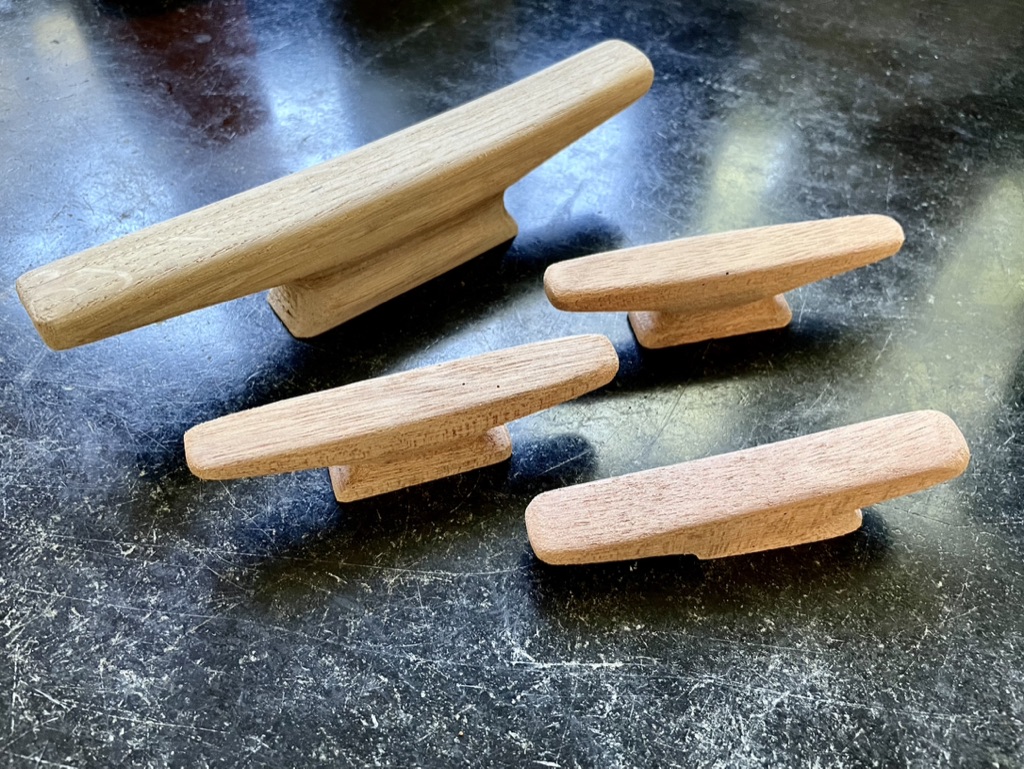
I made a few mahogany cleats for the halyard, snotter, and brailling line.
Then I added some leather padding to the sprit and the boom jaws where they would bear on the mast. I soaked the leather over night in water to make it supple. My first attempt (shown) at lacing leather was a mess. I redid it. After a few coats of tallow they were ready to rig.
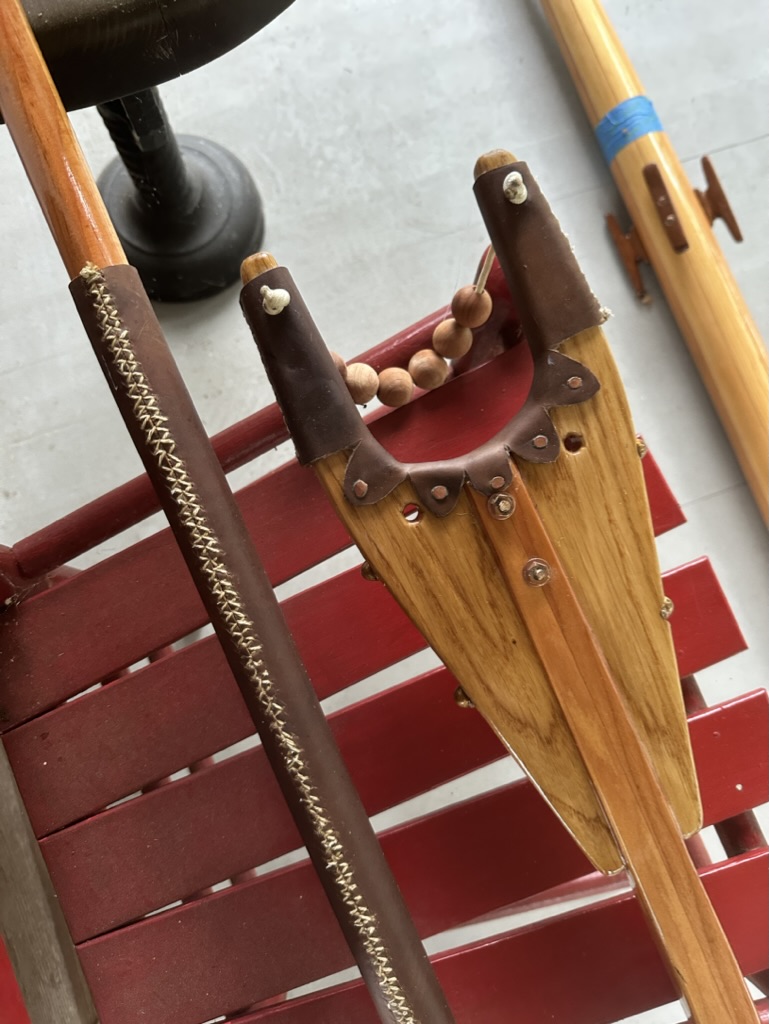
Leather Padding

Leave a comment