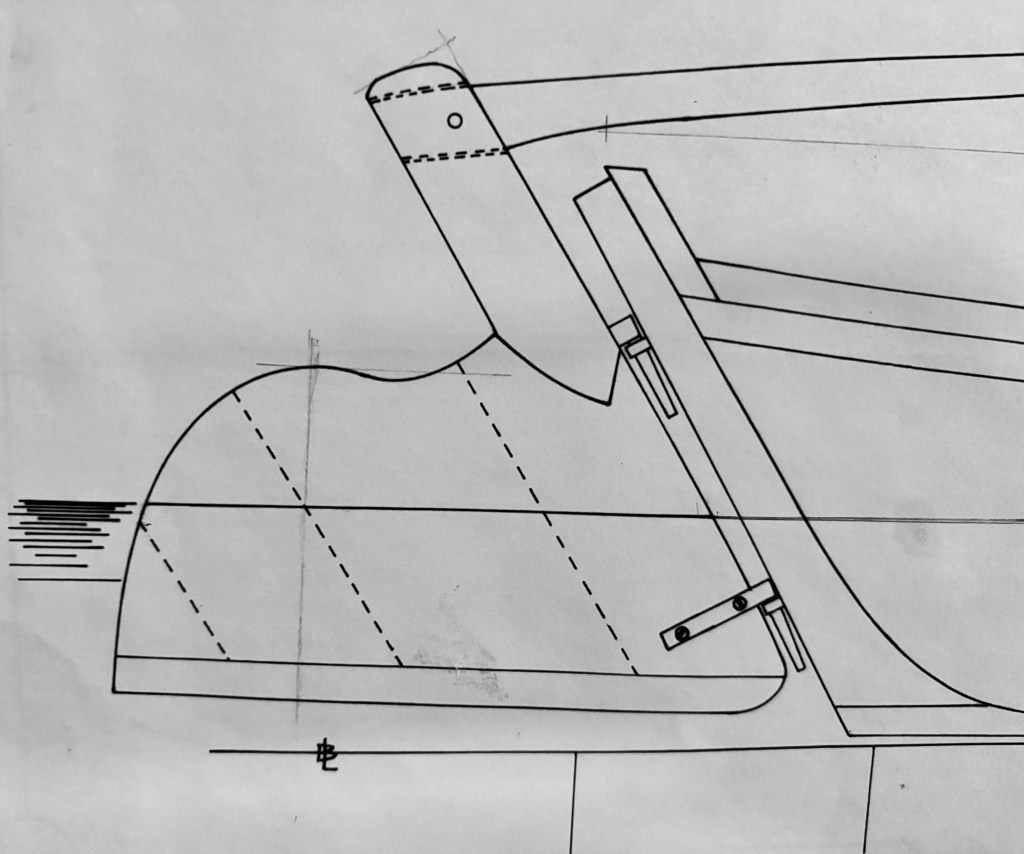
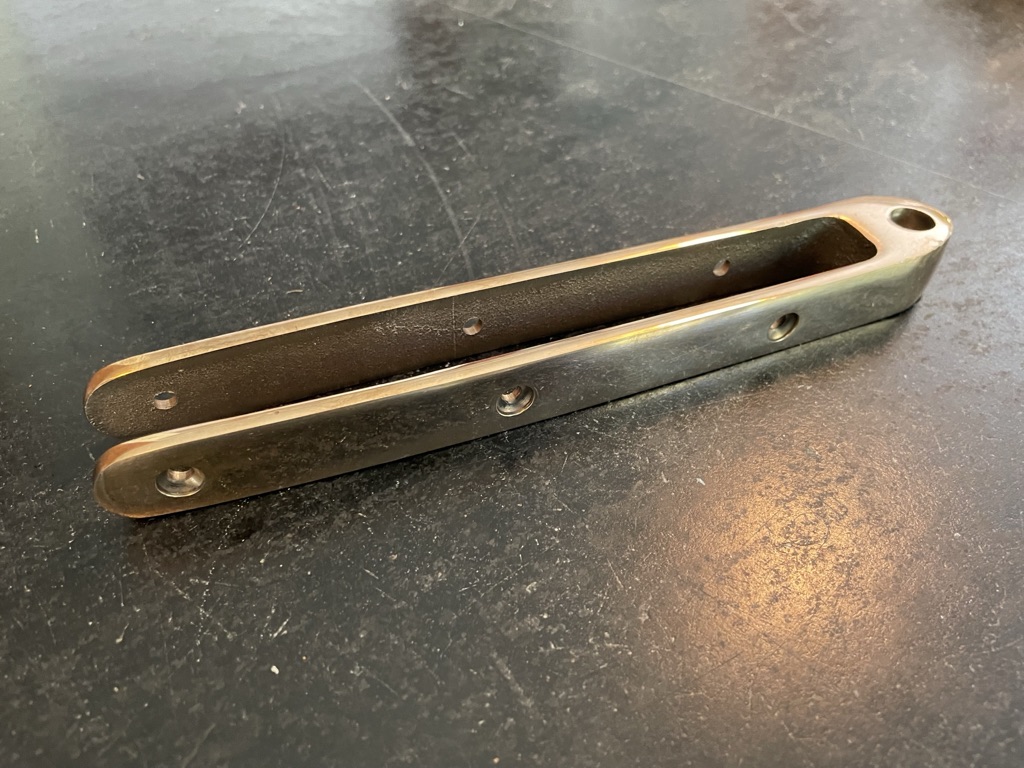
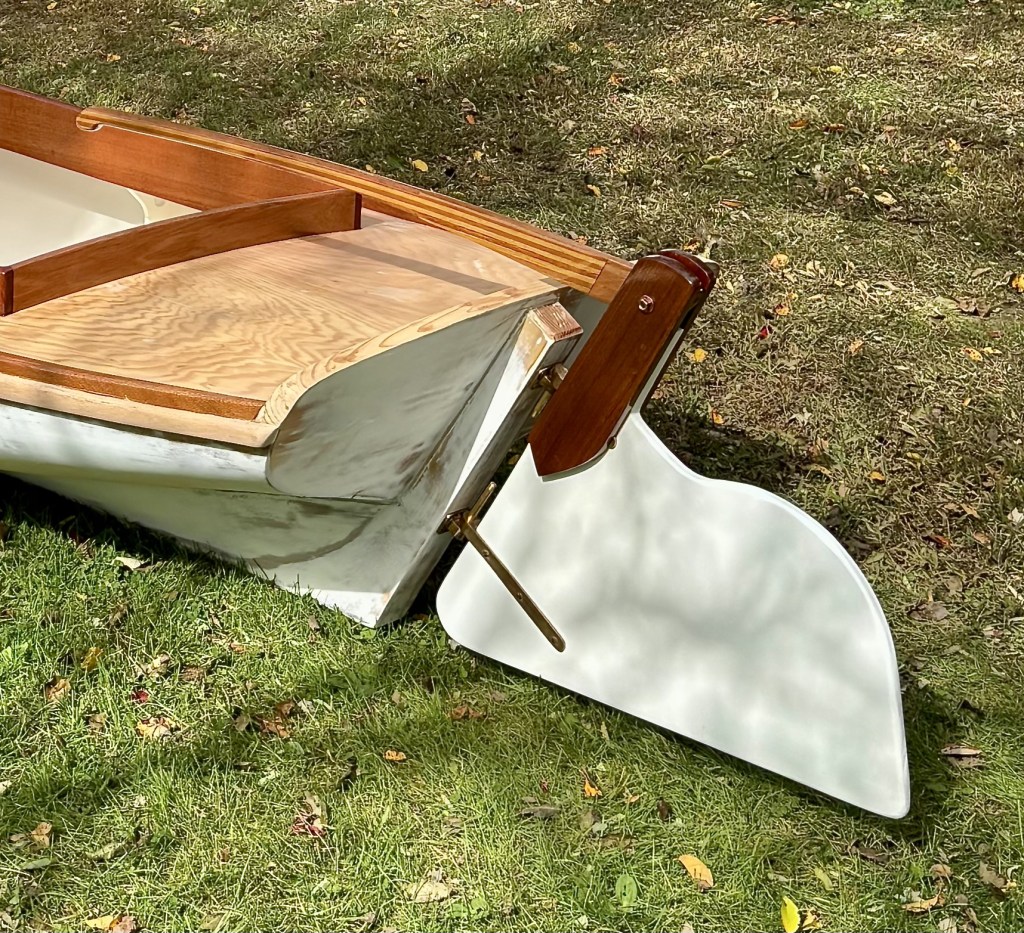
No dimensions were provided for the barn door rudder so I just scaled the plans and lofted the lines. As long as the submerged underwater area of the rudder was close, the other profiles were more for style than function. I searched for rudder fittings with tangs that would fit 3/4″ marine plywood. I found them here at the best price. They are made by Davy & Co. and can be found at a number of outlets. They were pricey none the less! I decided upon moderately heavy bronze hardware. While I am sure I could have used lighter fittings as the sailing stresses would not be that great. However, I imagined what could happen to the stern hung rudder when the boat was lifted up by the bow onto a rocky beach … after forgetting to ship the rudder. Things like that happen.

Pintles and Gudgeons Laid on the Rudder Lofting
I made the tiller out of laminated mahogany and oak with alternating 3/8″ strips. While the plans showed a straight tiller, I opted to give it some curvature and an end stop.

Laminated Tiller
I splined and glued a 2″ piece of solid mahogany to the bottom of the marine ply (envisioning that rocky beach!) to protect the plywood end grain. I used 3/4″ solid mahogany for the top clamping cleats. They would be glued and screwed to the neck of the rudder because I wanted the tiller to pivot, so the top of the cleats would remain open. While mocking it up on the lofting, I positioned the fittings so they would clear the bolts that would attach the outboard stern post to the transom.
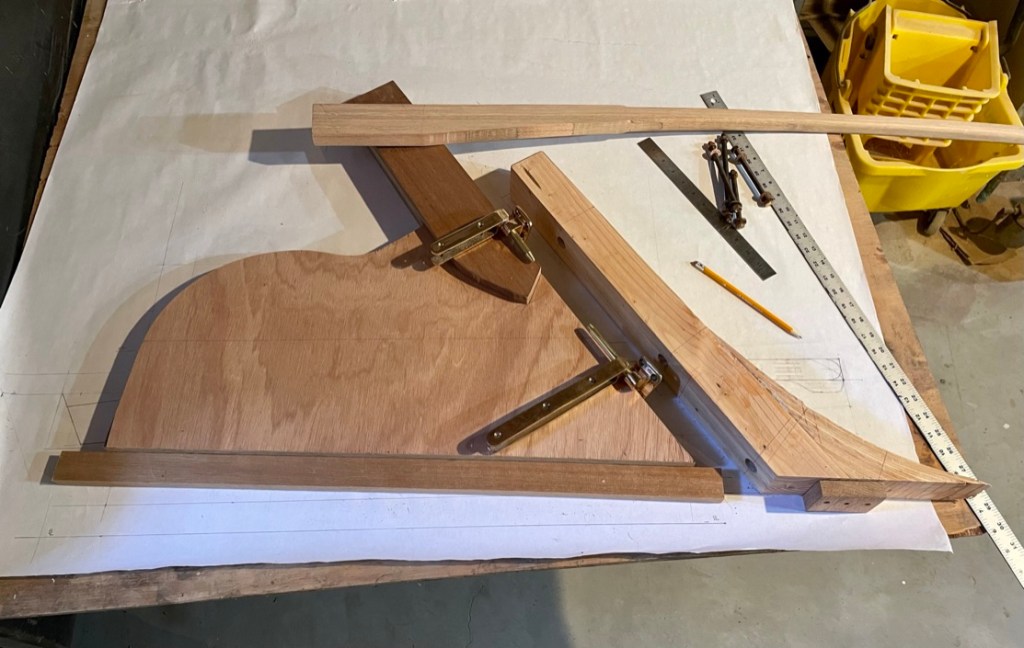
Rudder Mock Up
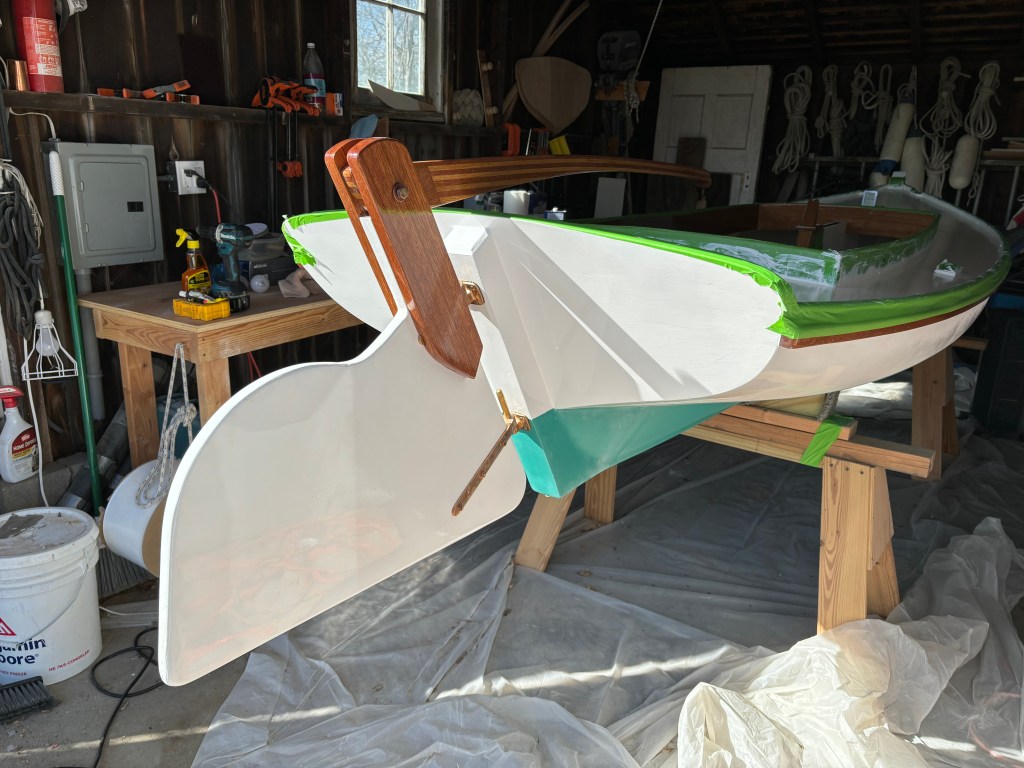
I chose to wait to attach the tiller to the rubber until after the top of the transom was beveled, which would happen after the decks and rub rails were on.
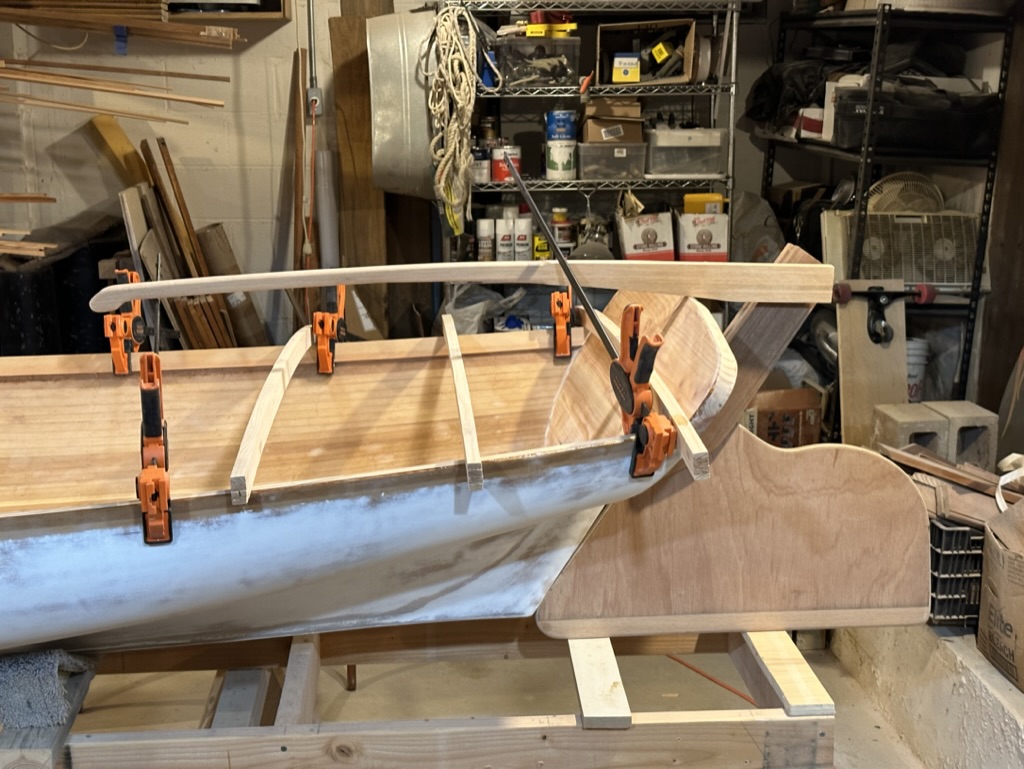
Test Fitting for Tiller Clearances
I put in temporary screws to properly align pintle to gudgeon, which would avod binding. Luckily they aligned on the first try. The final installation with larger 3 1/2″ screws would come later.

I eventually got around to trimming the cleat heads and doing a final fitting of the tiller. For the pivot I used a bronze threaded rod with cap nuts.
Testing the Tiller Range
Then came the varnish and paint. It would eventually get some bottom paint.

Leave a comment