I had made the centerboard blank while I was waiting for the cedar strips to be delivered. I needed to make the centerboard before constructing the trunk to ensure a proper fit (to avoid that dreaded banging when underway!). Now it was time to finish it. It was necessary to put some lead toward the bottom of the board so that it wouldn’t float up in the trunk. I had some old lead flashing laying around. I figured I would need about 6 lbs. or so. Having extra weight down there would add righting moment so I erred on the side of more rather than less. After calculating the size hole needed to accomodate the 6 lbs. of lead I put screws around the inside edges of the hole to ensure a secure hold and plated one side with MDF.

My first set up attempt was a failure. I used an old electric cook-top and spare cast iron pan to melt the lead but, I couldn’t raise the lead to the melting point. So I bought a cheap single burner with a larger coil. Keeping safety in mind, I set up in the shed this time with the doors open for good ventilation. Then it was off to the pour.

Old Lead Flashing

First set up and failed attempt
My son wanted to know how to pour lead so I put together a little video for him.
It went smoothly. I overpoured a bit as the lead would shrink when cooled. I then planed and sanded the lead insert flush, added some epoxy to fill any edge voids, and topped it with two layers of cloth. At the edges I overlapping well with the fiberglass cloth for strength and durability. Centerboards are notorious for denting and wearing at those vulnerable edges.

Then it was just a matter of sanding it smooth, adding bottom paint, and securing the pennant with a knot tied off in the predrilled and epoxy reinforced hole. I would eventually add a bronze half oval to the leading edge for further protection.
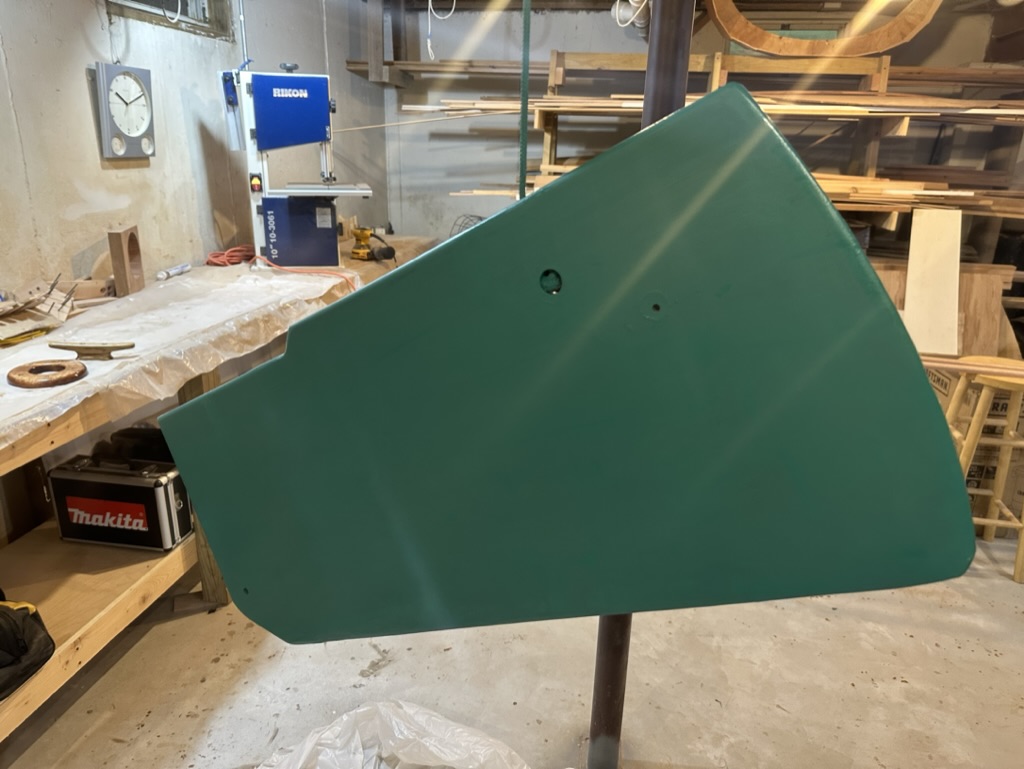
Ready to move on to the rudder.

Leave a comment