It was an easy task to sand down the interior. Much of it would be hidden below floorboards, side decks, fore deck, and stern deck. Also, concave surfaces seemed to sand more easily. Soft pads on the oscillating sander and furniture scrapers made relatively short work of that task. I also could now take some measurements to make sure the hull dimensions were correct and both sides were symmetrical. They were within a 1/8″ of each other. Remarkable!
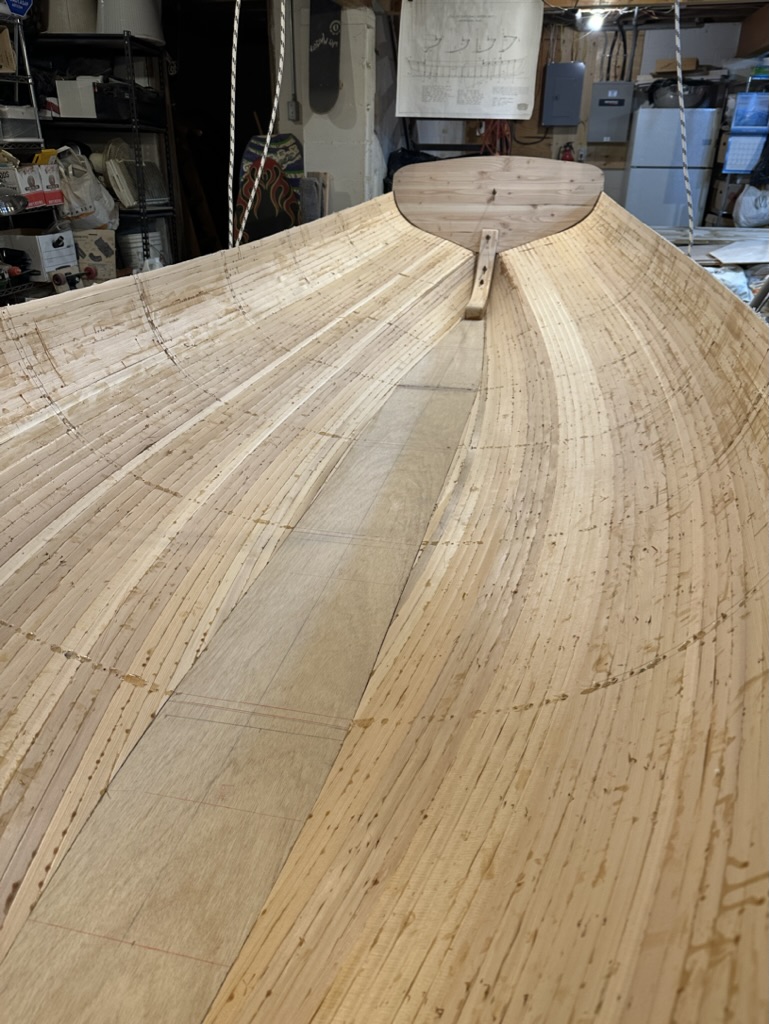
Before Fairing
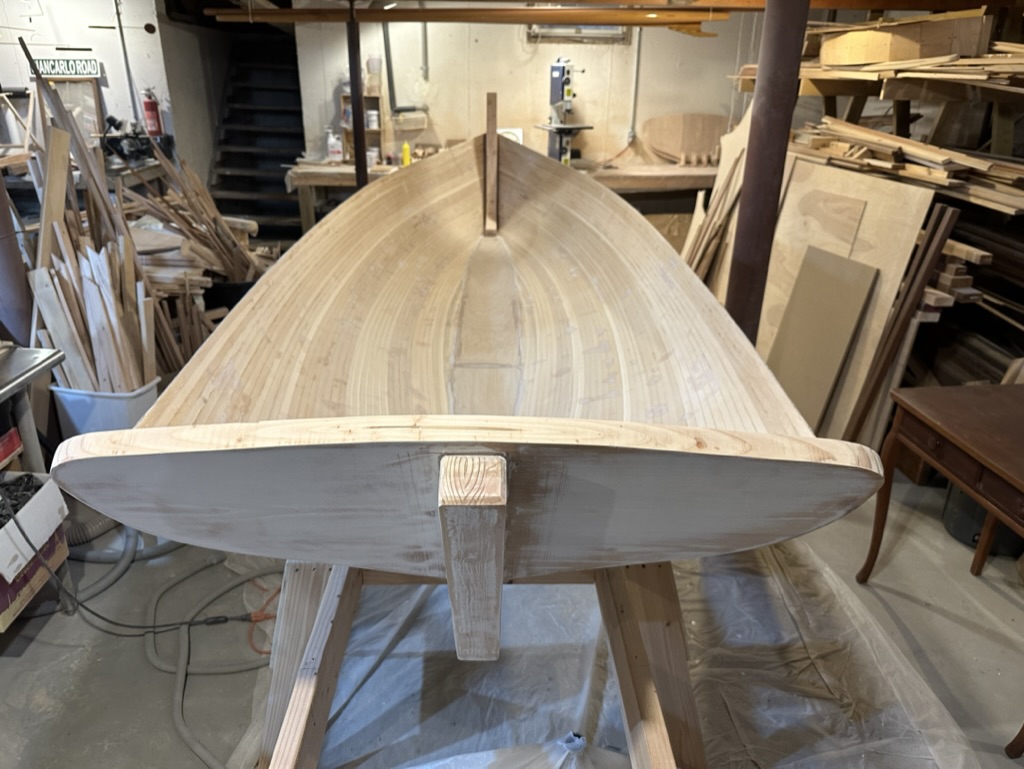
After Fairing
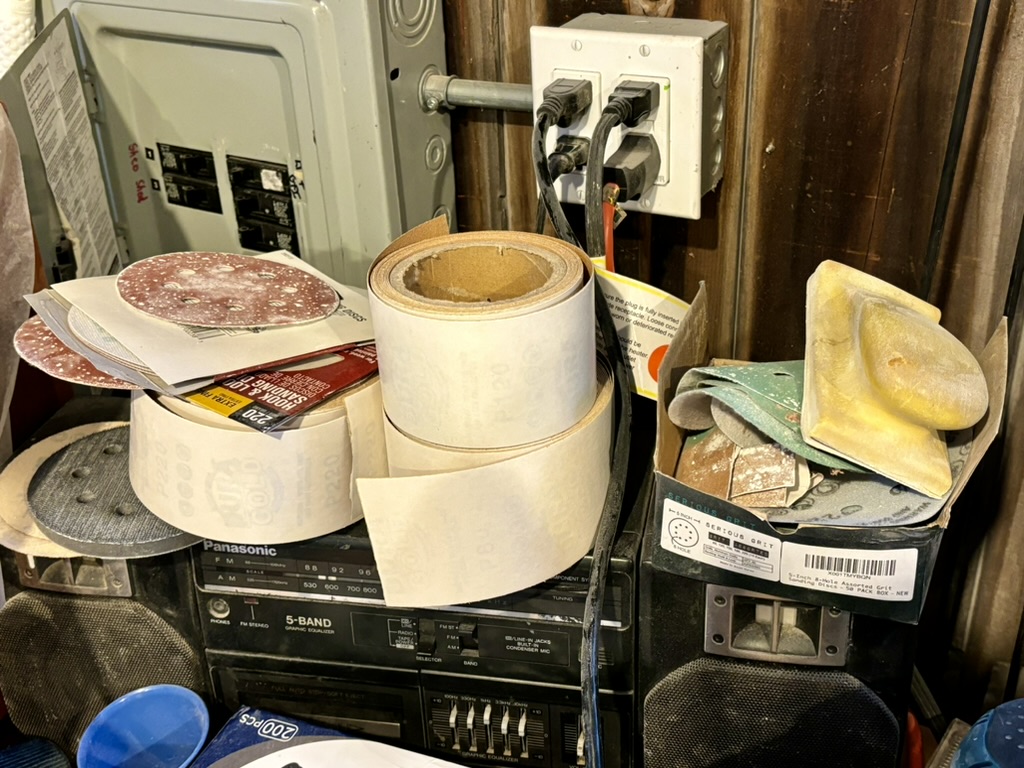
Sandpaper Arsenal
Mocking up the Figurehead?
I glassed the interior with two layers of 6 oz. cloth (sorry, no pics). I created a good overlap where the cedar strips met the keel, effectively making it four layers there. Then shear clamps went on. Getting a tight fit required quite a bit of back and forth – test fit, sand a bit, test fit again, and on and on. Getting the compound angles was the most difficult. It was important that I get a bit of compression fore and aft in the shear clamp to maintain the shape of the hull at the shear until the decks and rub rail were installed. That would be a long way down the road so stabilizing it over the course of the rest of construction was a necessity.

Shear Clamp Installation
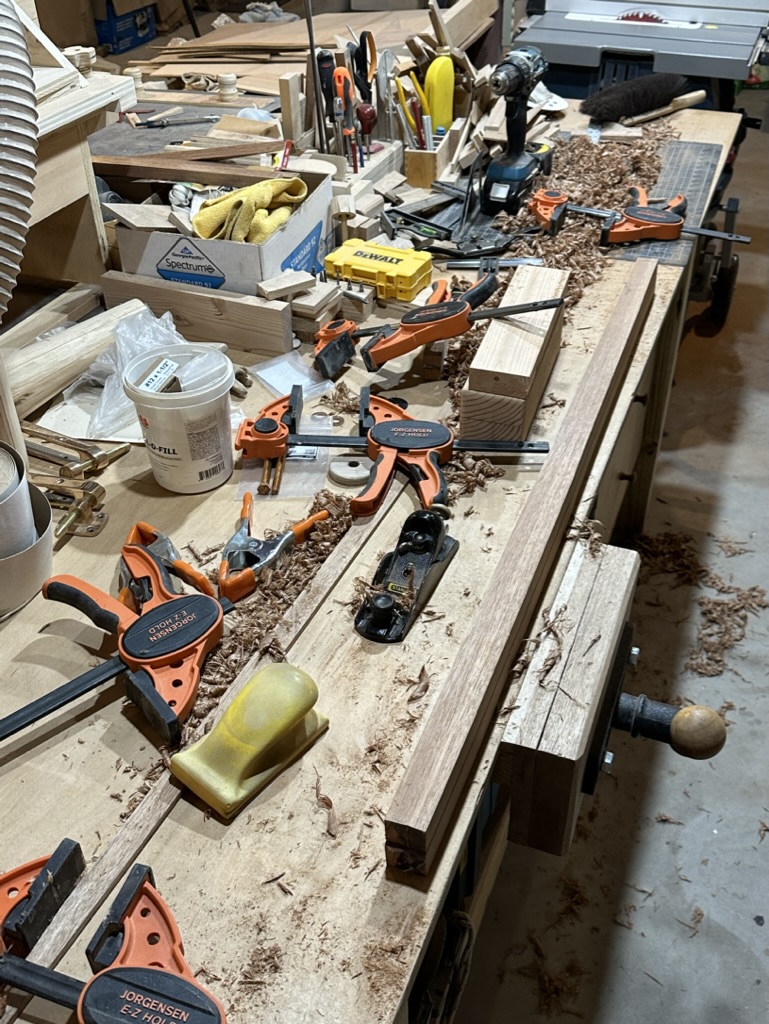
The Mess was Starting to Accumulate

Leave a comment