
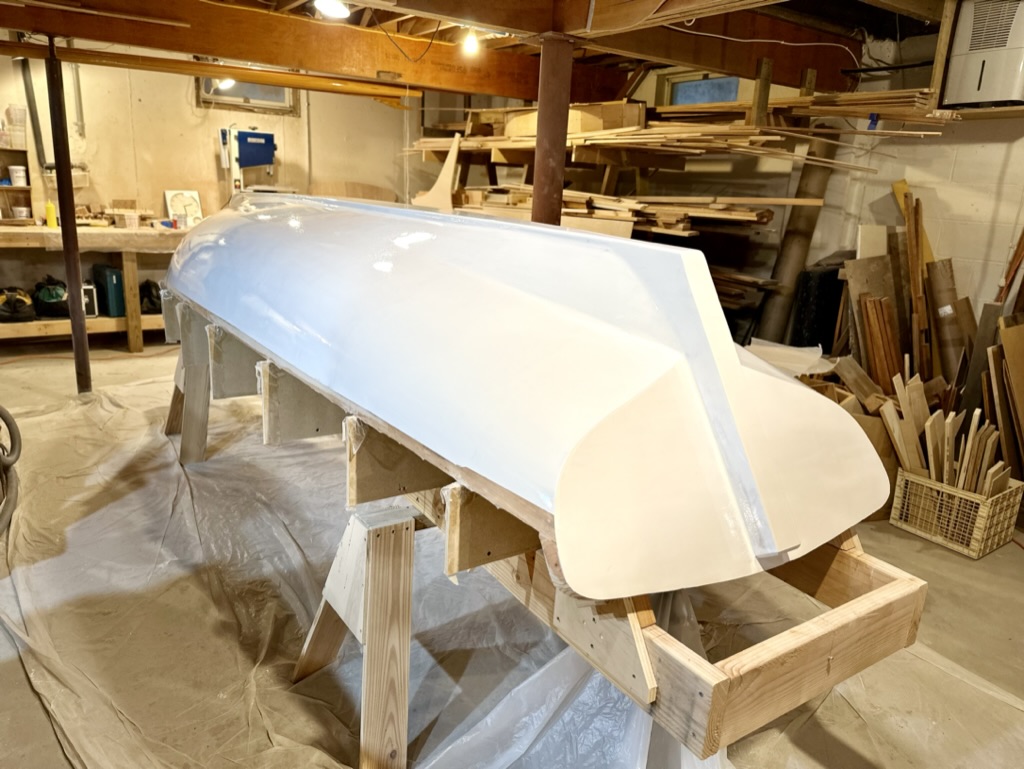
I started fairing the hull while it was still on the molds. Because the hull was made of 1/4″ cedar, retaining the molds provided necessary support until I could fair and glass it. I began with a block plane to remove the high edges from the mated bead and cove strips. Planing the cedar was very easy as it was soft, but I had to take care not to go too deep – the 1/4″ thickness concerned me throughout the fairing process. Not much to work with! From there I used diminishing grades of sandpaper with longboards made from 1/4″ ply.
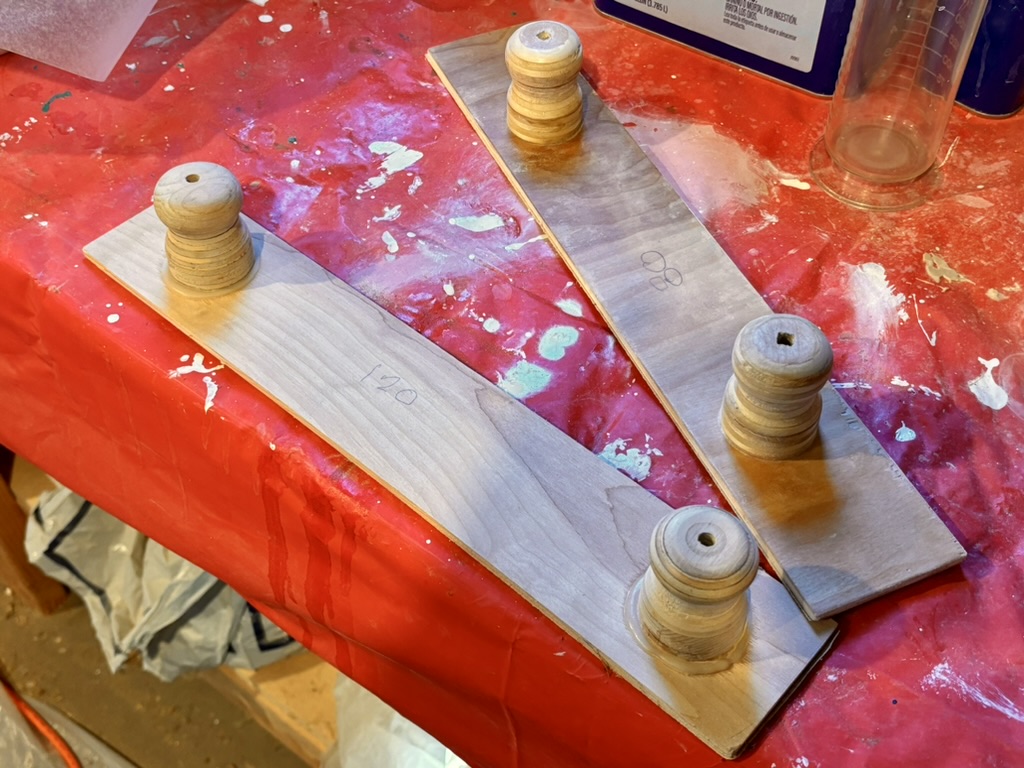
DIY Long Boards
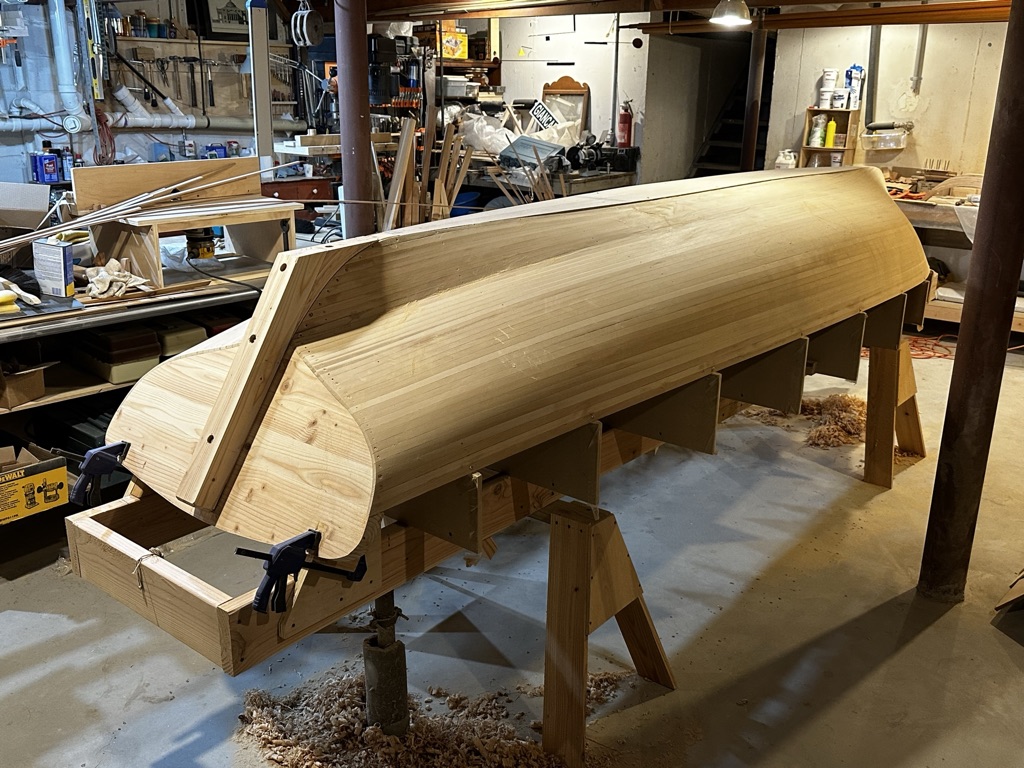

Partially Faired Hull
About midway through sanding I had to fill some gaps in the bead and cove seams with an epoxy filler compound. I also had to fill the screw and staple holes. So much for that pristine cedar hull. As it would be painted, the off-color issue was moot. I attached the false stem and stern post at this point using bronze through bolts and bunged the holes.
It was at this point I noticed a few problems with the lay of the strips in a two-foot section of the hull.


At one mid-station point, the bead and cove edges had been compressed a bit. I clearly had over clamped there. I decided to wait to fill this section with the epoxy filler until I had glassed it. I reasoned that the epoxy and glass would help fill these recesses which I then could finish with filler. It turned out that I also needed to fill some other areas to get a smooth surface, especially at the creases of the stem and keel. I finished the fairing with 120-grit sandpaper to ensure proper adhesion of the glass.

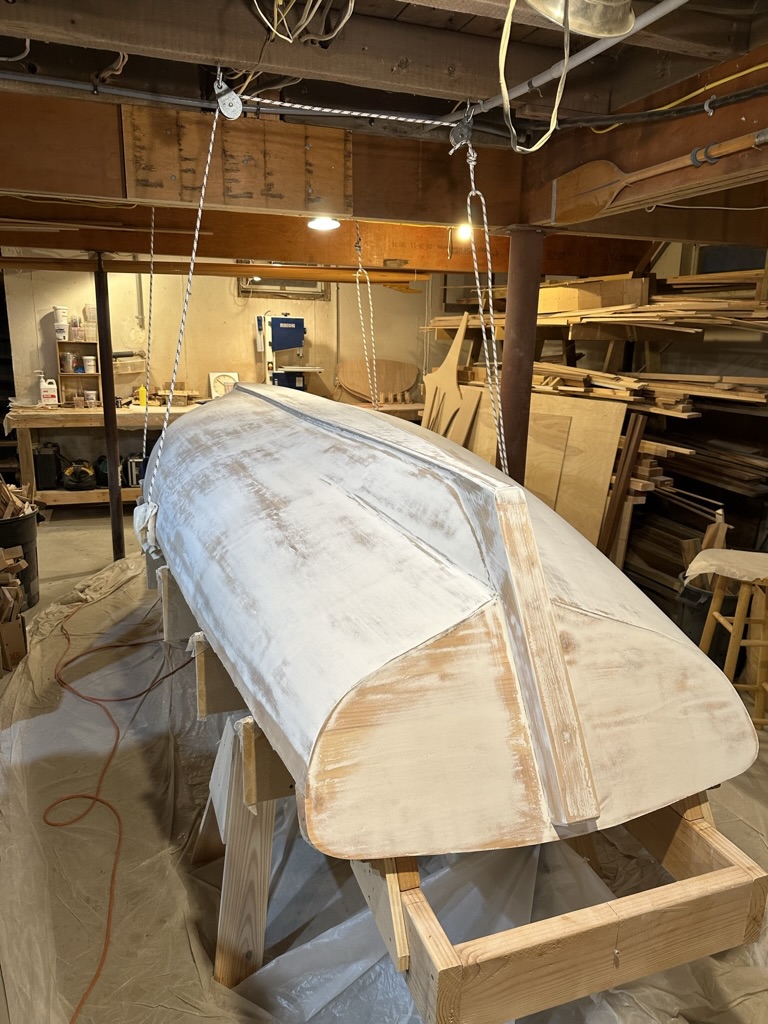
Then it was just a matter of glassing and adding the layers of covering epoxy. Still concerned about that 1/4″ hull thickness (now reduced by a 16th of an inch or more in spots), I applied the two layers of 6oz. cloth, fairing each layer with the longboards. Although the recesses got shallower, they were still there to a degree, so I filled and faired them and added the last coat of epoxy. AND faired that!

First Layer of Cloth
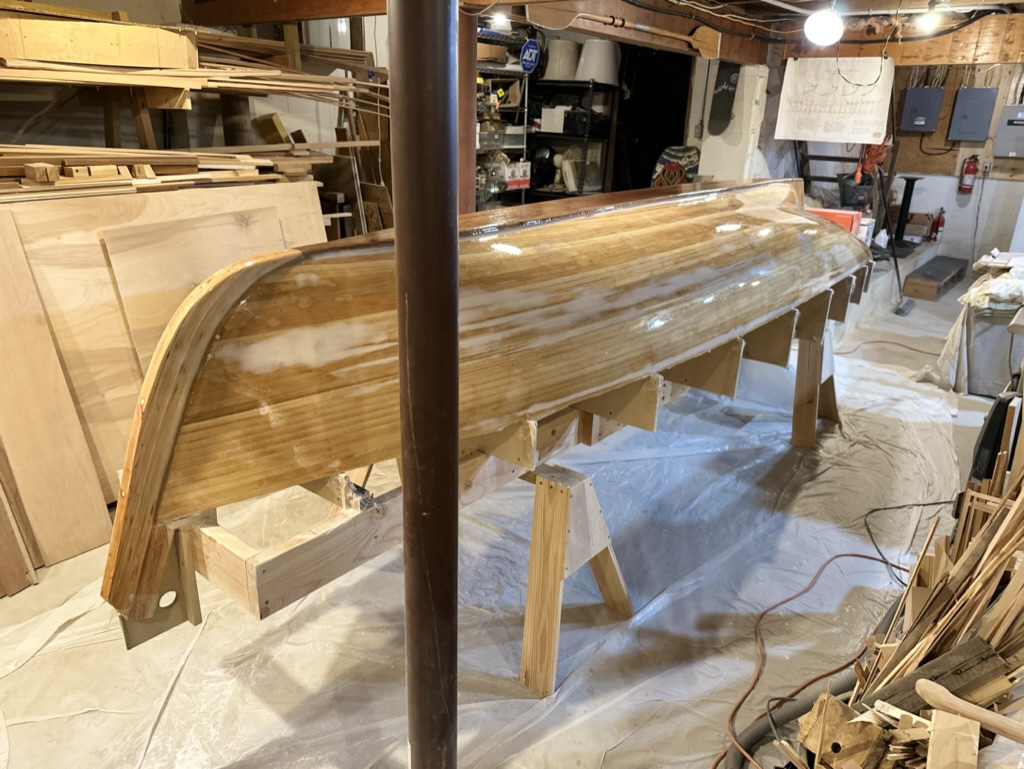
First Coats of Epoxy Over Cloth
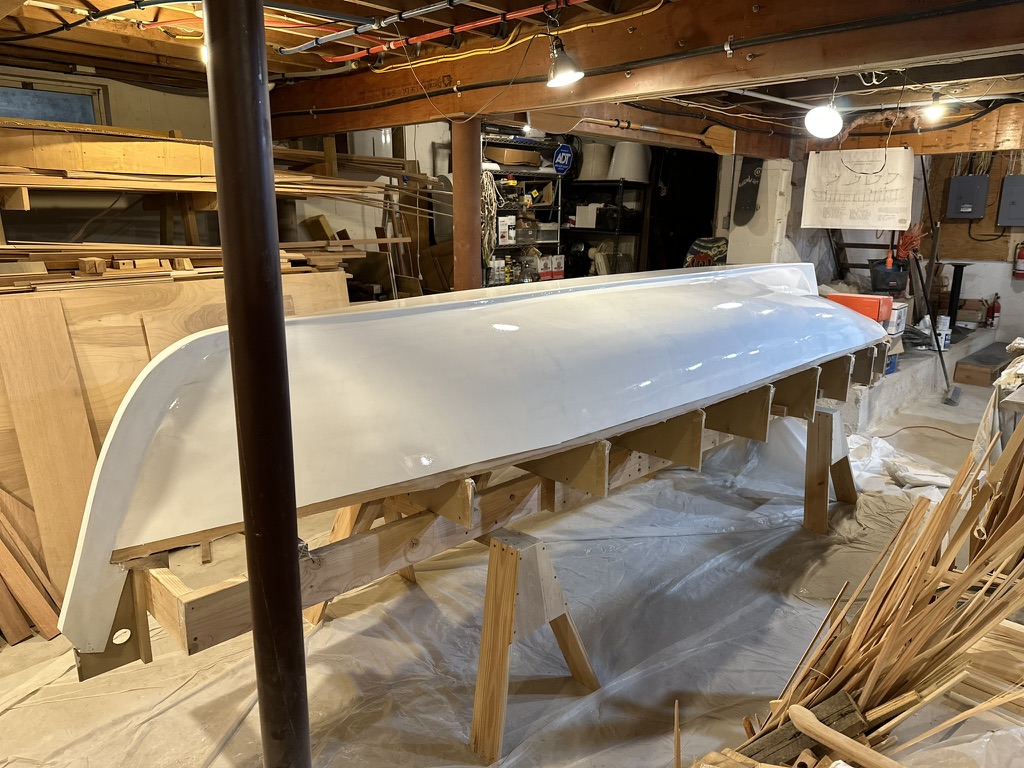
I was able to get the surface very fair. It did take a lot of sanding though, beginning with 40 grit on up to 120. As I am sure everyone who has sanded epoxy knows. “It ain’t no fun.” The substantial thickness of the epoxy allowed me to get a nice even surface, and I was feeling more confident in the strength of the hull. That 1/4″ cedar was now very stiff. After waiting a week for the epoxy to set well, I banged on the hull, sat on it, and hit it with a 2×4. No perceived deflection and no dents. Very reassuring.
As the surface was now epoxied and very smooth I saw no need for a primer. Primers are quite soft, and I was looking for a nice hard finish. So I gave the hull a single layer of Interlux Brightside. Basically, I was using it like a filler/primer, sanding it down to almost nothing. It did fill some pinholes and assured a good bond for the final coats. To ensure good adhesion for the rub rail I masked off the upper outer face of the hull, where it would eventually be screwed and glued.


Leave a comment