While the original Seaford Skiffs were carvel planked with 1/2″ cedar, I decided to use 1/4″ cedar strips with bead and cove. After fairing, the hull would be covered with epoxy and 6 oz. glass cloth inside and out. The glass would strengthen the hull, be a bit lighter than traditional planking, and add stiffness to resist torquing of the hull under stress. As my shop isn’t really set up to mill the bead and cove strips from scratch, I opted to order pre-milled red cedar strips from Noah’s Marine in Canada http://www.noahsmarine.com/index.asp
Ordering the strips, which might seem straight forward, was not. The expense was not insignificant, and I needed to figure out how many, what lengths (to avoid splices), and the timing of delivery. I called them and ordered what I thought appropriate with their recommendations. Noah’s was very helpful and said they would get back to me about a delivery date. Not a problem as there were many things I could do as I waited. As it turned out I would need quite a few “things” to do while I waited. I would check in with them every week or so for an update. Turned out processing my order coincided with “re-tooling” their new milling equipment and the delivery was delayed. Five months later I received bundles of lovely 1/4″ x 3/4″ bead and cove clear red cedar strips.
While waiting for the delayed delivery I made the rudder, centerboard, spars, and as many other “things” as I could think of. I will get to those in later posts. In any case here is the hull planking, a bit out of sequence.
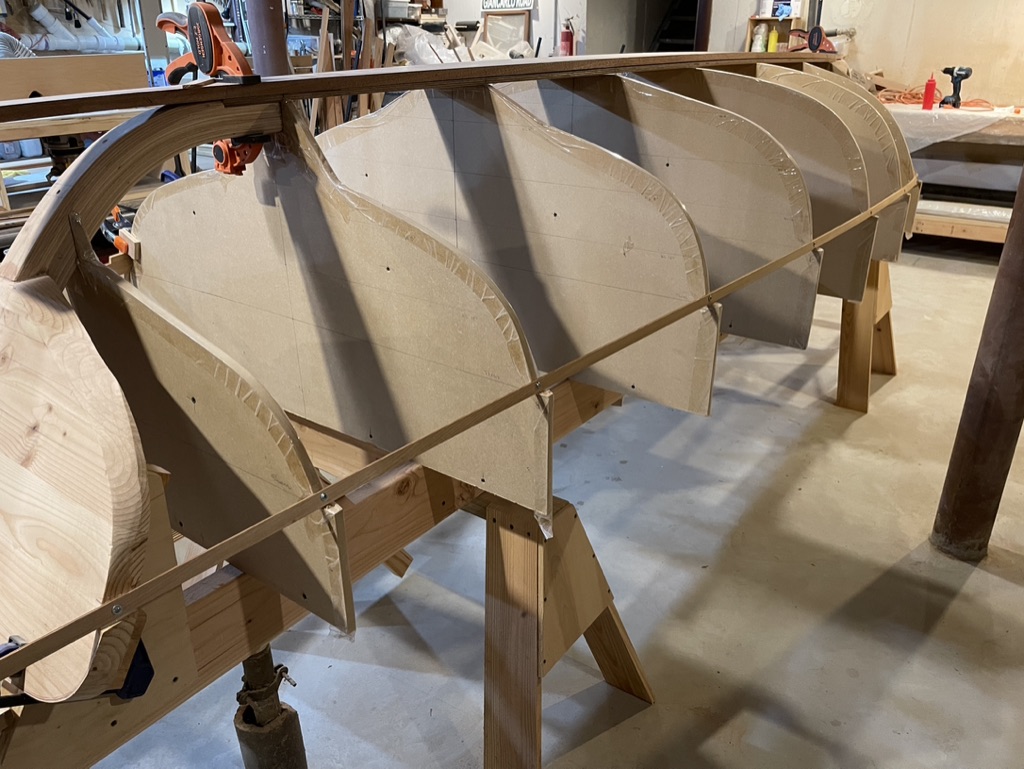
Having taped the mold edges, I started “planking” from the shear and worked up to the keel. After setting the first shear strip on both starboard and port I carefully used a level, my eye, and a tape measure to make sure both sides were identical and fair. Surprisingly they needed little adjustment. As they rested on the tabs of the molds, earlier care in fashioning and setting the molds ensured a fair and symmetrical shear. I paid some attention to alignment at the stem and transom as the cumulative effect of stacking 3/4″ pieces would be noticeable if placements were off. I used pocket-hole screws with their wide lip to firmly secure the shear strip. Although the screw lip left indentations in the soft cedar, I knew I could fill those later along with the holes. I kept reminding myself that the hull would be painted, but every time I put in a screw, I winced. Ultimately I needed many of these in certain areas as the twist of the hull shape fore and aft was almost 90 degrees from the mid-section.
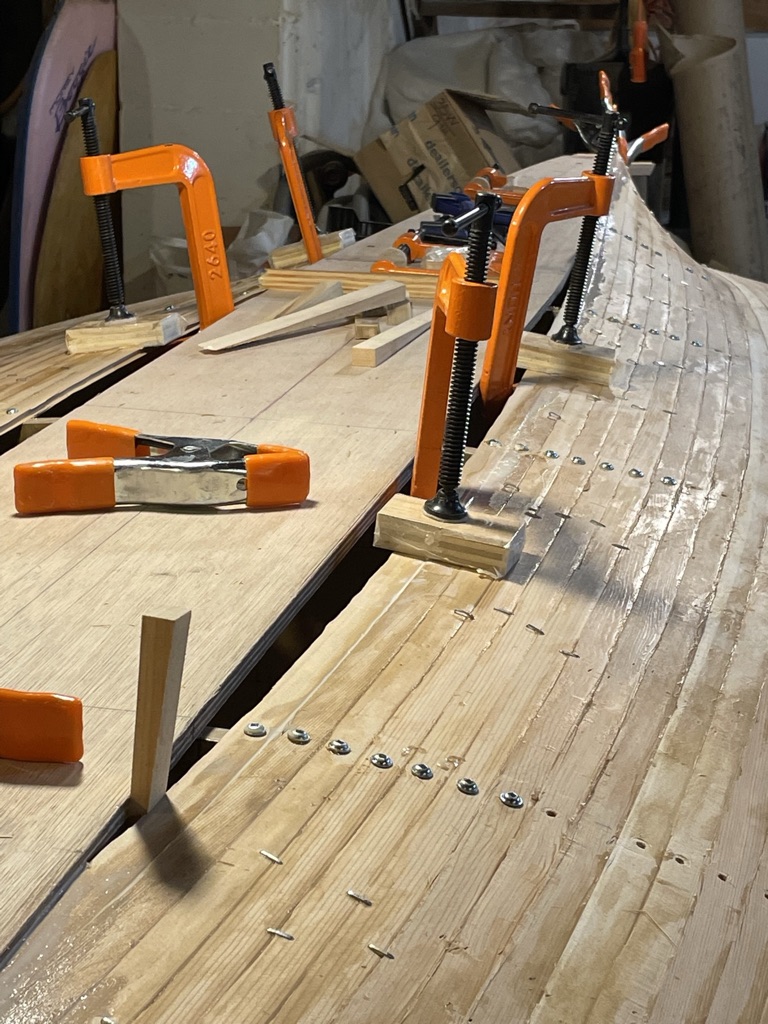
I used the second strip above the shear strip to perfect the clamping and alignment process. I made quite a few plywood “L” brackets to exert downward and inward pressure for a tight fit. Initially I tried straps and bungee cords but they were clumsy, and tensioning them took too long. With the L brackets and a variety of clamps of all sizes I got good compression, a fair lay, and consistent mating of the bead and cove edges.
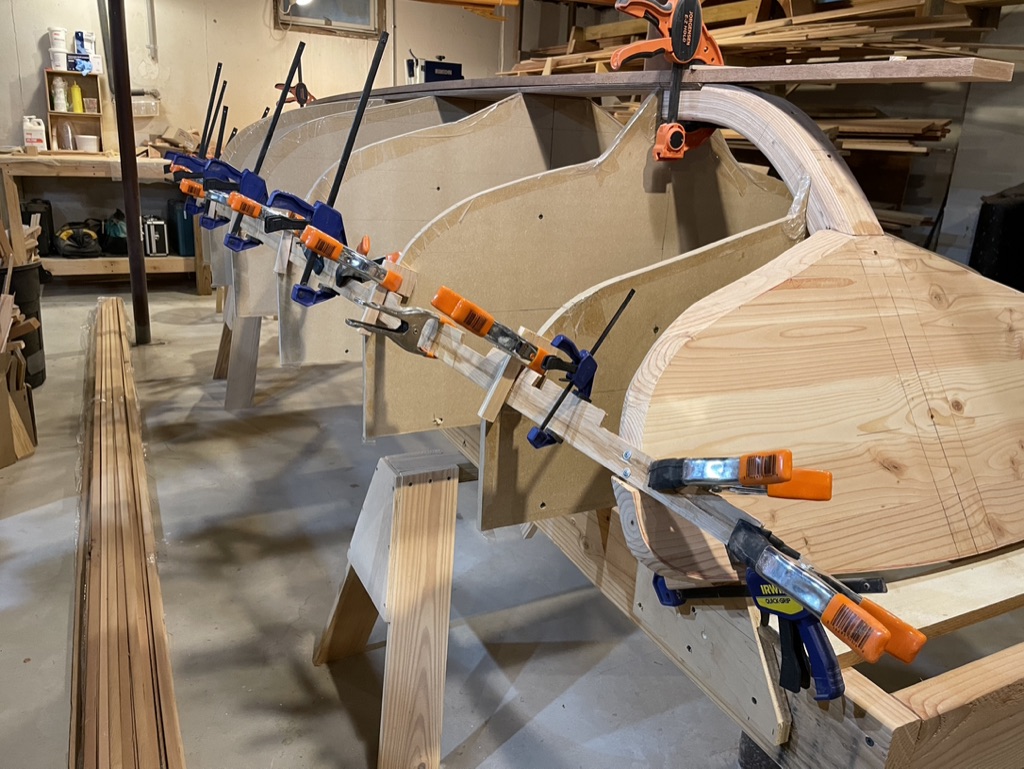
Away I went. I used TiteBond lll glue, cleaning up drips and such as I went. Occasionally I would use a staple here and there to tighten up a joint. I could get around three strips on both sides, alternating, before taking a break to let the glue set up for a couple of hours. I would do about six to eight strips, both sides, in a day. Each side required about 65 strips. Because there were many days when I couldn’t put in the hours consistently (I have a day job!), stripping the whole hull took about three weeks. It was very exciting to slowly watch this shapely hull miraculously appear from a pile of very thin wood strips lying on the floor!


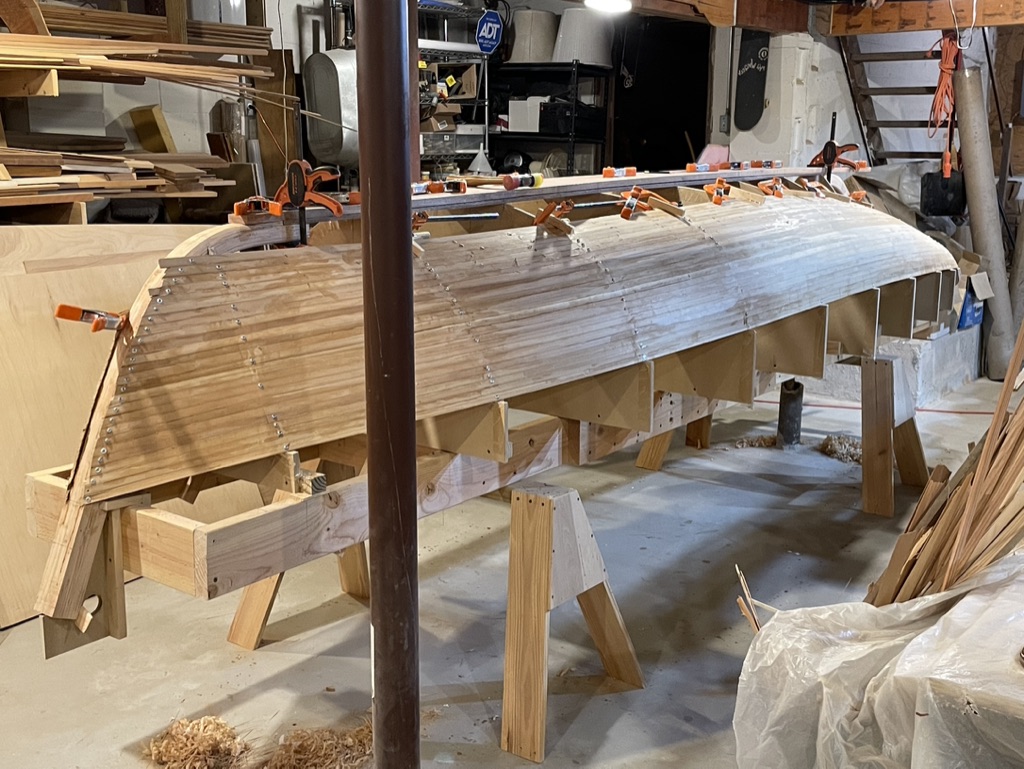
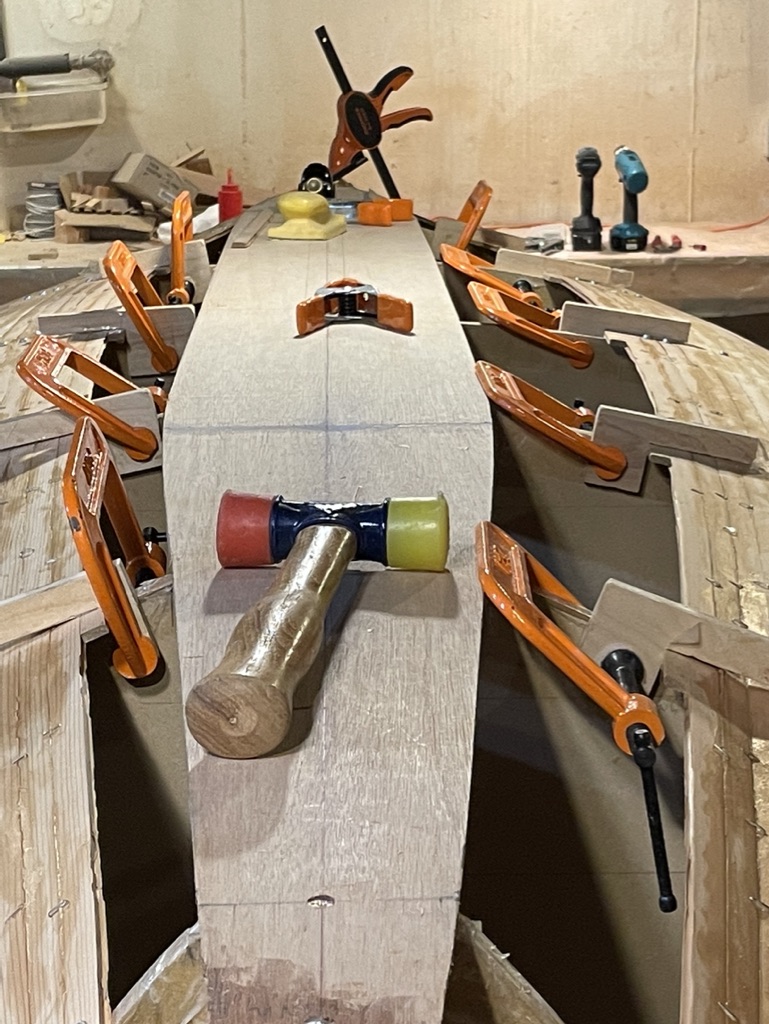
Closing the strips to the keel was a challenge as space for clamps diminished rapidly. I had to resort to wedges, staples, and screws. The last short strip popped in nicely though.
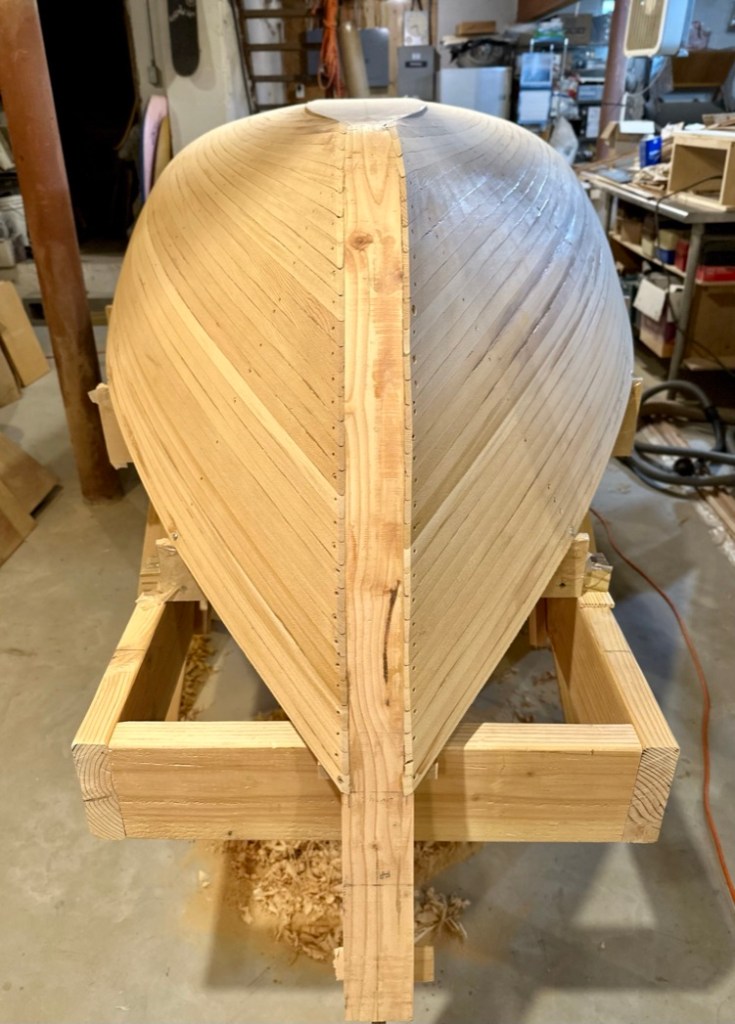
Then I removed the screws and staples and scraped the blobs of glue off to reveal a hull. Very satisfying, but I reminded myself not to be fooled. There was still a lot to do. However, it seemed a milestone to see the Seaford Skiff hull solidify out of numbers from a chart of offsets and some sticks of cedar. I took some time to measure the hull to see if those numbers were still right after the push and pull of work so far. Everything appeared to be within an 1/16th to 1/8th of an inch of the numbers! Port and starboard matched along the centerline mid-stations perfectly. Wha-da-ya know?

Leave a comment